
Tiny Cabin Upgrade: DIY Deck Doubles Our Living Space!
🏡 Our tiny cabin is getting a major outdoor living upgrade! In this episode, we demonstrate our DIY deck build using a robust post and beam design that doubles our outdoor living space. From test fits and custom “chair cuts” to precision deck leveling with lasers and perfecting the structural deck reinforcement, every step is a lesson in woodworking and off grid upgrades for our tiny cabin. We tackle challenges—measuring, cutting, and deck joist installation with top-notch tools—while sharing tips for creating a sturdy, stylish deck build. Whether you’re expanding a cabin or upgrading your outdoor space, this build is packed with practical DIY advice!
Table of Contents
- Watering with Steeped Bananas?
- A Different Kind of Deck Chair
- Visualizing the Structure
- Adding Stairs Down to the Birdbath
- All That Measuring Worked Out Perfectly!
- Uh Oh… Need More Material
Watering with Steeped Bananas?

We decided to take a break and head to the greenhouse for a bit of watering. I’m using my banana potassium water, which is a fantastic boost for our plants. Simply cut up bananas and steep them in water. This concoction is particularly beneficial for flowering vegetables like tomatoes and peppers. The potassium helps reduce blossom rot and provides essential nutrients. Even though the banana water isn’t fully brewed yet, it’s still a great way to nourish the plants!
A Different Kind of Deck Chair
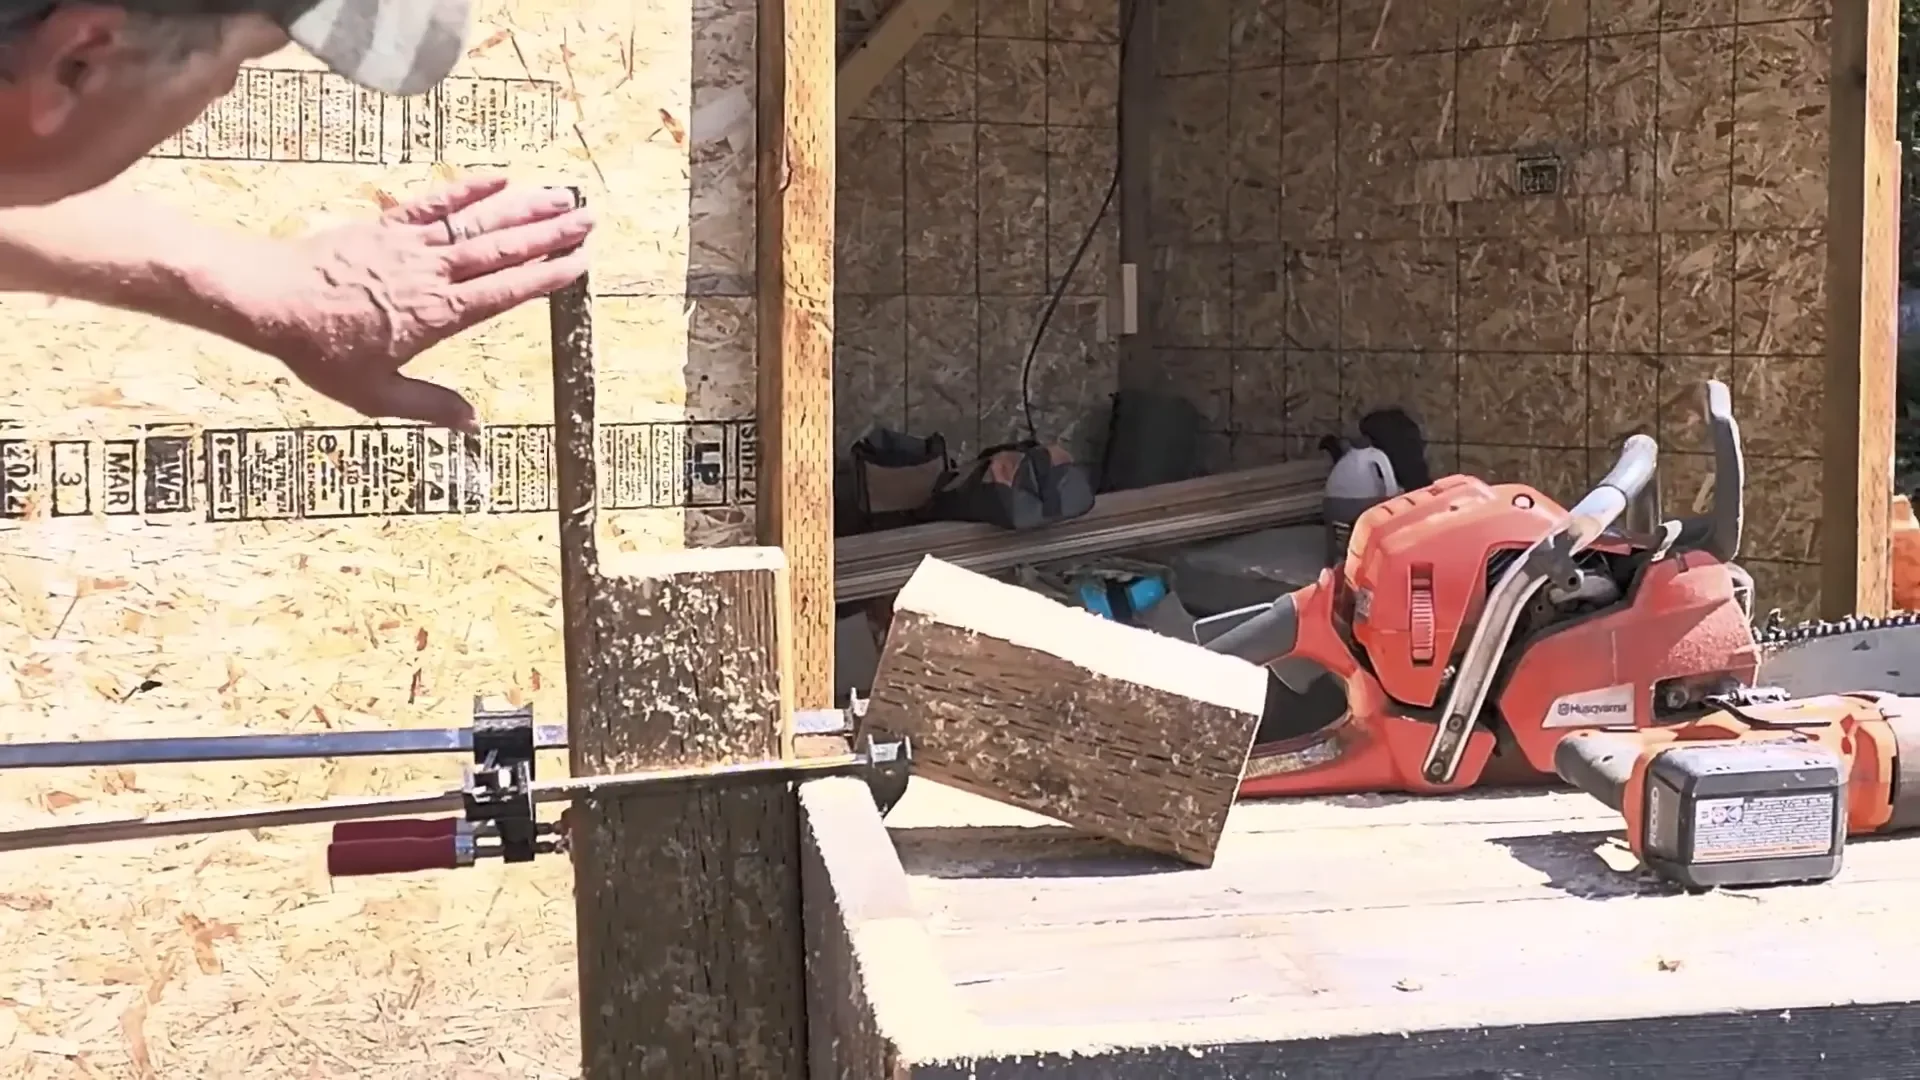
As we dive into the deck construction, I’m cutting out a “chair” for each post to ensure the beam fits perfectly. This step involves a bit of chainsaw work, and while it’s tricky, it’s necessary for stability. We’re using 6×6 posts for a solid base, and I’m ensuring everything is level using a laser level. It’s crucial to get this right before moving on with the deck framing.
Visualizing the Structure

Now that the chair cuts are done, it’s time to visualize how the whole structure will come together. I’m relieved to see that the decking fits nicely underneath the threshold of our tiny cabin. We’re aiming for a sturdy deck design, and all the time spent measuring and planning is really paying off. It’s all about precision in deck construction, and we’re making sure every piece fits just right!
Adding Stairs Down to the Birdbath
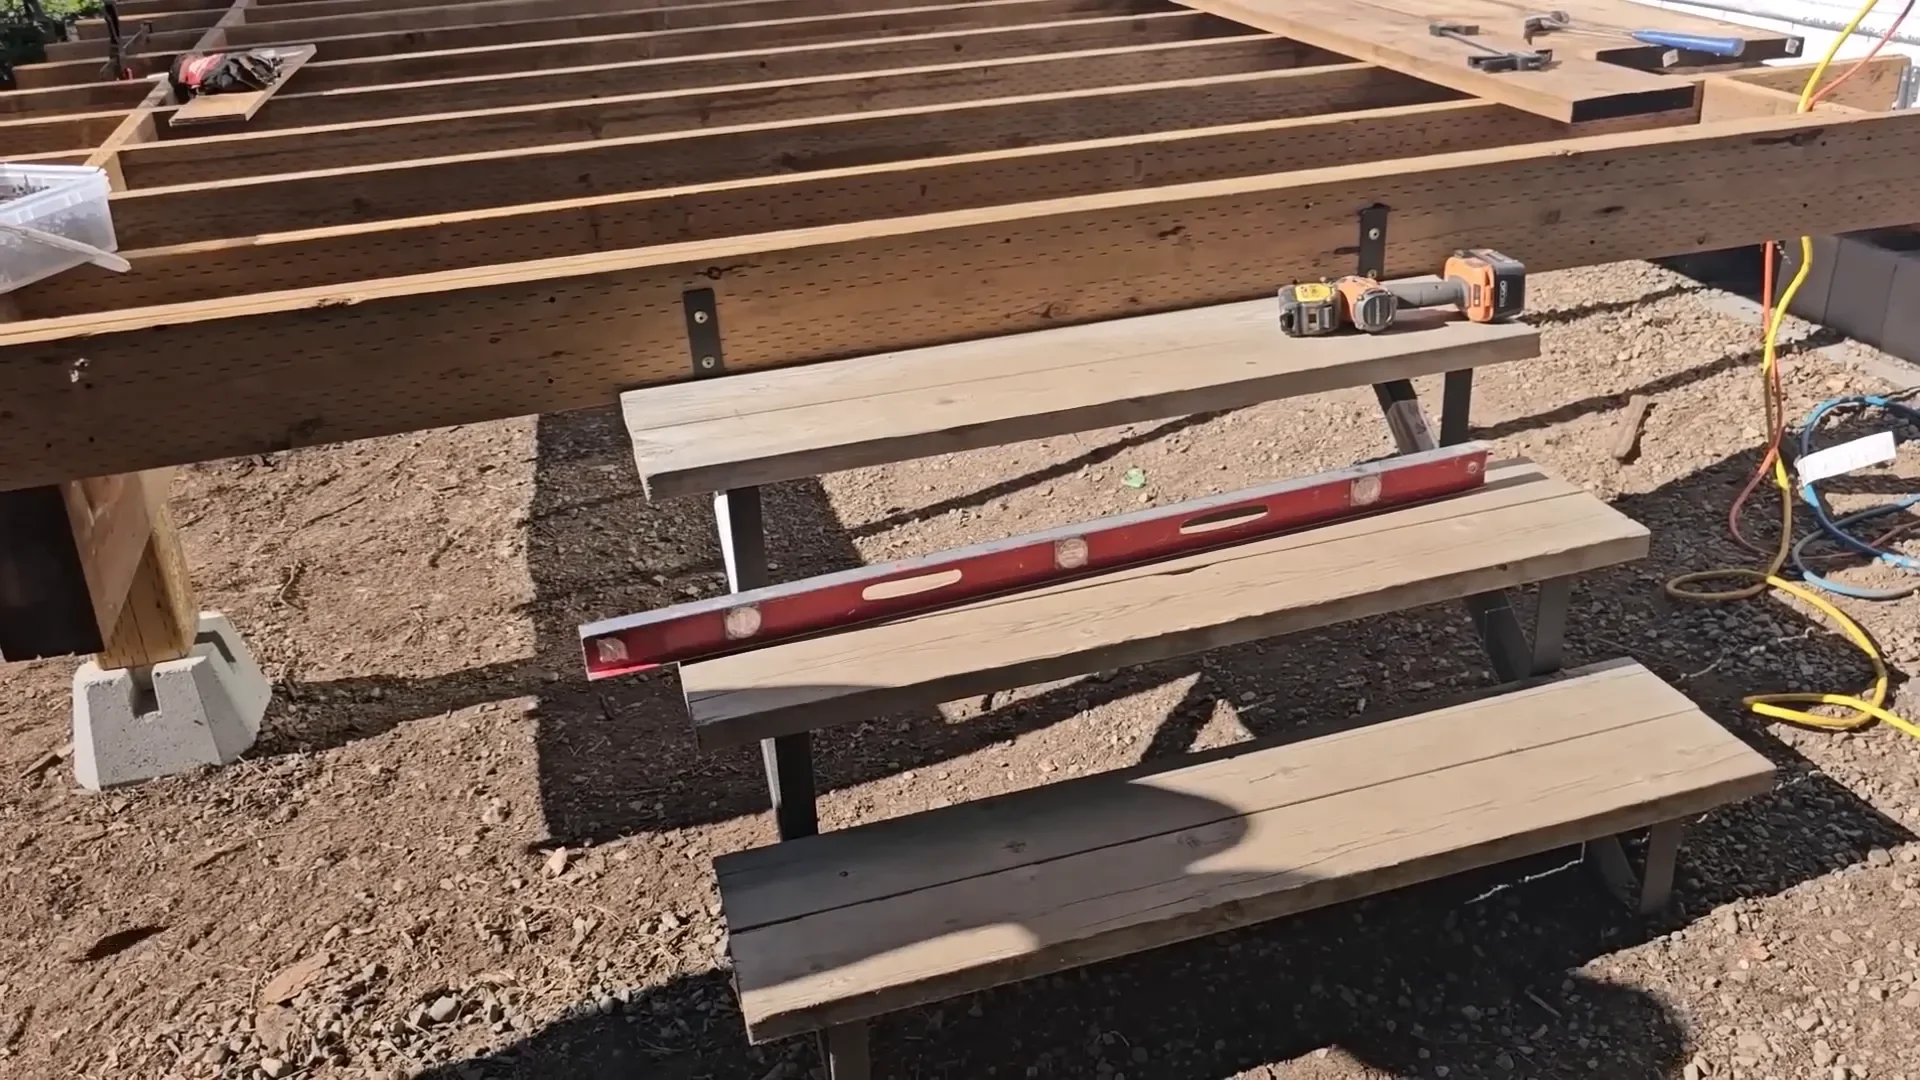
With the deck coming together, we’re also planning for stairs that will lead down to the birdbath. This will be a fun feature, allowing us to enjoy the view and access the area easily. It’s important that the stairs are safe and sturdy, so I’m using proper materials to ensure they can support us as we move between the deck and the ground.
All That Measuring Worked Out Perfectly!

After all the hard work, it’s time for the big reveal. I’ve just test-fitted the deck boards, and they fit perfectly under the threshold! Everything is level, and I can’t help but feel a sense of accomplishment. The meticulous measuring really does pay off, and it’s so rewarding to see the fruits of our labor come together.
Uh Oh… Need More Material
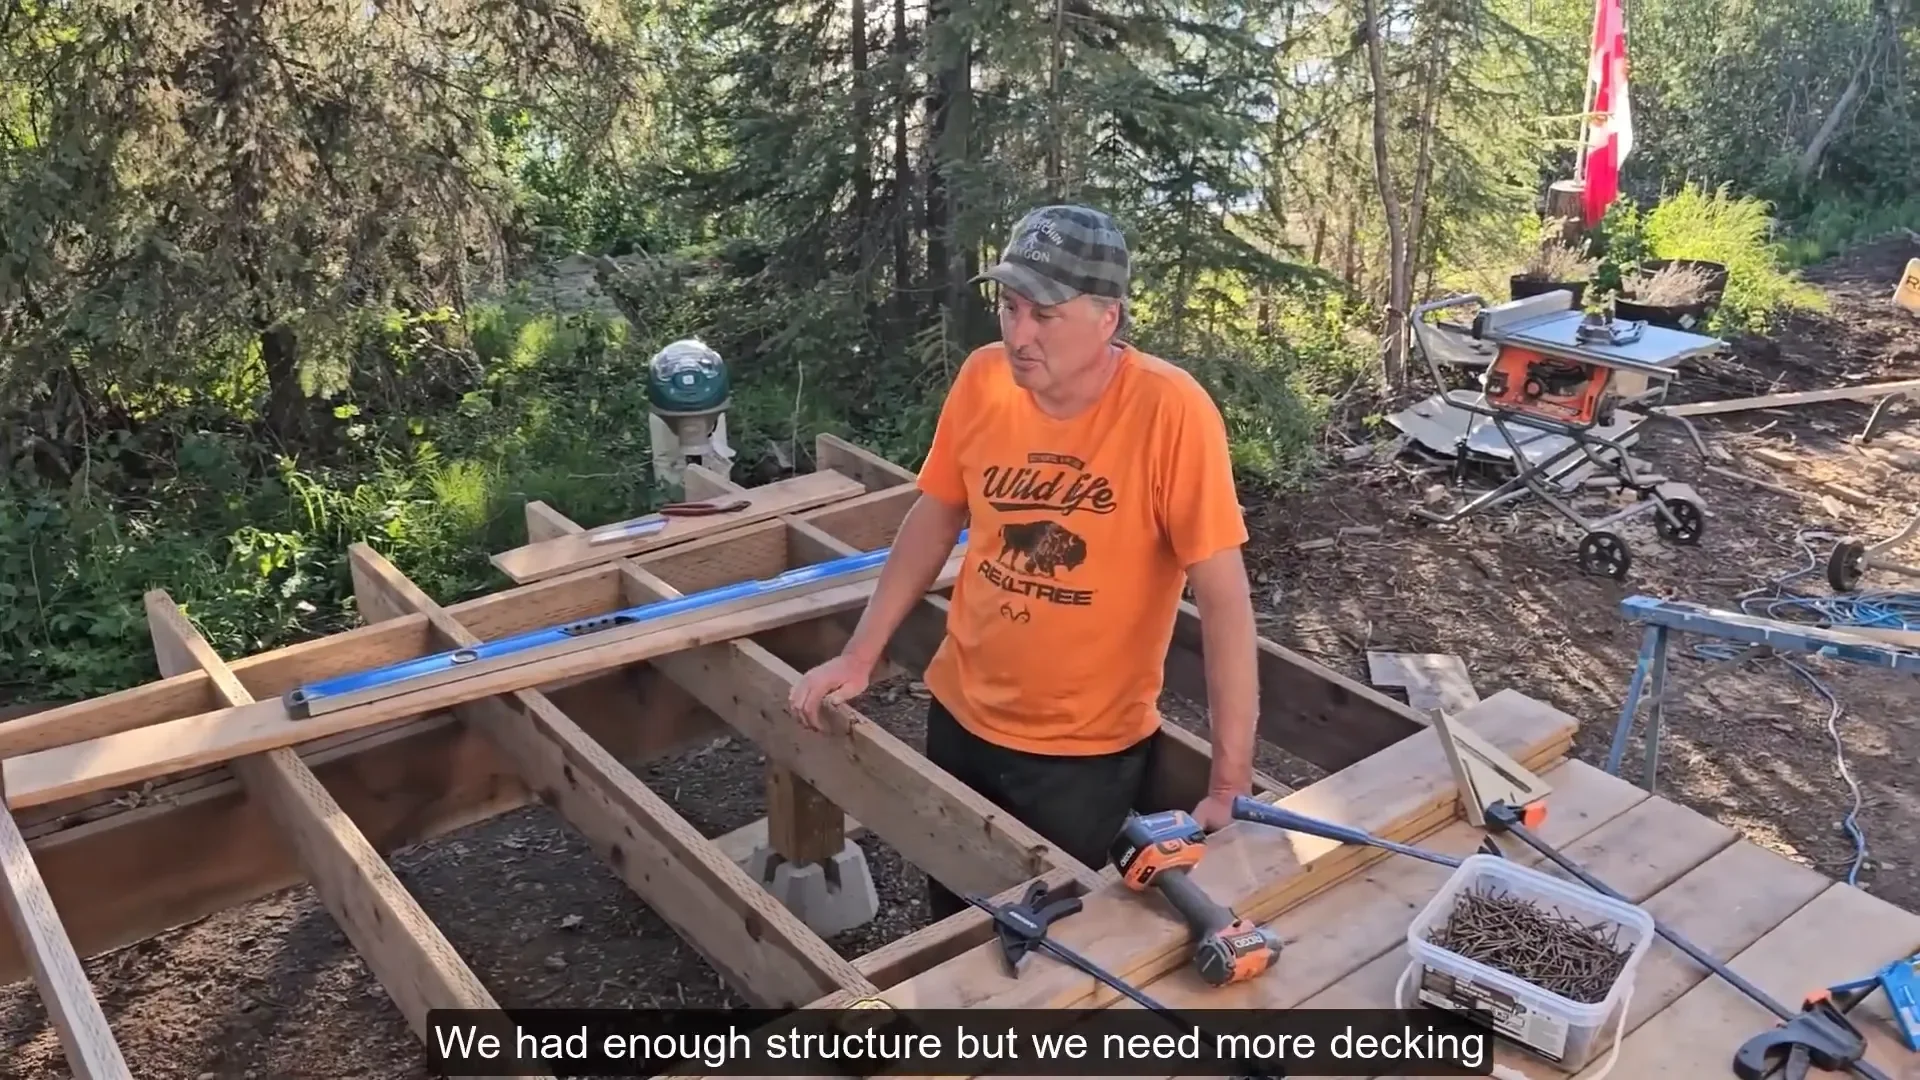
As we near the end of our deck build, we realize we’re short on materials. We decided to expand the design, which is great, but we now need to order additional decking. No worries, though! We’ll measure the remaining square footage and get what we need to finish this beautiful outdoor living space. The excitement is building as we envision how this deck will enhance our tiny cabin life.
For anyone interested in similar DIY projects or looking for inspiration, check out our Instagram and A Few Of Our Favorite Things – My Wild Holm. You can also shop recommended products from My Wild Holm’s Amazon Page.