
BIG Auction Win: Greenhouse Irrigation Challenges SOLVED! – My Wild Holm S3 Ep18
In this episode we tackle the challenge of irrigating our off grid greenhouse. Using a 640-gallon water tank we bought at an auction, along with our new Kubota boom lift, we demonstrate how to install a water holding tank which will provide for a rainwater collection system, and design an automated water system to keep our plants thriving.
Table of Contents
- Repurposing the 640-Gallon Water Tank & Initial Setup
- Overcoming Hydraulic Coupler & Boom Lift Adjustments
- Site Prep & Moving the Big Tank!
- The New Home for the Tank is Ready!
Repurposing the 640-Gallon Water Tank & Initial Setup
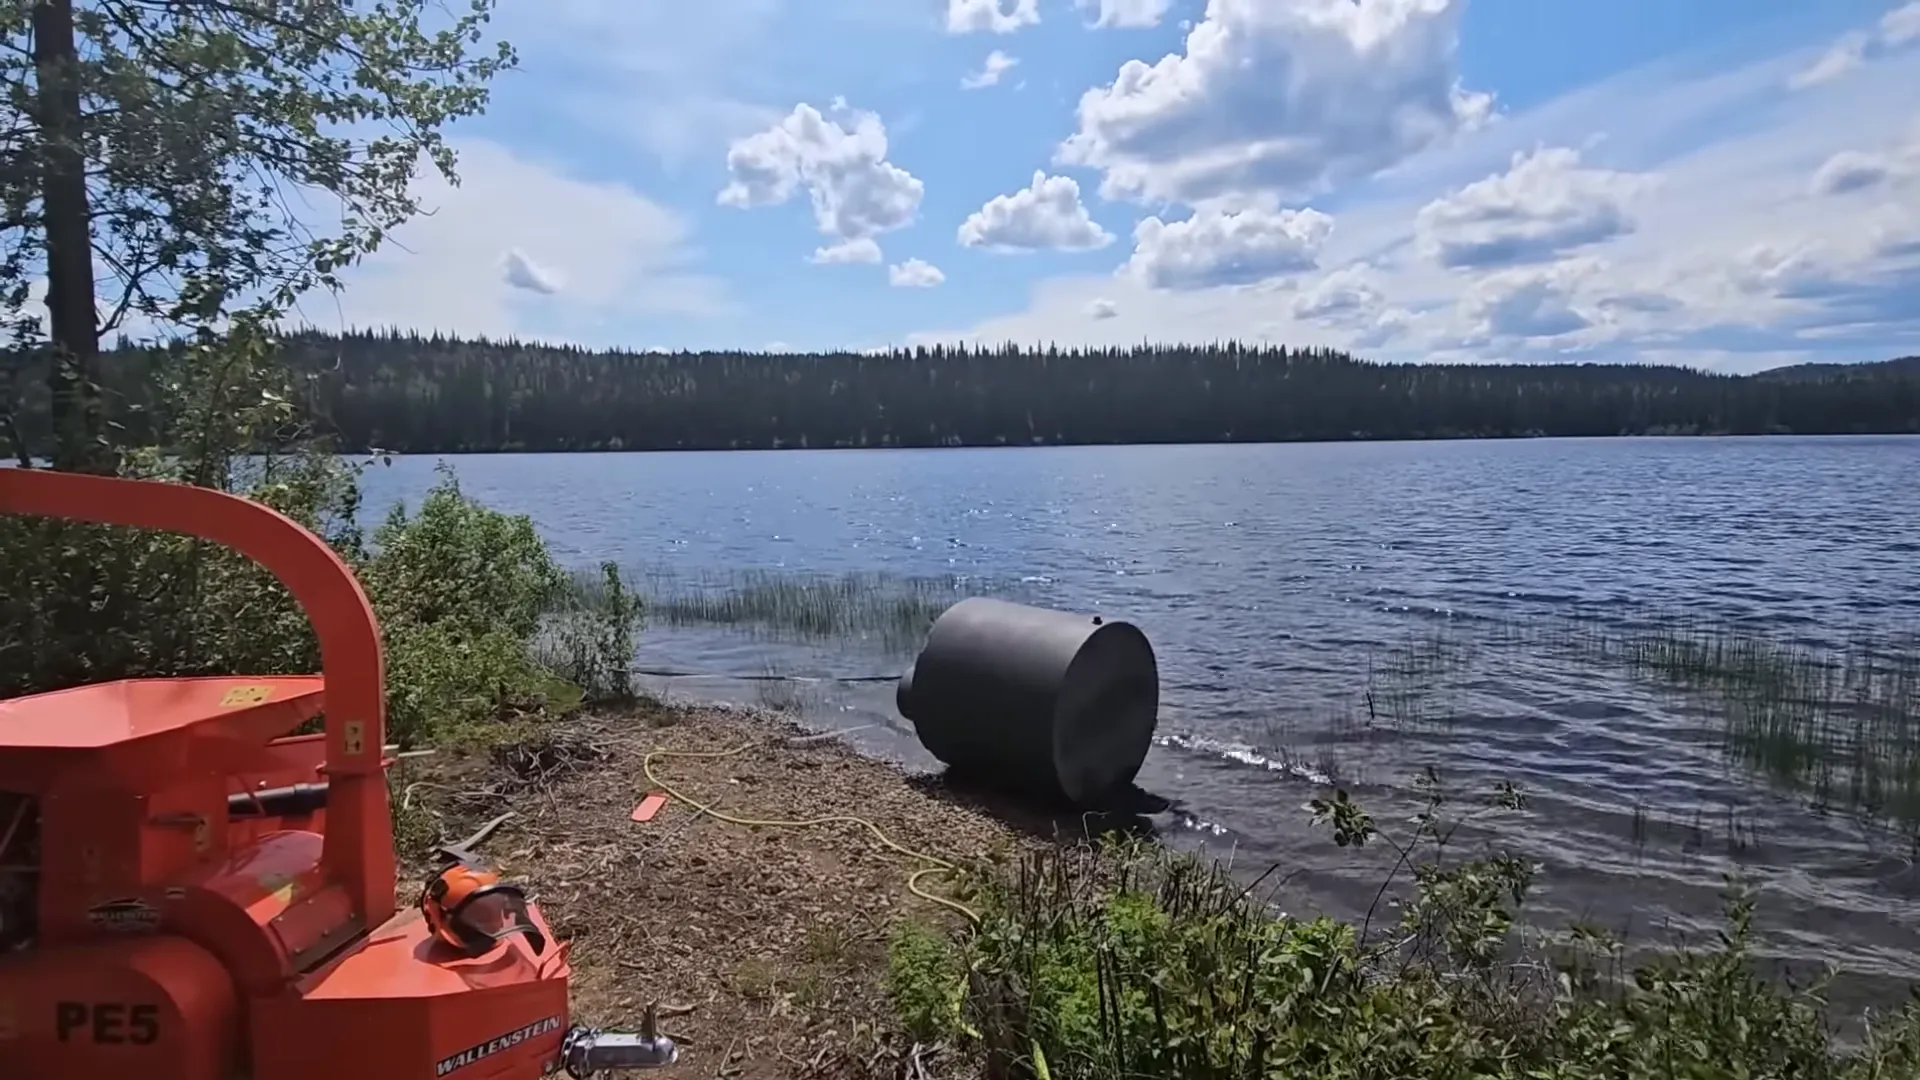
We picked up this large water tank at an auction during our cross-Canada trip, tossed it on the barge, and brought it back to the island. After sitting onshore for a couple of years, it’s finally getting a second life as the primary water source for our greenhouse. The tank is fairly sizable — roughly 640 gallons (about 2,500 liters) — and already has a convenient tap molded into the bottom, which makes setting up a gravity-fed system much simpler than drilling and installing a new outlet.
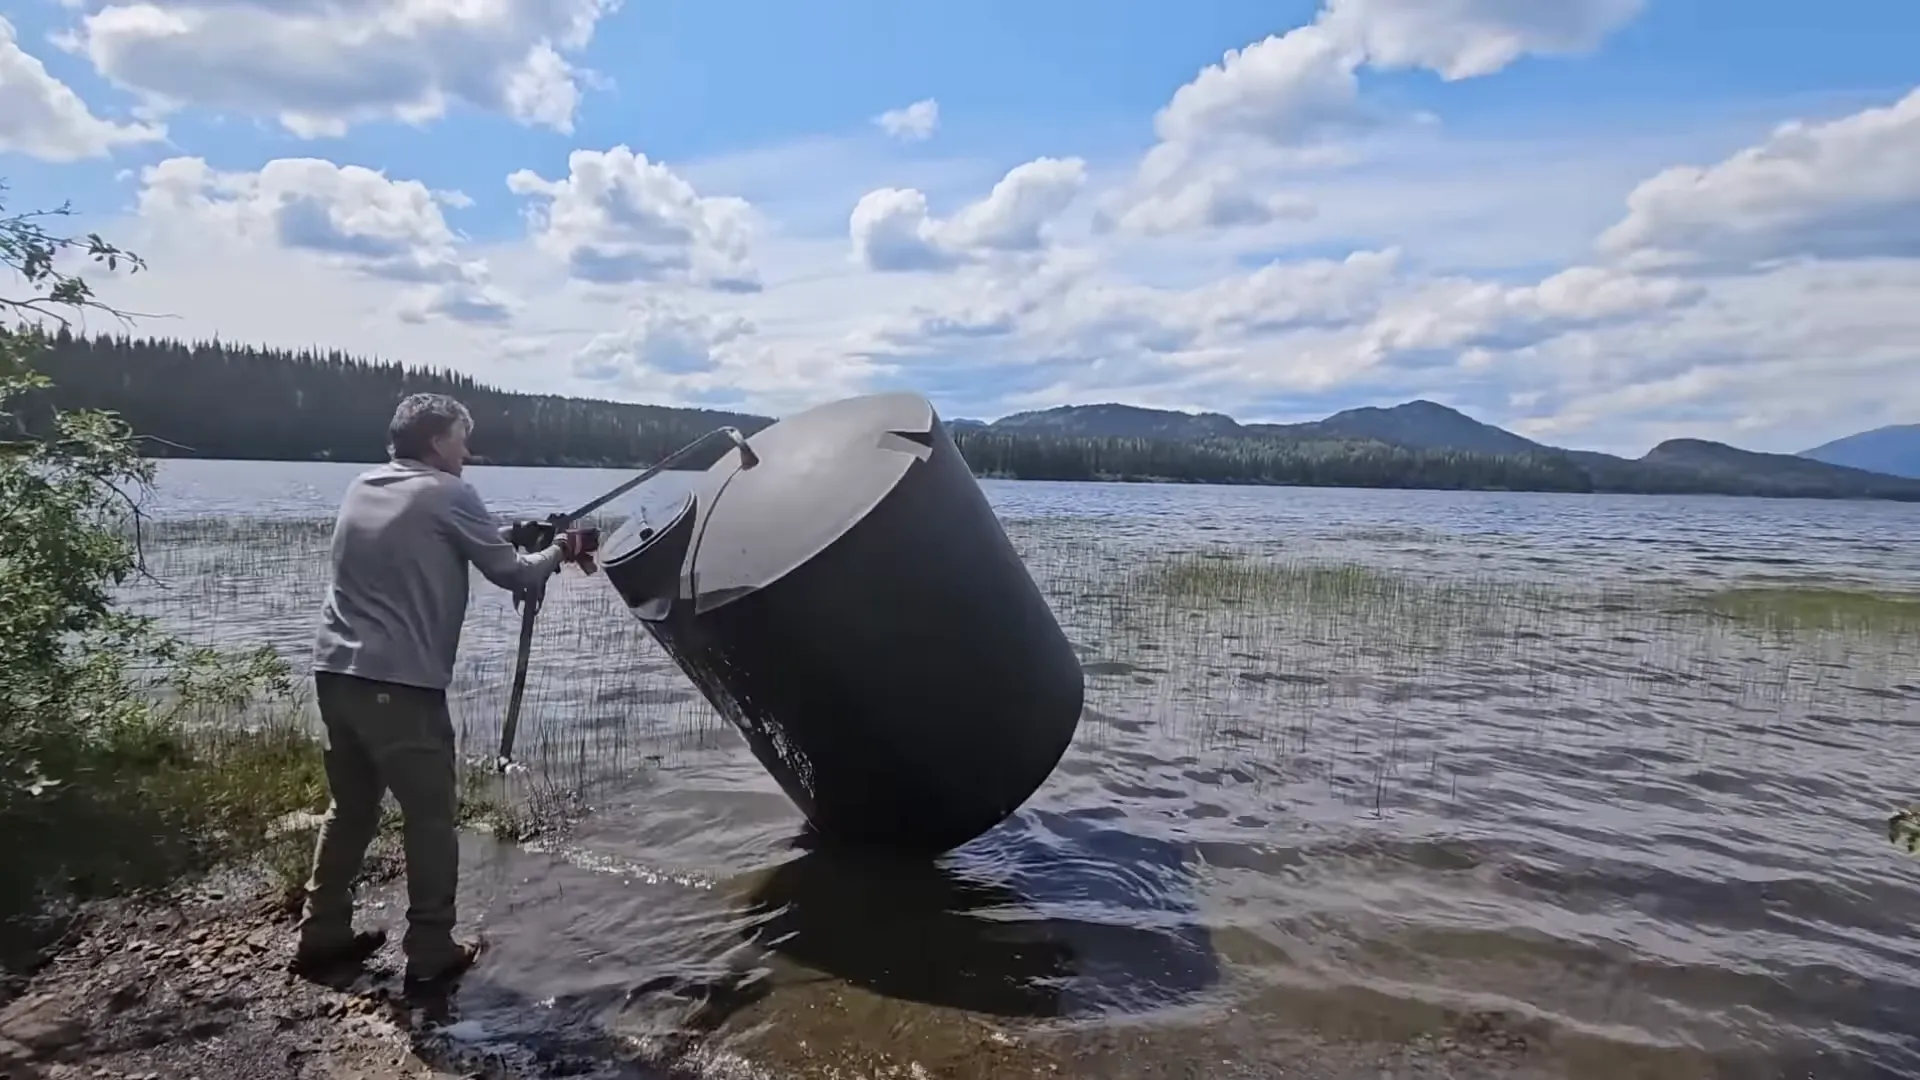
Our plan is two-fold: first, use the tank as a buffer storage to avoid the strain of hauling water back and forth; second, add rainwater collection so the tank refills naturally. With average greenhouse use we estimate around 10 gallons per day, so this tank should keep things watered for roughly two months without refills. That’s huge for off-grid sustainability — it reduces daily hauling and gives us breathing room for when weather or schedules get in the way.
Key considerations for a repurposed tank
- Confirm structural integrity and clean interior before using for plant irrigation.
- Position tank for gravity flow so the drain can feed the greenhouse without powered pumping.
- Plan for strain relief at the drain to avoid stress on the fittings when the irrigation hose is full.
Overcoming Hydraulic Coupler & Boom Lift Adjustments
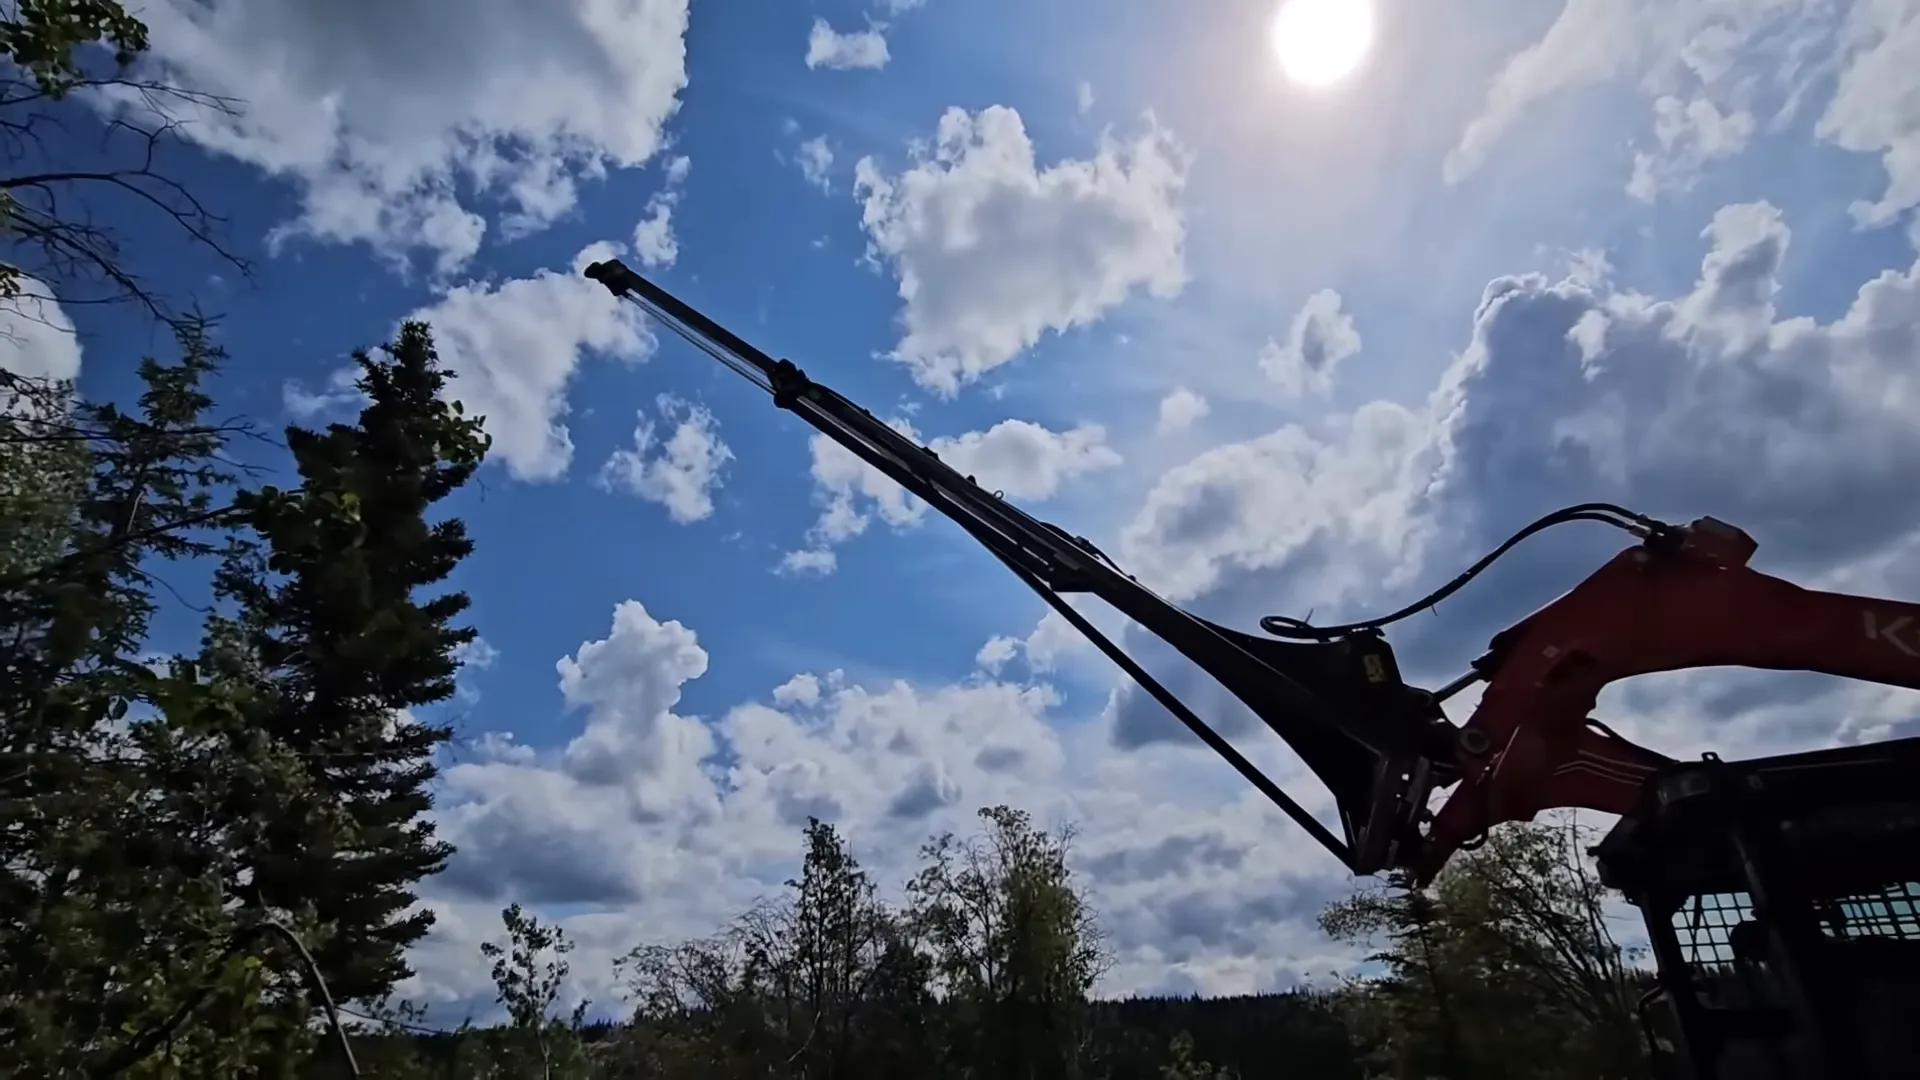
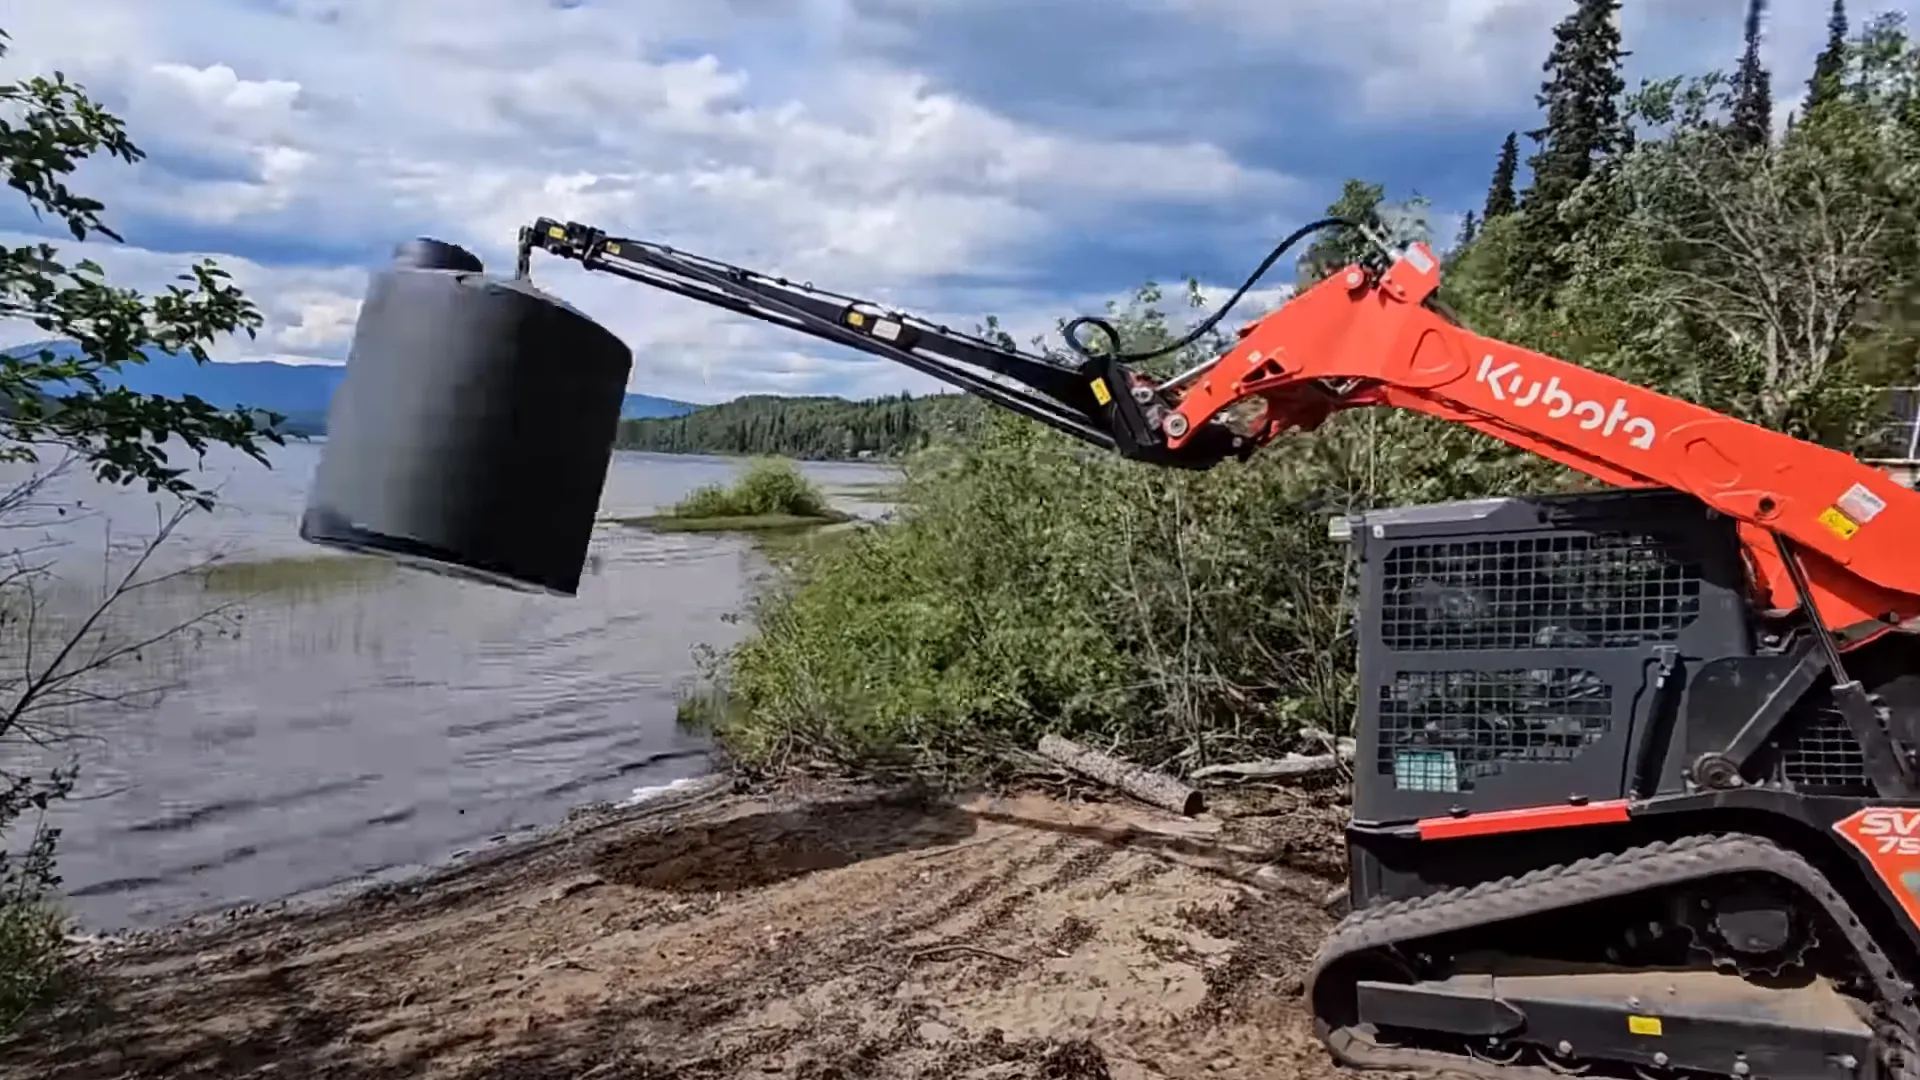
To lift and position the tank we fitted a telescoping boom lift to our Kubota. This new attachment extends our reach from the loader’s height to roughly 28–30 feet combined, which is perfect for raising trusses, moving long loads, and precisely positioning heavy items. But the hardware didn’t quite cooperate at first.
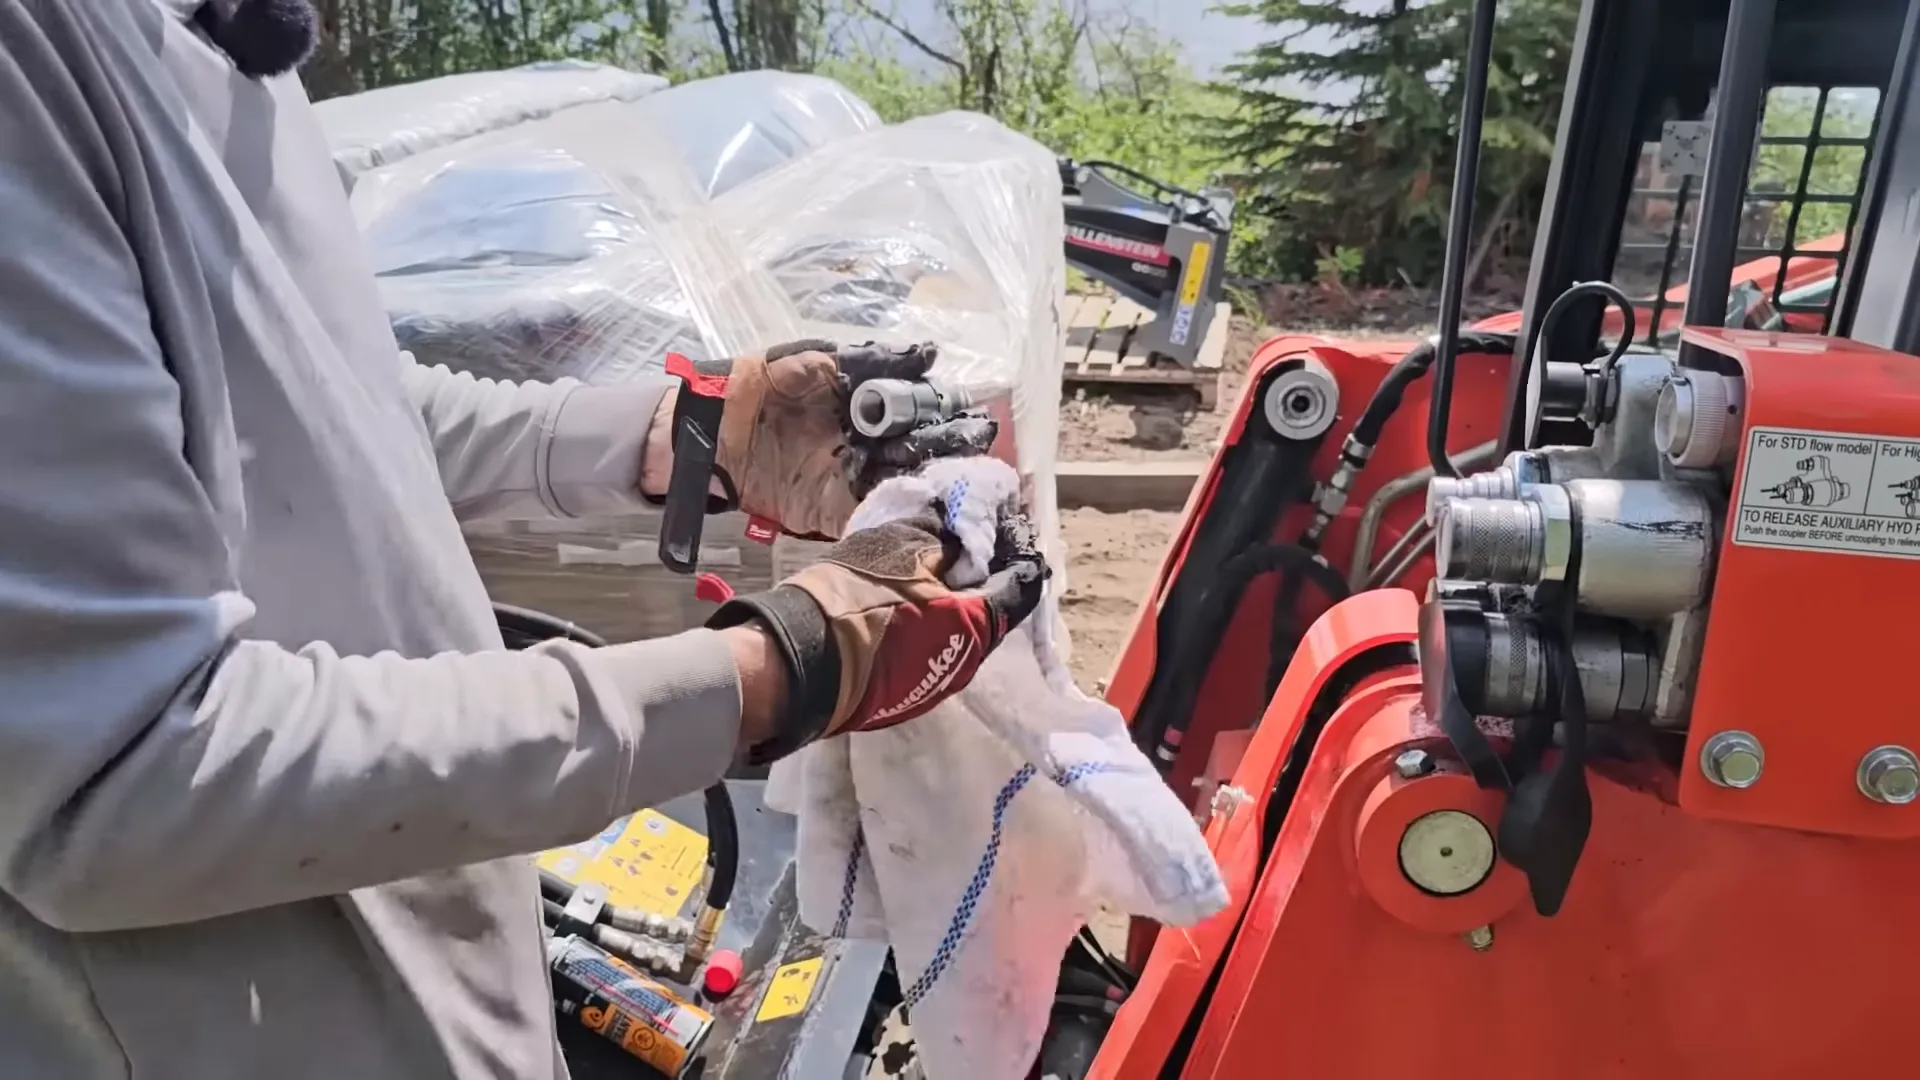
We ran into an issue with the hydraulic couplers not engaging. It turned out to be a combination of line pressure and incompatible fittings — one set seemed metric and the other imperial. The quick win was to relieve hydraulic pressure so the coupler could seat correctly. In our case, disconnecting the line to bleed pressure worked, and later we learned there’s also a float switch on the joystick inside the cab that returns fluid to the reservoir and relieves pressure. Lesson learned: read the manual, and always have a clean spare coupler on hand.
Practical tips when installing hydraulics
- Keep connections clean and capped until use.
- Relieve line pressure before attempting coupling; many machines have a built-in relief method.
- Check coupling standards (metric vs imperial) to ensure interchangeability.
Site Prep & Moving the Big Tank!
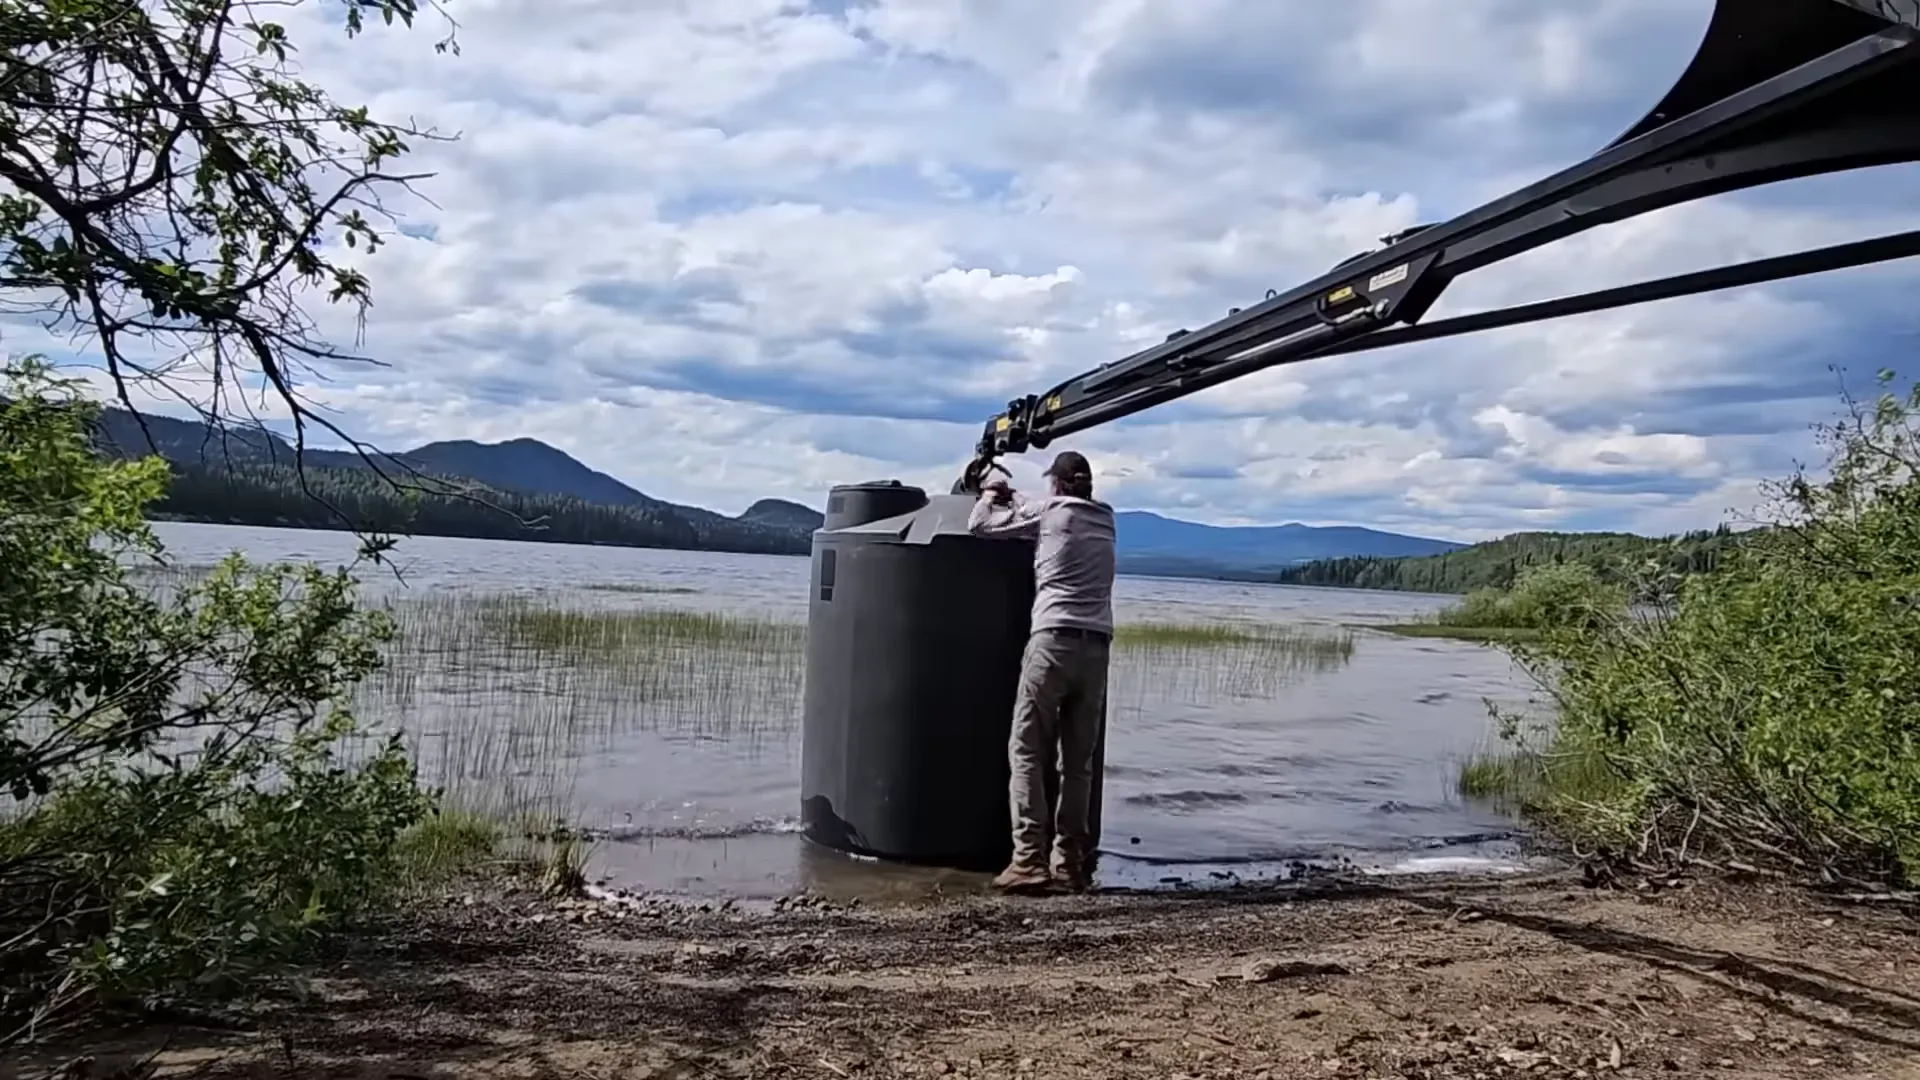
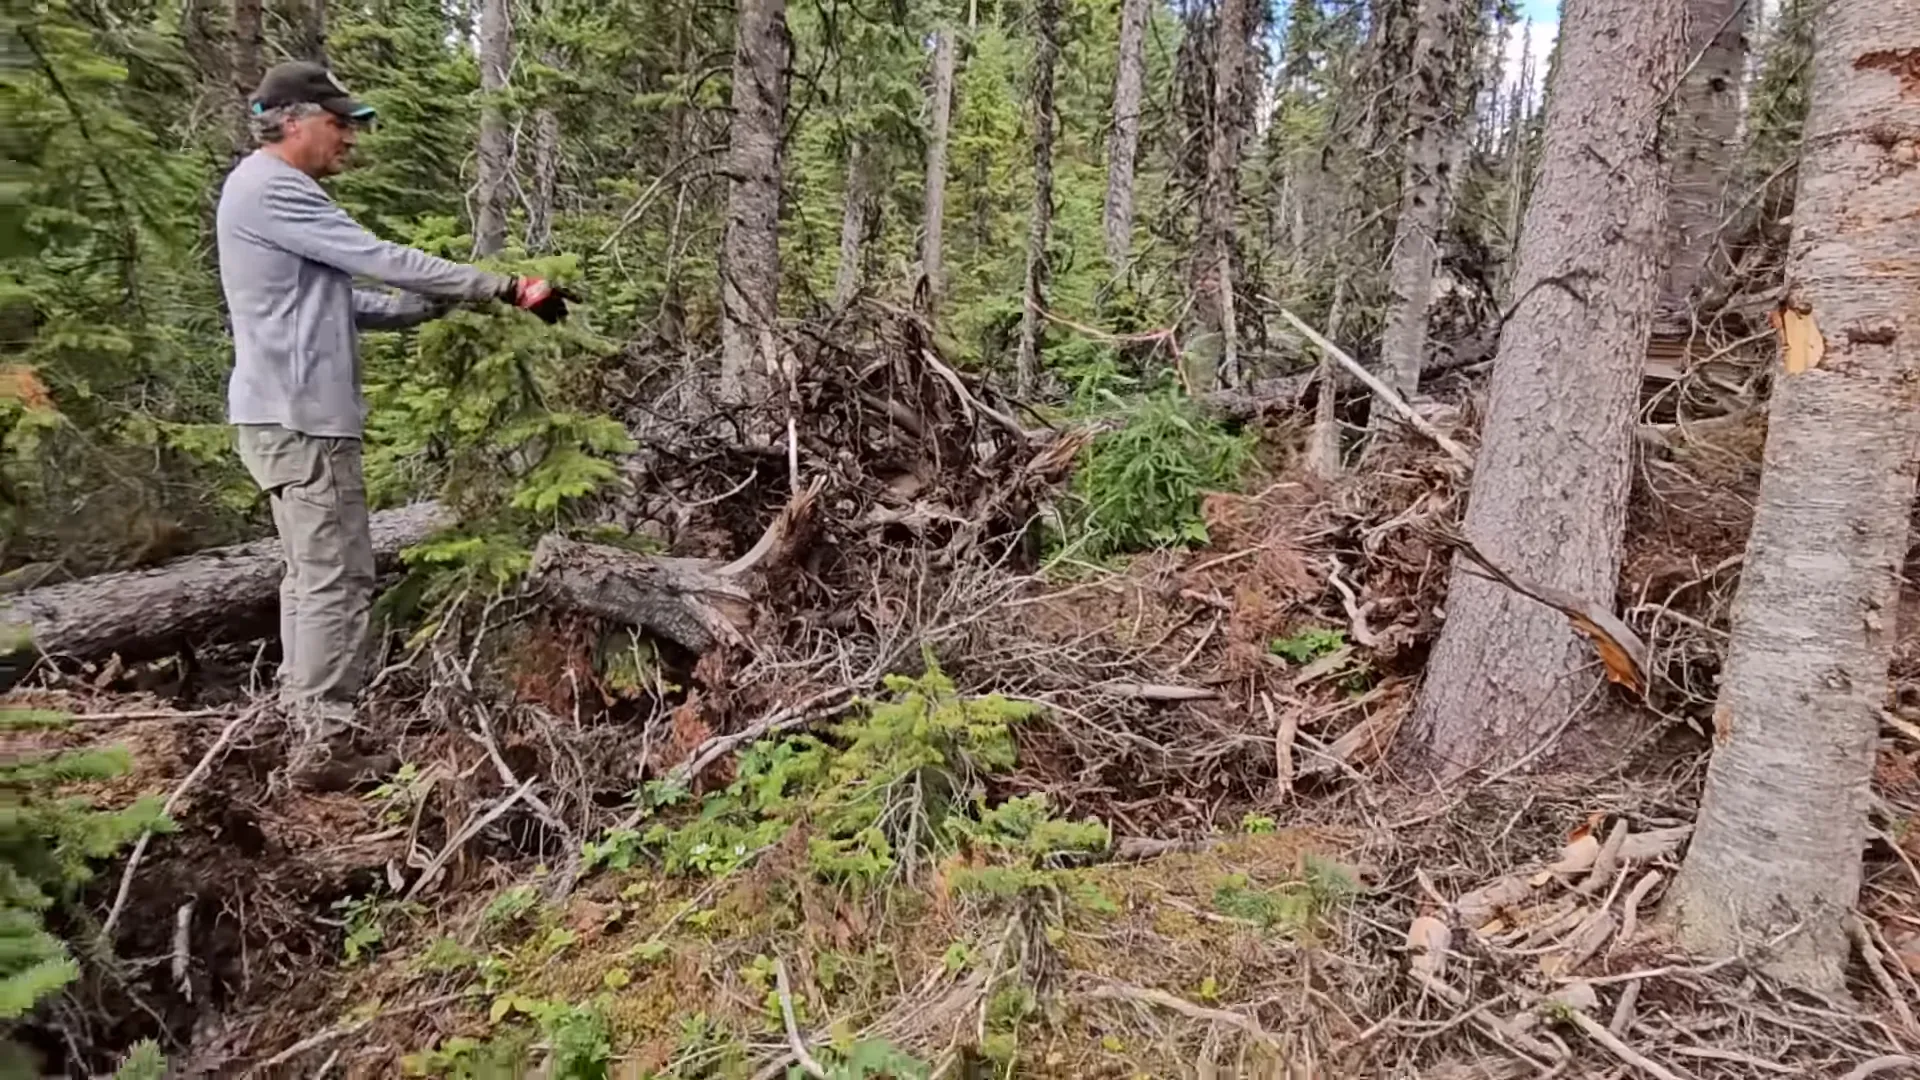
Clearing a proper landing zone required more work than we anticipated. We’ve become acutely aware that building on an island that’s essentially a big sand pile means site preparation is critical.
For the future shop and any other structures we plan to place here, safety and wildfire precautions are top of mind. We’ll clear a 10-meter (about 30 foot) perimeter around buildings as a sensible fire break and remove things that could fall onto structures.
For the tank, we selected a spot down in a shallow dip that keeps the tank out of sight but high enough to allow gravity flow to the greenhouse. Our approach was iterative: we walked the tank along the shore, then used the boom lift and Pepper (our Kubota) to hoist and move it into place. We added sand and plan to set the tank on four patio blocks laid on that sand to create a stable, level foundation. Doing this protects the tank base from soft sand and eases access to the drain fitting.
Site prep checklist
- Clear surface debris and cut/chain-saw any obstructing logs.
- Bring in sand or compacted base to level the footprint.
- Place suitable pads (concrete pavers or patio blocks) under tank feet to distribute weight.
- Mark lines for the irrigation run and ensure downhill orientation for gravity feed.
The New Home for the Tank is Ready!
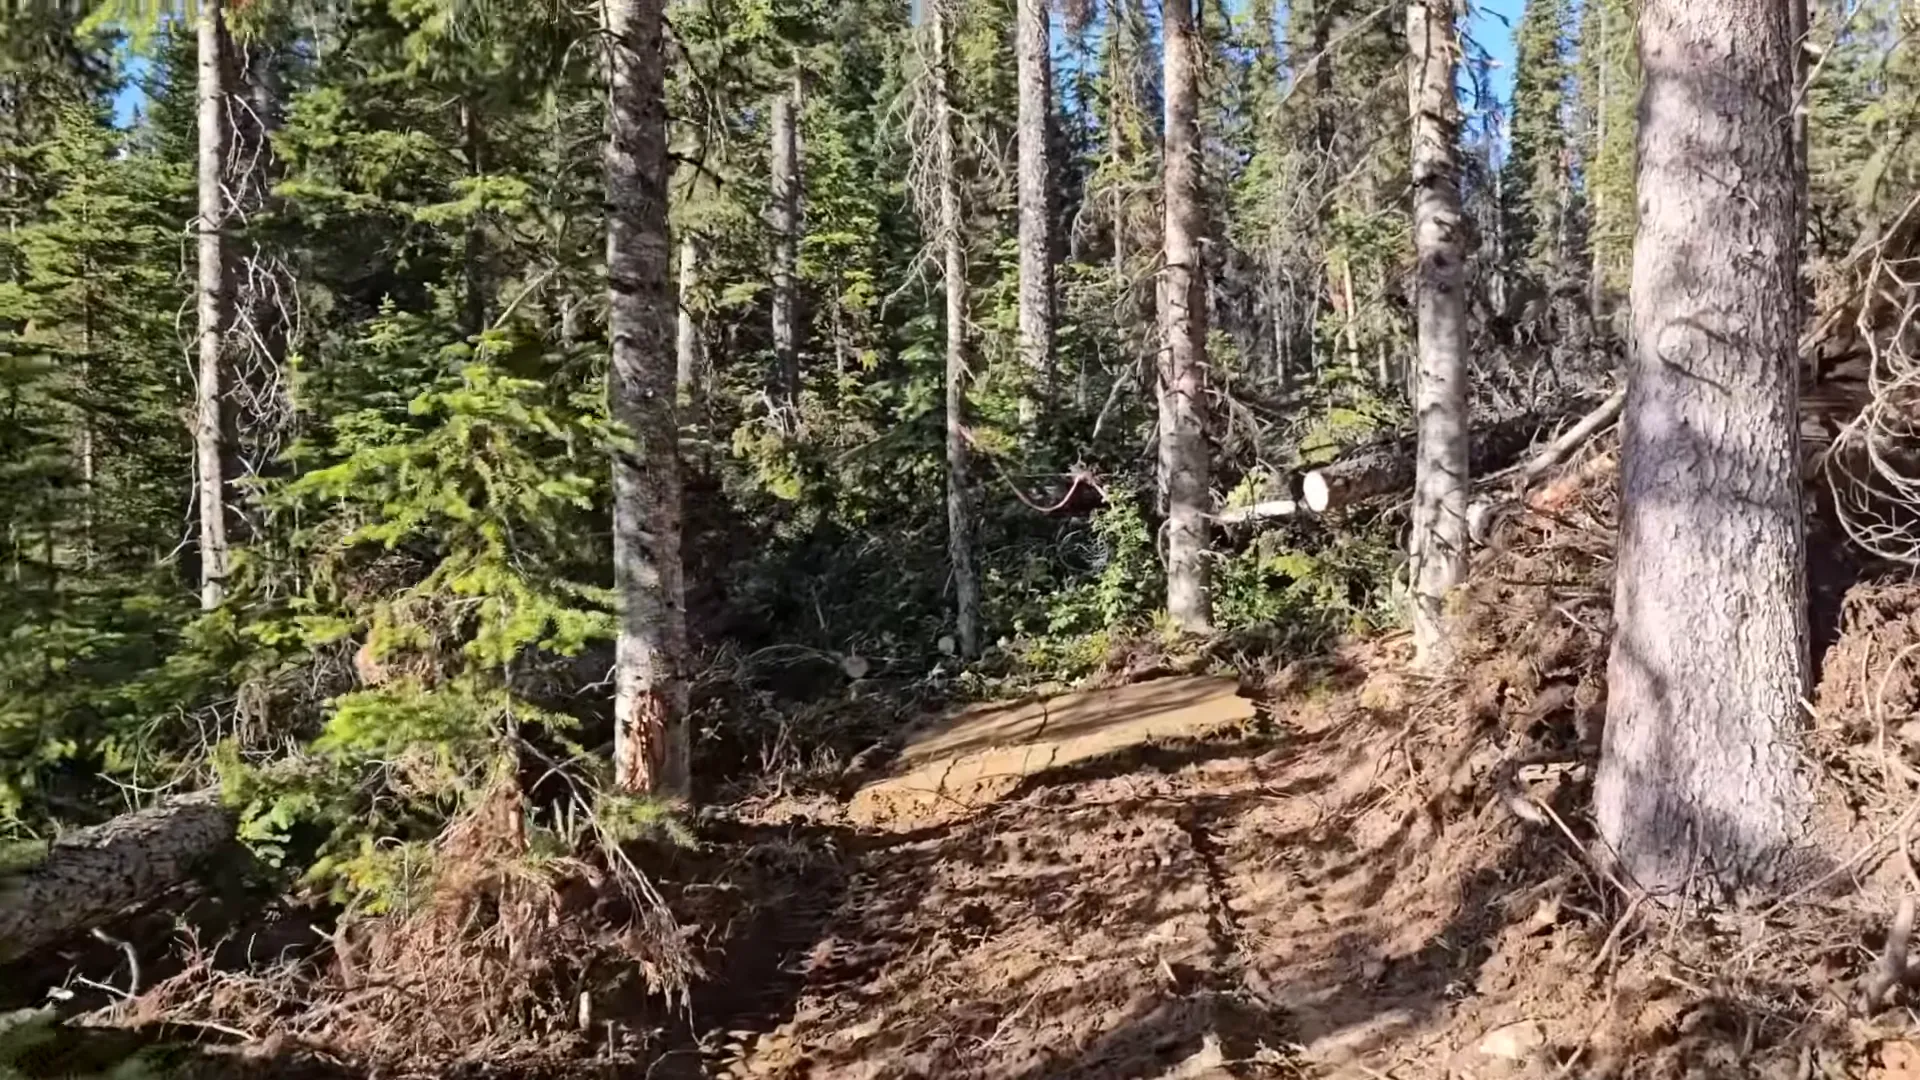
After a few careful lifts, some repositioning, and a Plan B or two, the tank now sits exactly where we wanted it. Orientation was an important detail: we originally considered routing the drain through an elbow, but decided rotating the tank so the drain points directly down the hill is better. Minimizing fittings decreases potential leak points and keeps flow simple. We’ll add a short elbow or an adjustable stub only if needed, and we’ll build in strain relief so the hose weight doesn’t stress the tank outlet.
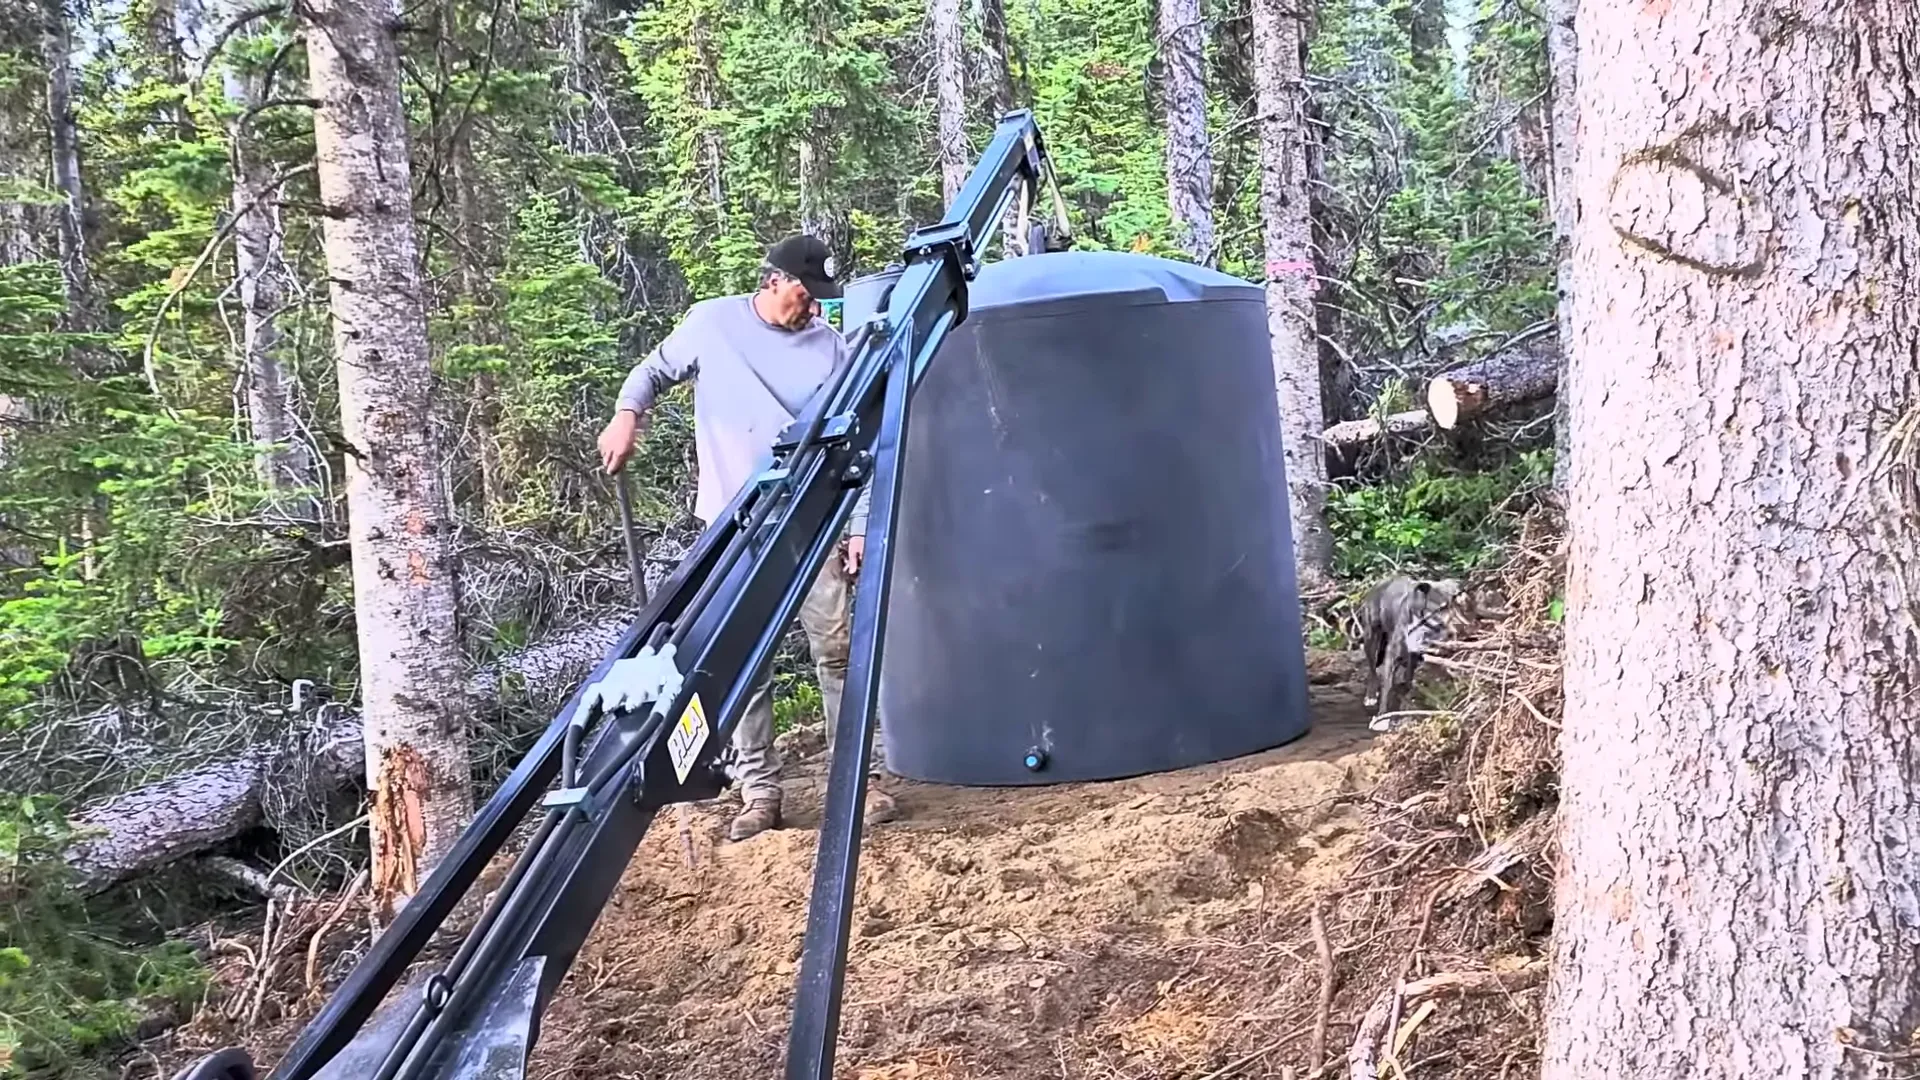
With the tank in place, the practical next steps are filling it, running irrigation lines down to the greenhouse, and setting up an automatic watering system. We plan to MacGyver a simple automated solution using a float valve and a timed or sensor-driven controller to open a solenoid valve, or possibly a drip system on a gravity-fed timer. That will let us water the plants without hauling buckets and avoid the strain on the back that comes with manual watering.
“Phase one of our greenhouse water system is now complete. All that remains is to fill the tank with water, run irrigation lines down to the greenhouse, and watch our plants grow. Self-sufficiency is finally within reach.”
Design considerations for off-grid irrigation
- Gravity-fed systems are low-maintenance but need adequate elevation differential to provide usable water pressure for drip lines.
- For any pressurized systems (e.g., a fire suppression pump), size the pump for required GPM; our domestic system handles about 10 gallons per minute, but fire suppression typically needs 2–3× that capacity.
- Plan redundancy: a gas-powered pump is a sensible backup for higher-flow needs like fire suppression or firefighting.
Final Notes & What’s Next

Getting this water tank into place unlocked a new level of sustainability for our greenhouse. Beyond the practical benefits, it also reduces the manual labor involved in caring for plants and gives us confidence that the greenhouse can keep producing even during busy periods. Next steps include hooking a rainwater diverter from the greenhouse roof, installing a basic gravity-fed drip network, and testing an automatic timer or float-controlled solenoid for reliable watering.
We’re also moving forward with broader site planning: clearing tree lines at safe distances from structures, mapping locations with drone footage, and installing stub outs for pressurized lines where a hose could be attached in case of fire. Safety and self-reliance go hand-in-hand here — taking the time to prep the site pays dividends down the road.
Practical takeaways
- Auctions can be a goldmine for usable equipment and parts — be willing to haul and repurpose.
- Hydraulic systems are finicky: keep spares, know how to relieve pressure, and read the manual.
- Site prep, even for a simple water tank, requires time: leveling, clearing, and stabilizing are essential.
- Gravity-fed systems are an excellent off-grid option, but plan for strain relief and minimal fittings at the outlet.
Resources & Tools we used
- Kubota loader with telescoping boom lift — great for precise placement and lifting heavy items.
- Hydraulic flat-face couplers and spare fittings — keep a clean spare and matching standards.
- A sturdy water tank with built-in bottom tap (approx. 640 gallons / 2,500 L).
- Chainsaw, chipper (Alvin), patio blocks, sand for leveling, and straps for safe lifting.
If you’re thinking about a similar setup for an off-grid greenhouse or small homestead, start by checking elevation differential and the quality of the tank outlet. Plan how you’ll access water for emergency uses (like fire suppression), and consider how to automate simple daily tasks so you can spend more time enjoying the land and less time hauling water.
Thanks for reading — we can’t wait to share the next steps as we get the irrigation lines in and the automatic system running. If you have tips or questions about gravity-fed irrigation, hydraulic hookups, or site preparation, leave a comment; we learn a lot from the community.