Living Off Grid: When a Storm Takes Our Shoreline Away
After a fierce overnight storm tears into our shoreline, we’re forced to reassess how we protect our remote off-grid island homestead. In this episode, we inspect the erosion damage, plan a simple log-pile seawall, deal with moldy poplar lumber, shift from interior work to exterior siding, and work through the flashing, trim, railing, and safety details that keep the cabin build moving forward.
Life off grid is part grit and part joy. Between the wind, rain, and the slow work of building, the small wins make the hard days worth it.
Table of Contents
- Series Intro — Why We’re Here
- Storm Aftermath: Shoreline Erosion & Missing Solar Lights
- Seawall Idea: Log Piles to Defend Against Erosion
- Poplar Uncovered — Black Mold Discovered
- Plan B: Interior Work Paused — Exterior Siding Starts Tomorrow
- Deck Design and Railings: Metal Posts, Aircraft Cable, and Winterizing for Bears
- Water Management: Butyl Tape, Flashing, and Creating Drain Paths
- Lasagna Interlude — Window Flashing and Small Wins
- Workshop Life: Holm Depot, Tools, and Safety Notes
- Wrap Up: Moving Forward with Determination and Practicality
Storm Aftermath: Shoreline Erosion & Missing Solar Lights
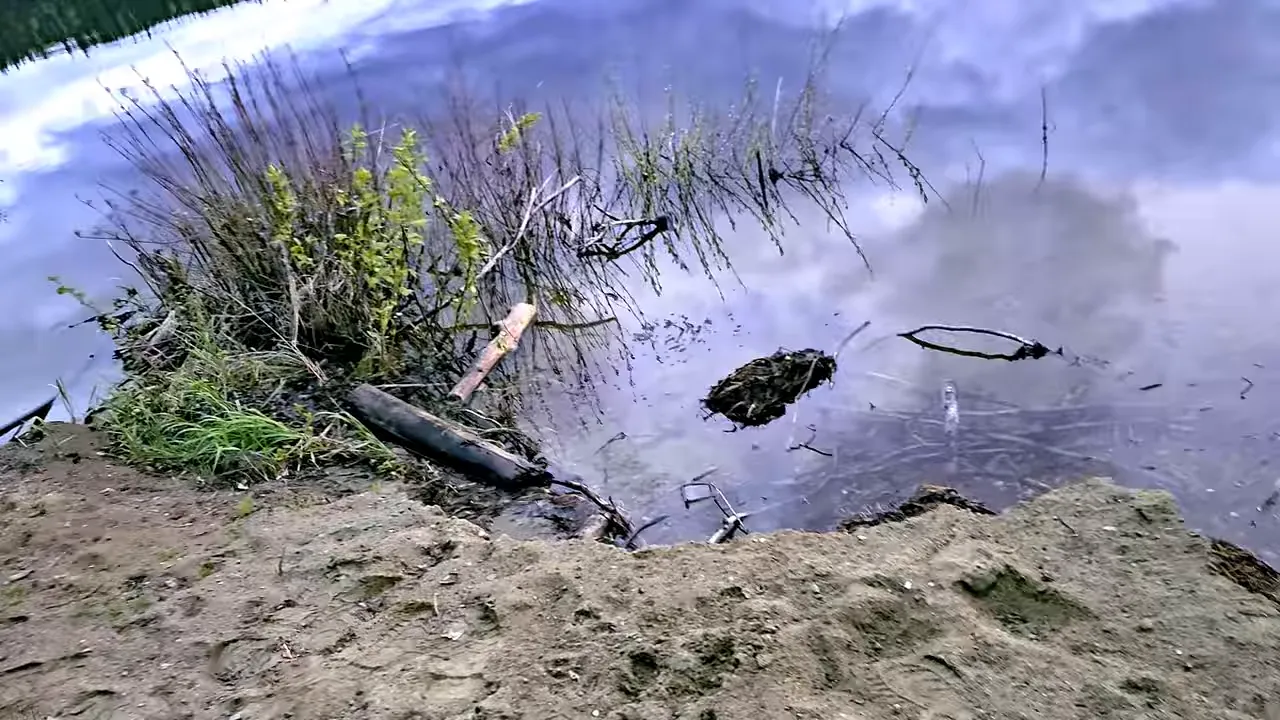
After a fierce overnight storm we found our shoreline dramatically changed. The lake had risen and waves chewed away several feet of the wiener roast area and the shore where our solar pathway lights sat. We lost three solar lights and a chunk of shoreline overnight. As we gingerly inspected the bank, the ground itself slipped underfoot — a sobering reminder that nature moves faster than plans.
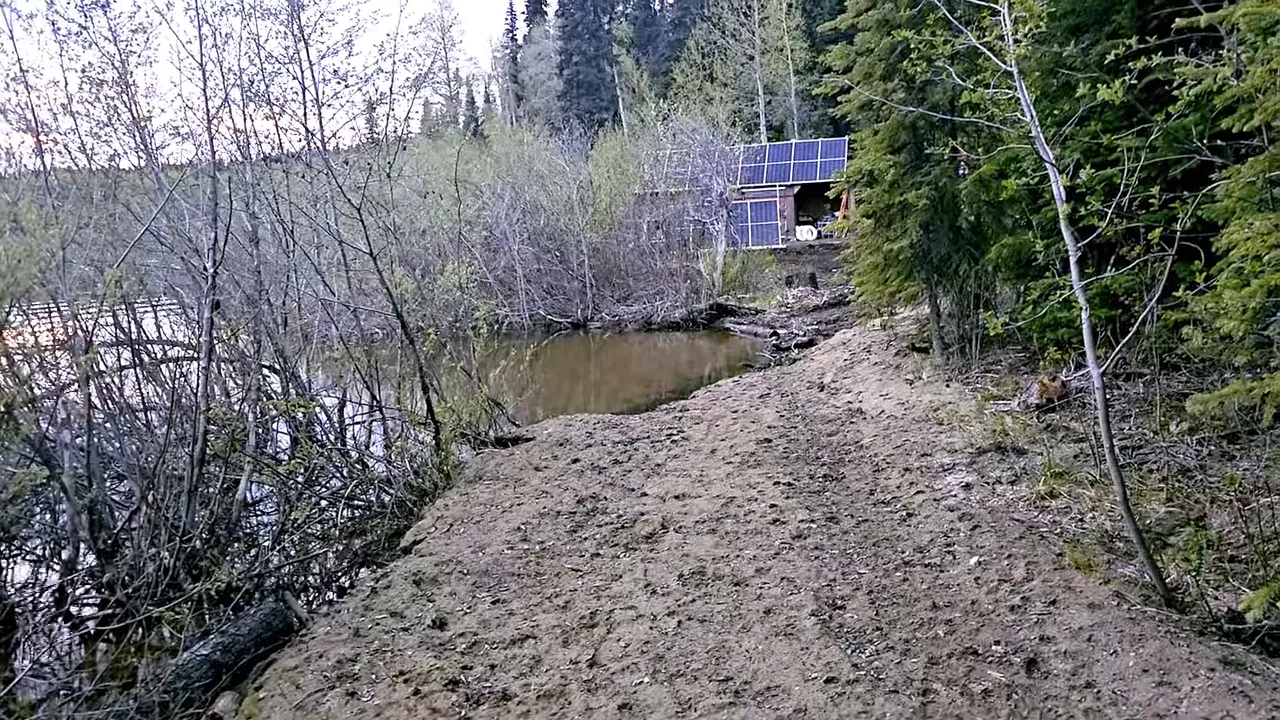
We checked for salvageable gear and assessed the safety of the immediate area. The mosquitoes came out in force, and the sunset after the storm was both beautiful and a little cruel — the rising water level was clear to see. Our takeaway: shorelines near the lake need active defense if we want to keep our outdoor spaces intact.
Seawall Idea: Log Piles to Defend Against Erosion
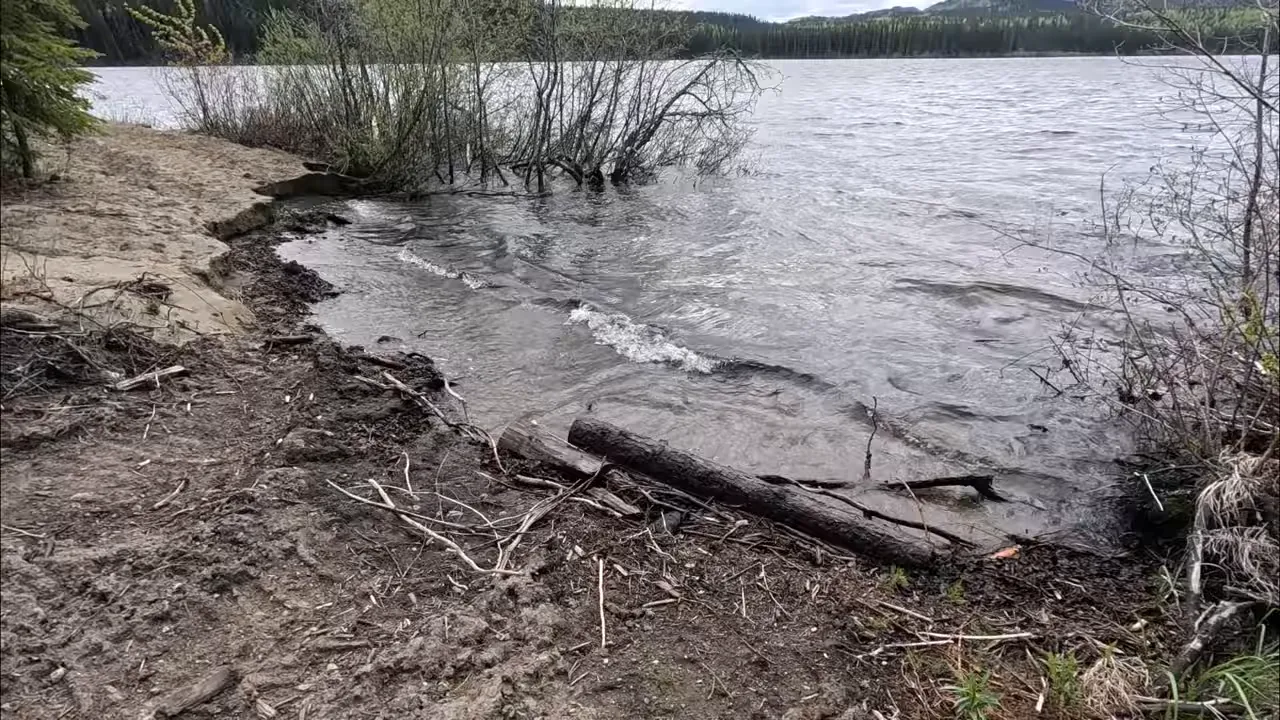
We started talking about building a simple seawall by driving a perimeter of log piles into the ground along the shoreline. The idea is to break the energy of waves and hold the bank in place during storms.
It is a DIY approach we think will work for our site: drive logs vertically to create a timber retaining edge, backfill behind them, and tie the structure into the existing terrain. We know it will take time and tools like a post pounder, but this proactive solution should prevent the ground from being drawn out into the lake during future storms.
Poplar Uncovered — Black Mold Discovered
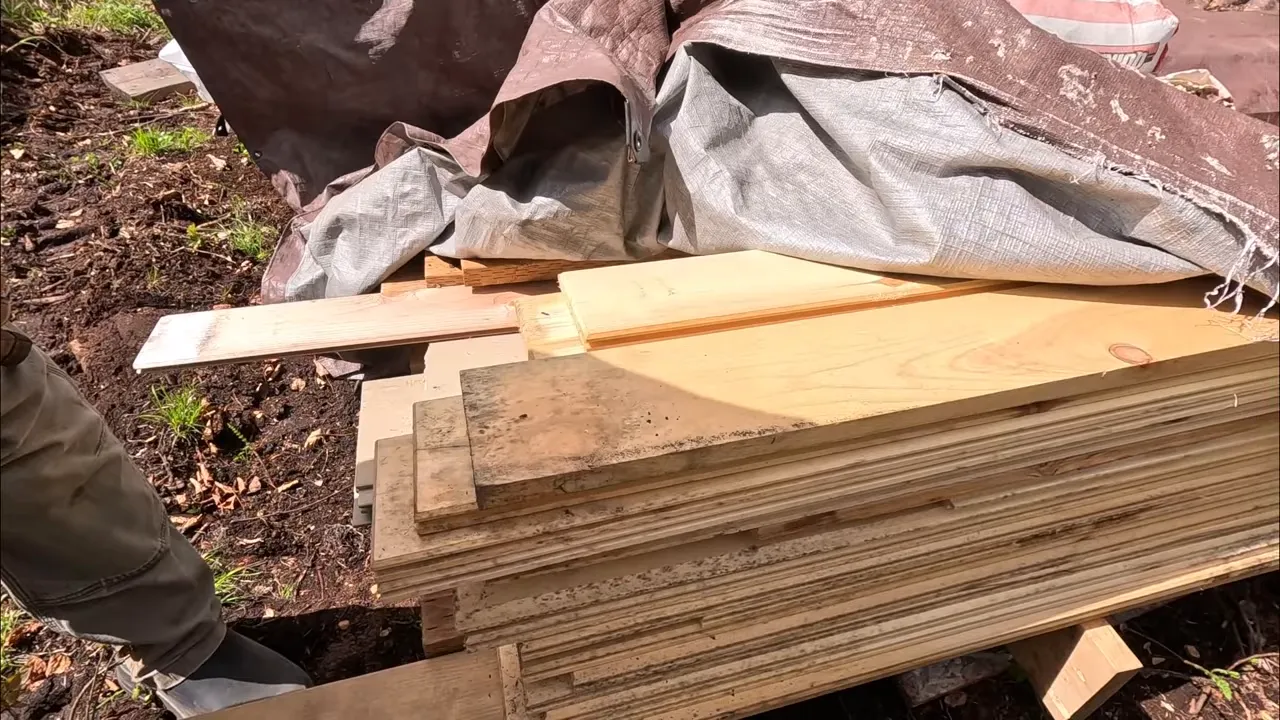
When we pulled the tarps off the poplar we had stored for the kitchen wall, we were dismayed to find black mold on some boards. Melodi rightly reminded us that black mold is not something to take lightly.
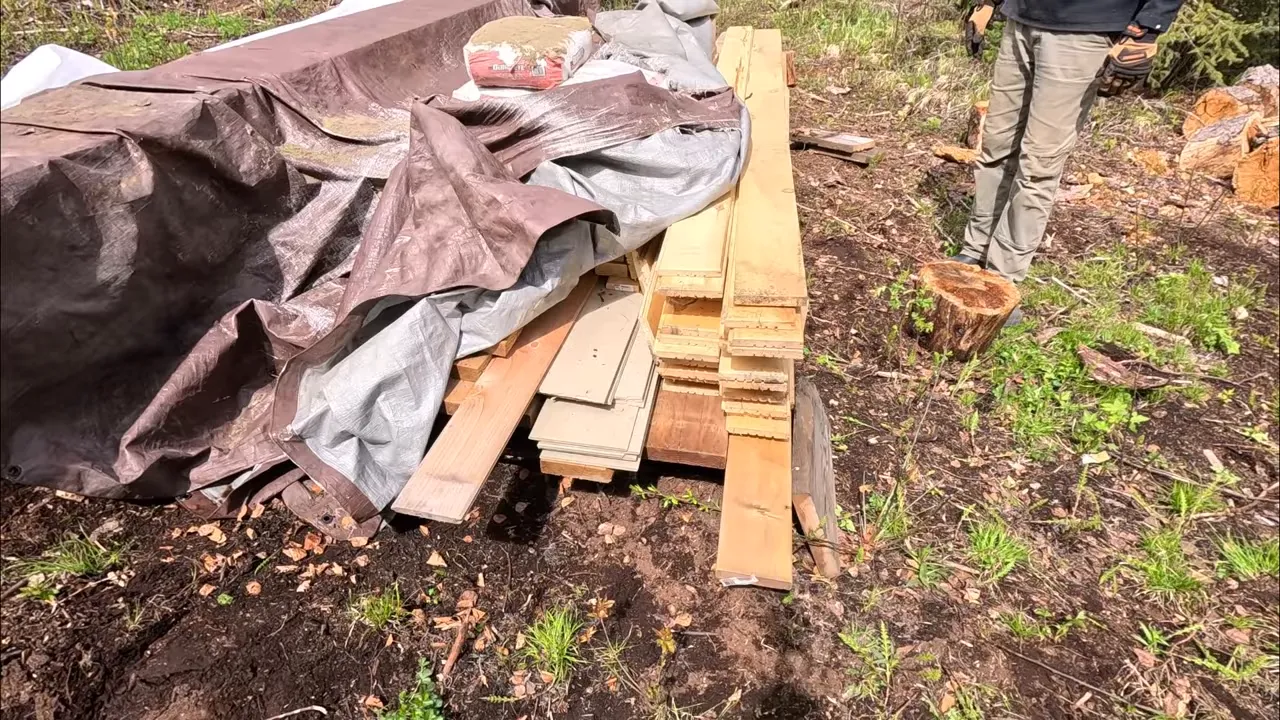
We treated the affected boards with a bleach solution, rinsed them, allowed them to dry, and planned a follow-up with vinegar to discourage regrowth. Minimal mold on the edges looked salvageable; heavier contamination would be cut off or repurposed elsewhere. Safety was top of mind: gloves, masks, and good ventilation when working with mold treatments are essential.
Plan B: Interior Work Paused — Exterior Siding Starts Tomorrow
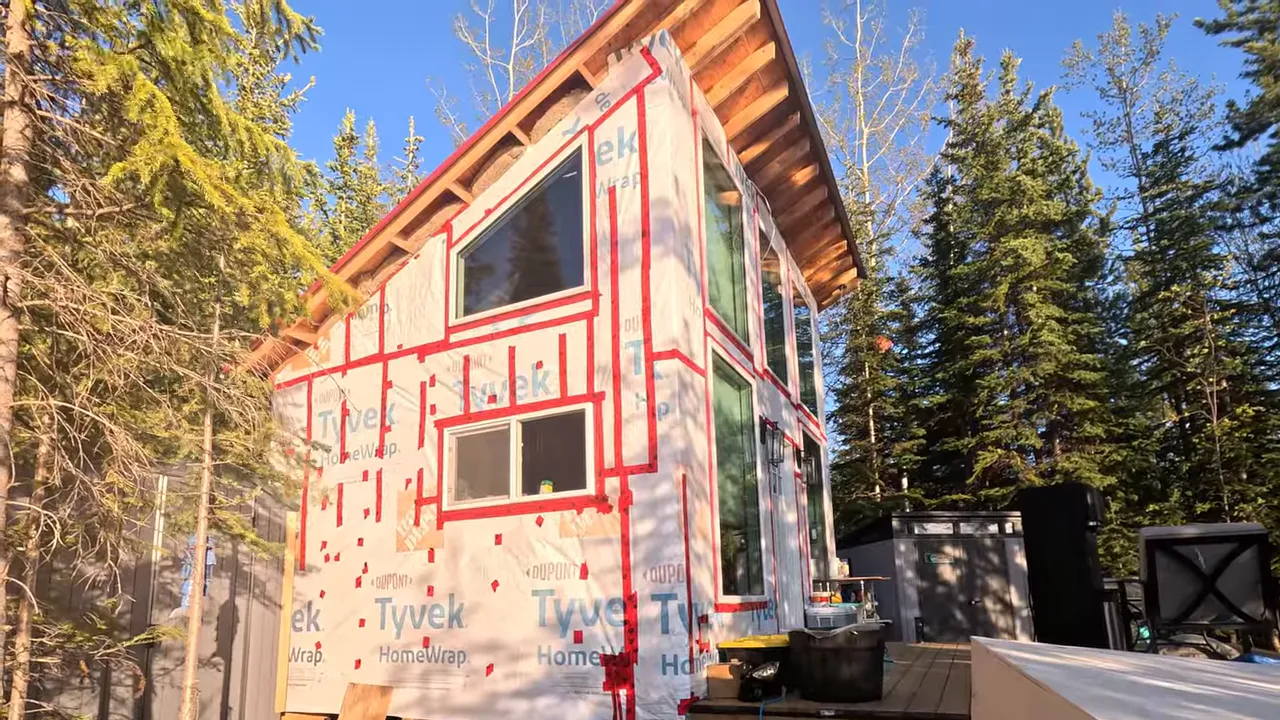
With the mold treatment underway, we switched plans. Instead of finishing the kitchen interior, we decided to start cladding the cabin exterior. The siding we chose mimics our on-site sheds to keep a consistent theme: thin grooved veneer panels that are quick to install.
Our process is to temporarily install trim and siding pieces with brad nails, label everything, pull it off to paint, and then reattach painted pieces. This workflow lets us paint cleanly with a roller without fussing around window edges and trim lines in place.
Deck Design and Railings: Metal Posts, Aircraft Cable, and Winterizing for Bears
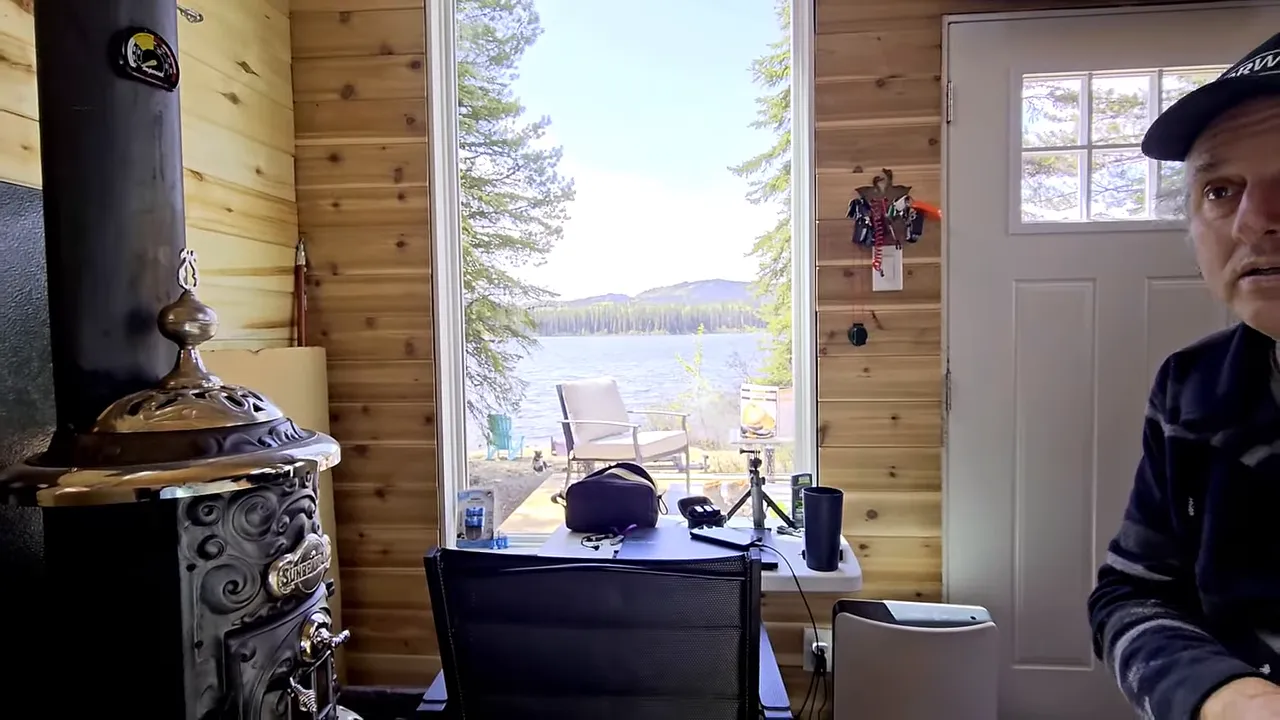
We want a railing system that preserves the view while being low maintenance. Our plan is metal posts, a metal top rail, and aircraft cable infill. Compared to glass, aircraft cable stays clean longer and does not obstruct the panorama.
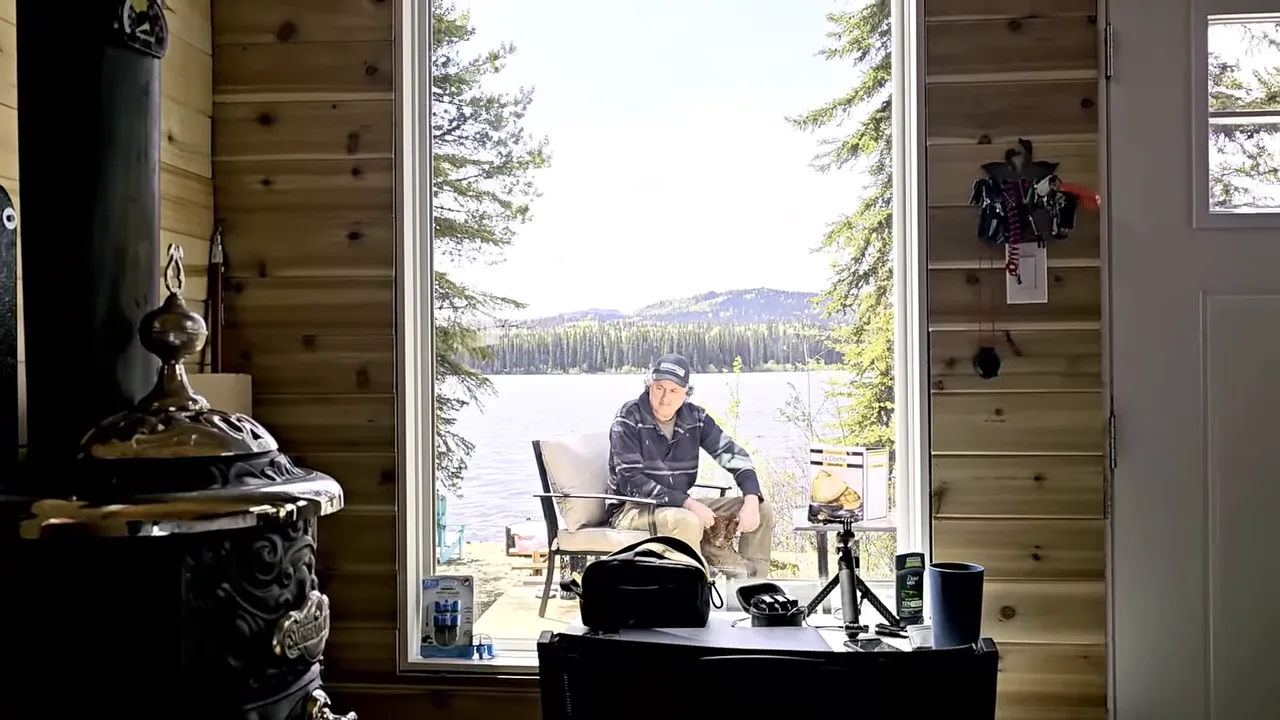
We also discussed winterizing strategies. When we are away over winter, we may install plywood shutters with exposed nails to discourage curious bears from muscling through. Most bears sleep through winter, but some do not, so extra deterrents can help protect the cabin.
Water Management: Butyl Tape, Flashing, and Creating Drain Paths
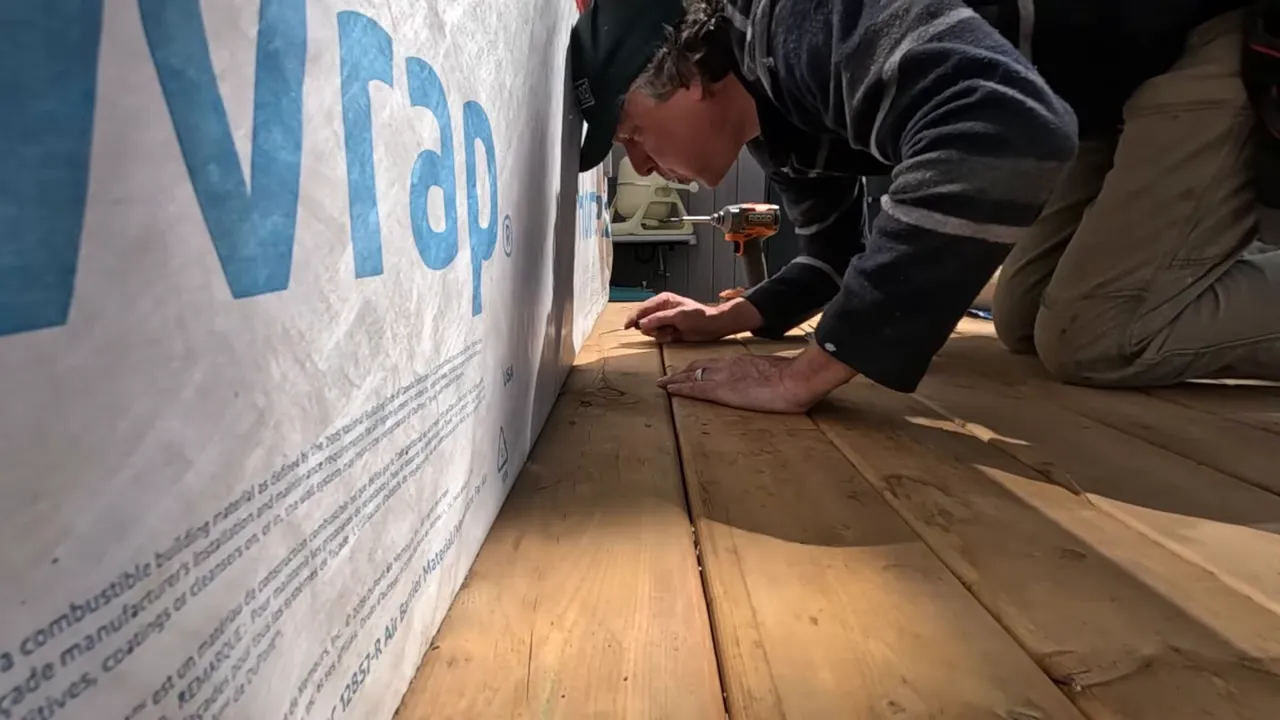
Water is the enemy of exterior builds. Before attaching siding, we pulled up decking to create a clear path for water to shed and planned to use butyl tape and flashing details so any moisture drains off the ledger and down to the ground rather than soaking into sheathing or joists.
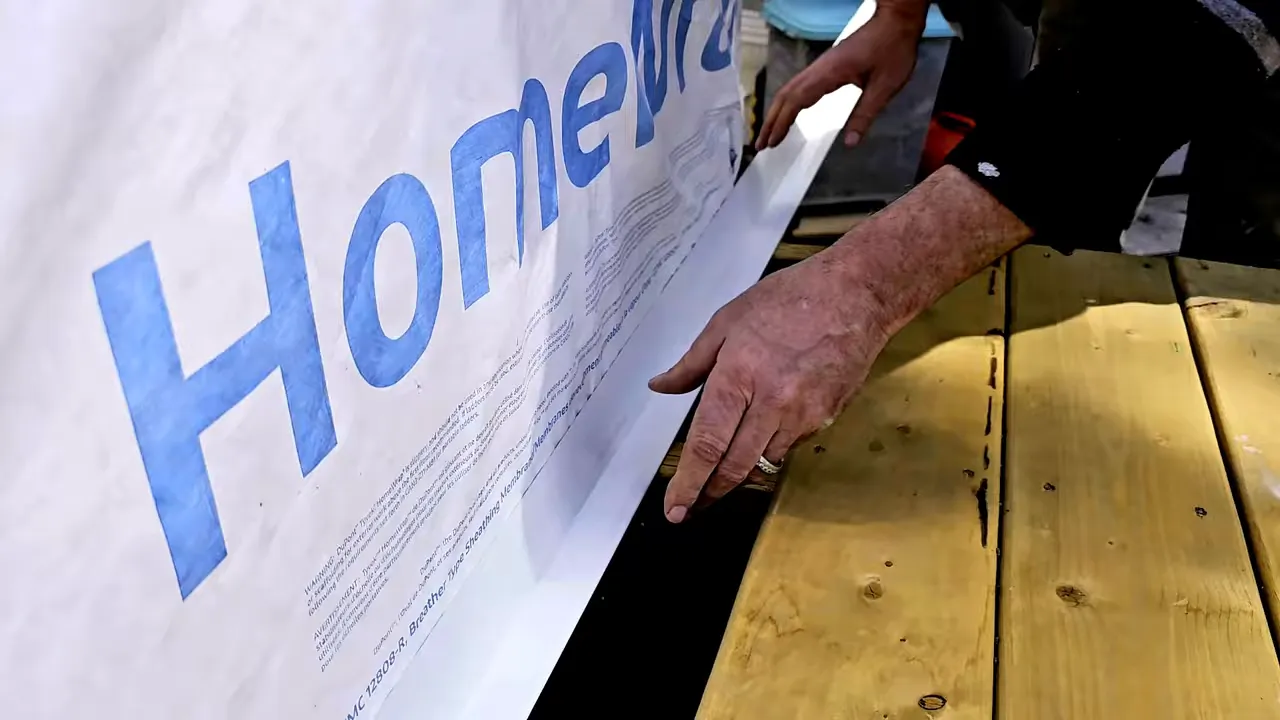
We discovered that some joist tape would not stick to the treated boards we used and had to adjust our approach. We will reapply proper blue skin and use roll-on pressure to ensure adhesion. The principle is simple: overlap materials so water always sheds outward and cannot track into the structure.
Lasagna Interlude — Window Flashing and Small Wins
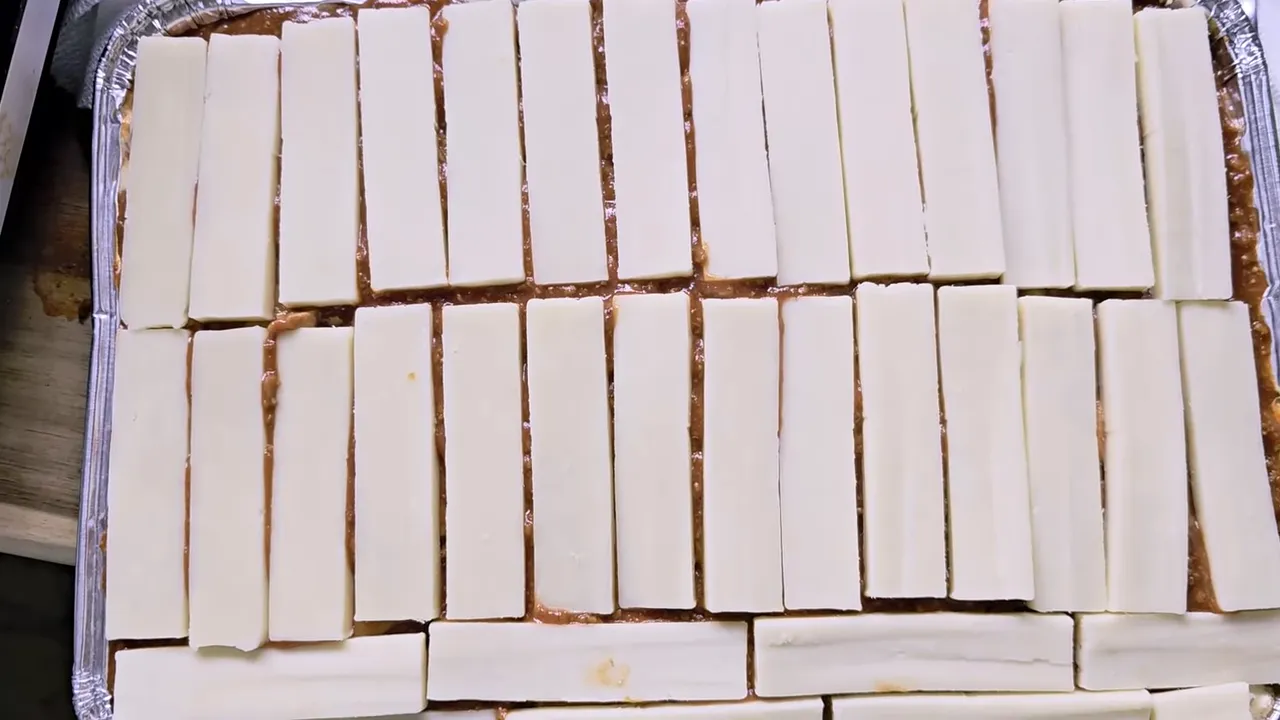
We take the small triumphs where we can get them. While Ryan started cutting and installing metal window flashing and tin trims to direct runoff, Melodi prepared an incredible lasagna. Food fuels the work and keeps morale high.
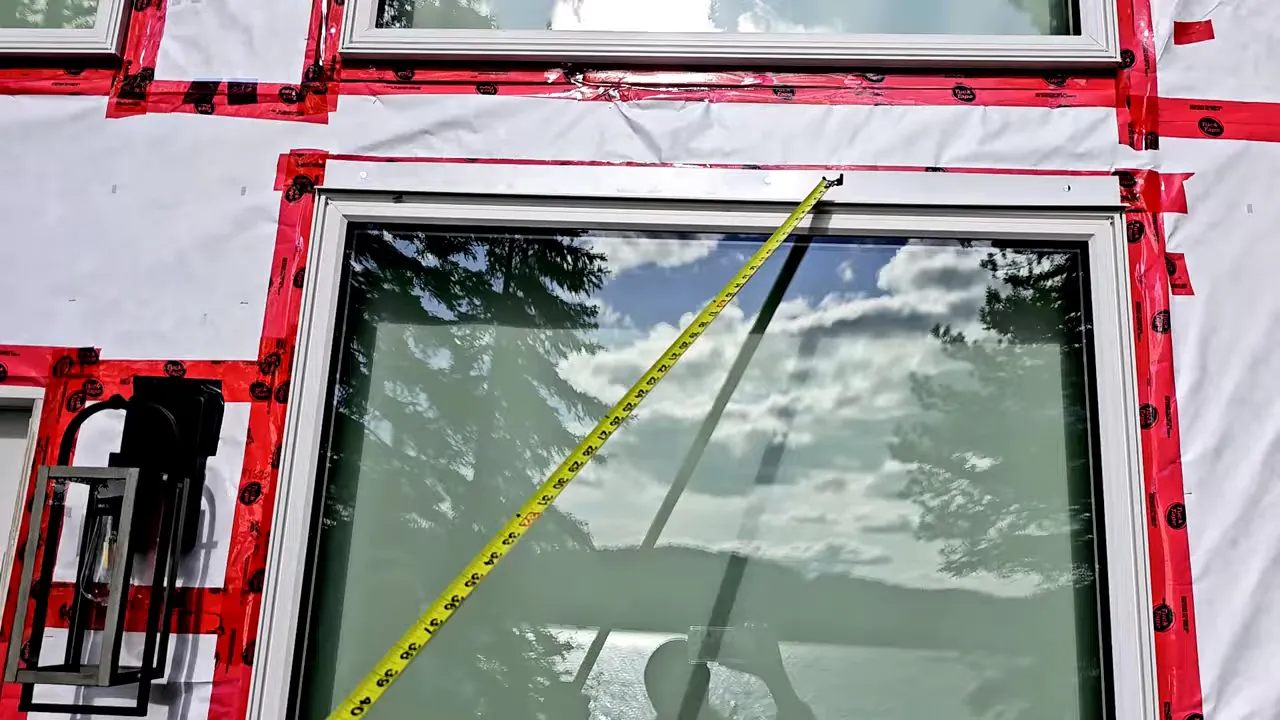
Window flashing will be tucked under house wrap where possible. Where geometry prevents a classic approach, smart use of tape, trimming, and layering will keep water away from vulnerable edges. With trim selected and painted black, we can finally see the cabin taking shape and feel the momentum to finish the exterior.
Workshop Life: Holm Depot, Tools, and Safety Notes
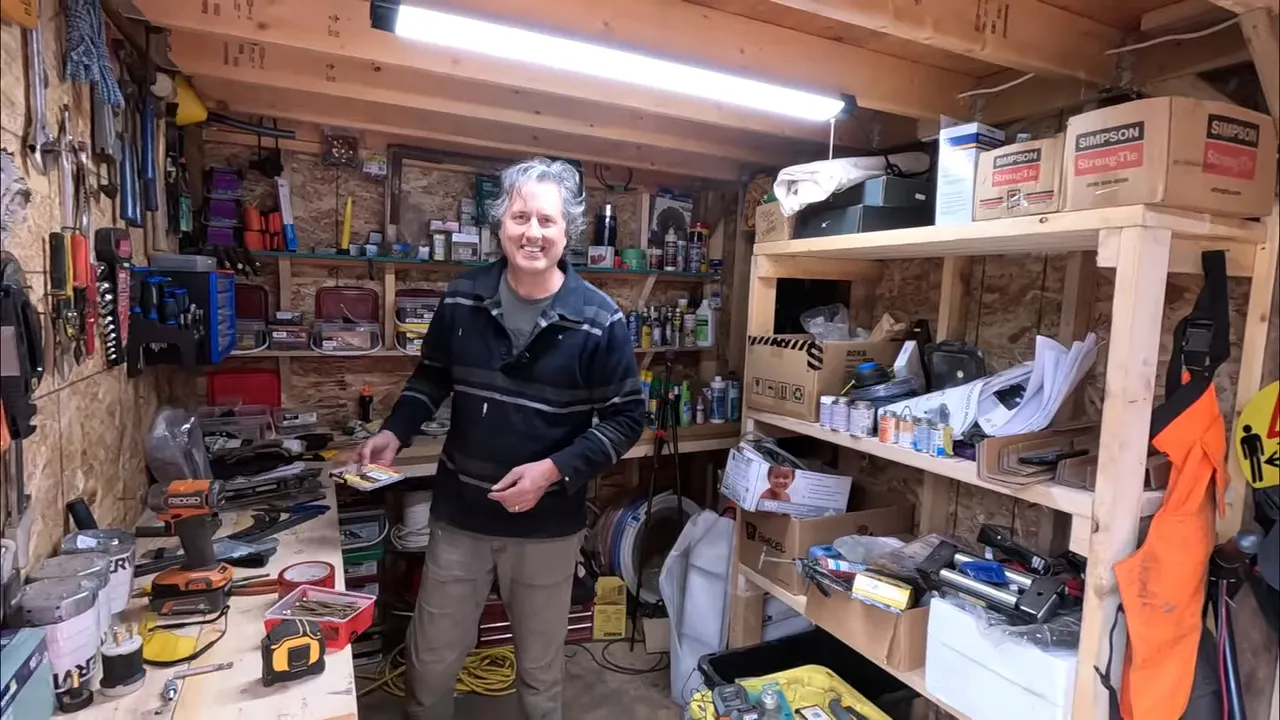
We turned a small shed into a tidy tool hub we call Holm Depot. Melodi keeps a precious pink tool bag that is strictly off limits. Organization matters when you are miles from a hardware store and every screw, clamp, and level saves time and frustration.
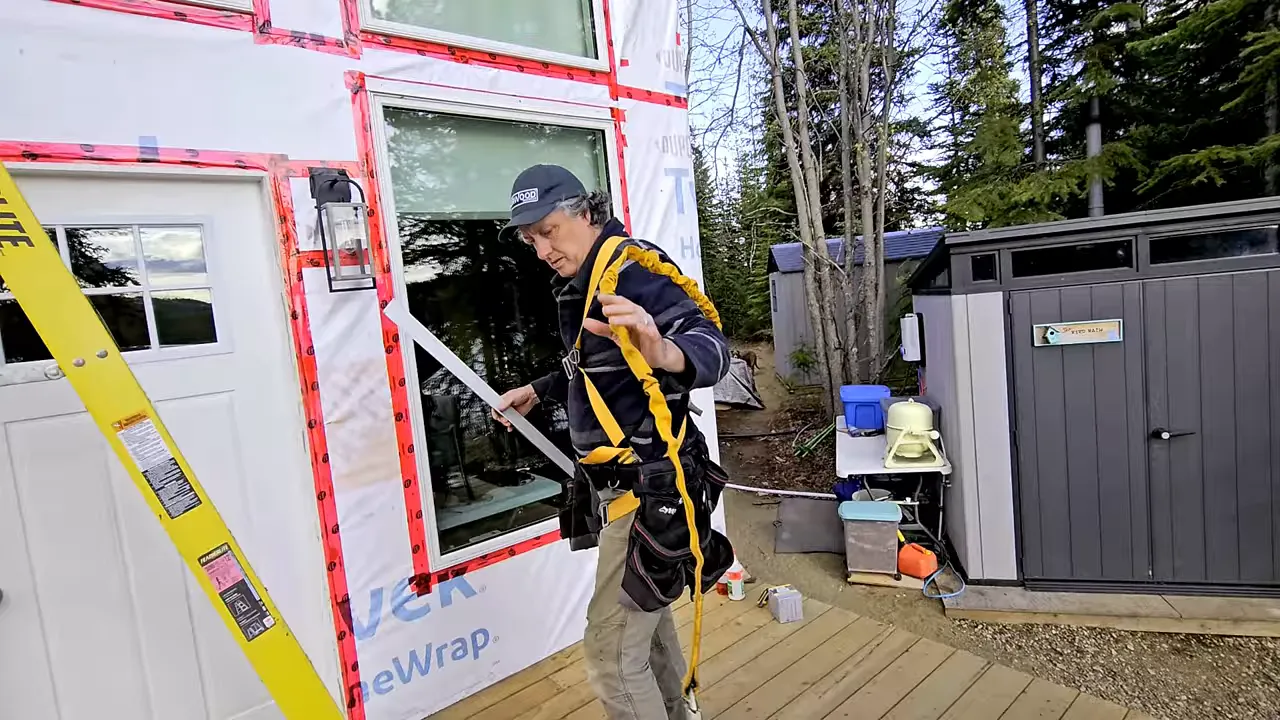
We also revisited safety. After last year’s fall, Ryan is building safe scaffolding and using fall arrest gear. We plan, we slow down, and we respect the work height. It is the sensible way to keep building and avoid setbacks.
Wrap Up: Moving Forward with Determination and Practicality
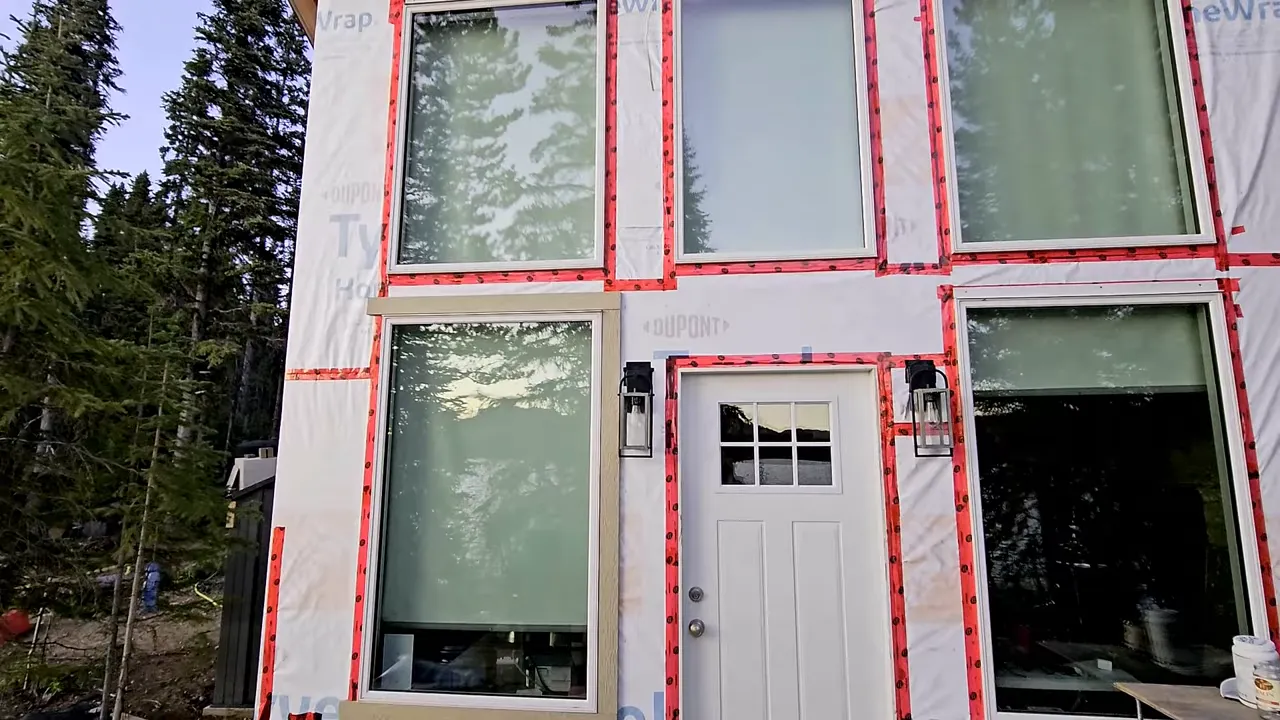
Storms rearrange priorities fast. We lost a bit of shoreline, but we gained a clearer plan: build a seawall of log piles, sort and salvage materials carefully, treat and inspect for mold, secure the cabin envelope with proper flashing and tape, and finish siding and trim safely.
We appreciate the support from our community. If you have experience with shoreline stabilization, seawall techniques, aircraft cable rail systems, or caring for stored lumber, we would love to hear your practical tips.
Quick Checklist of What We Did and What’s Next
- Assess shoreline erosion and salvage what we could
- Plan a log-pile seawall to protect bank
- Treat and inspect poplar boards for mold before installation
- Begin siding workflow: temporary install, label, paint, reattach
- Detail flashing and butyl tape around ledger and windows
- Design deck railings with metal posts and aircraft cable
- Prioritize scaffolding safety and fall arrest gear
Questions We Have for You
- What has worked best for shoreline stabilization at small lakes?
- Do you have tips for treating marginally moldy lumber safely?
- Have you used aircraft cable railings and any pointers for installation?
Thanks for following along as we keep building, learning, and adapting to life off grid on our island. We will keep sharing what we learn — both the mishaps and the techniques that work.