Installing Cedar Walls in Our Tiny Cabin
Today we begin installing cedar walls in our tiny off-grid cabin. Life is progressing here on Bird Island, and our tiny cabin build is coming along too! Installing these cedar walls will add a much-desired sense of completeness to at least a part of the interior of our tiny cabin. Join us as we dive into the process of installing cedar walls and share some of the challenges and joys we encountered along the way.
Table of Contents
- Cutting Cedar Siding
- Melodi Loves Light and Bright
- You Got a Banana in Your Ear!
- Looking for That Special Little Detail
- The Finishing Touch
As we snapped the chalk line and prepared to install our cedar tongue and groove siding, we felt a wave of excitement. We had just transported the wood via barge, and it was time to transform our cabin’s interior. With our electrical setup recently updated to accommodate our new bed layout, we were ready to dive into the project.

Cutting Cedar Siding
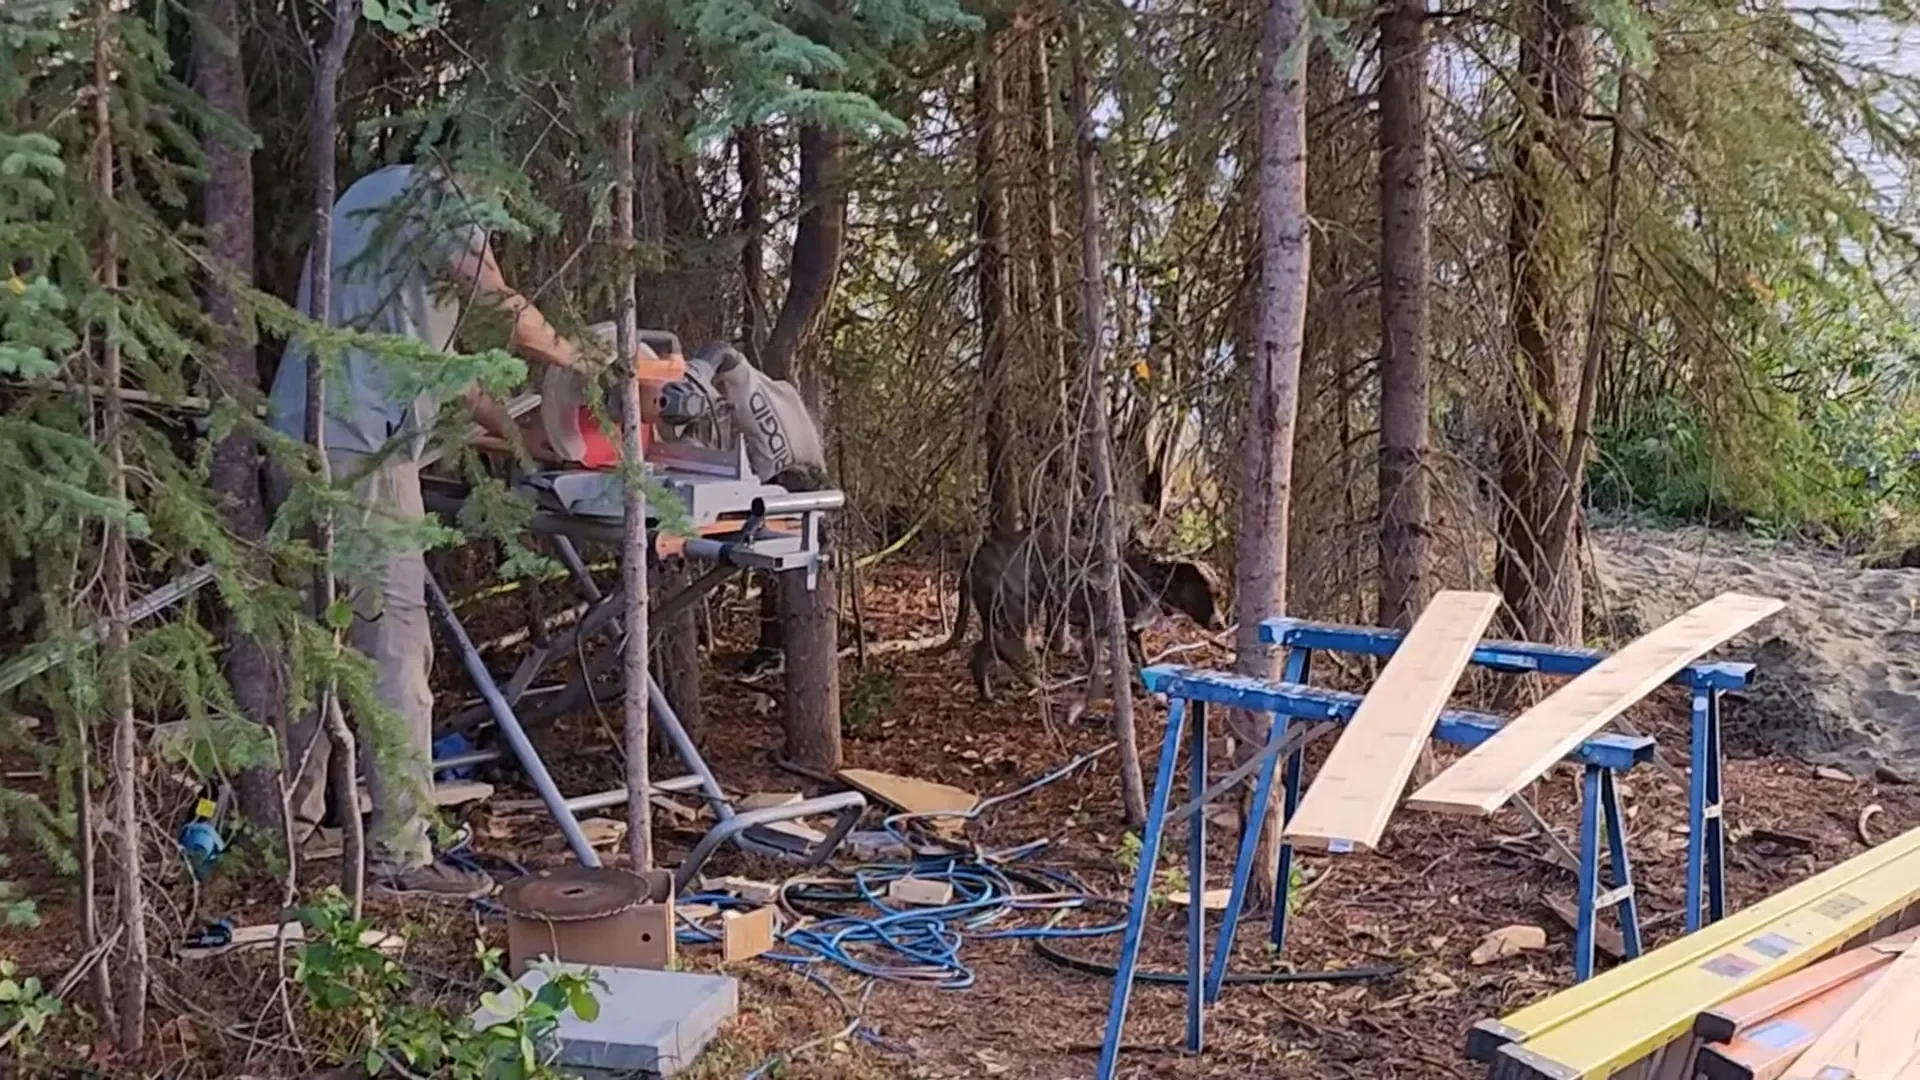
Cutting the cedar siding with my miter saw was a breeze. Despite its age, this trusty saw has served us well, even if it’s held together with duct tape at this point. The process of installing the siding was not only satisfying but also felt like a significant step forward in our cabin build.
Melodi Loves Light and Bright
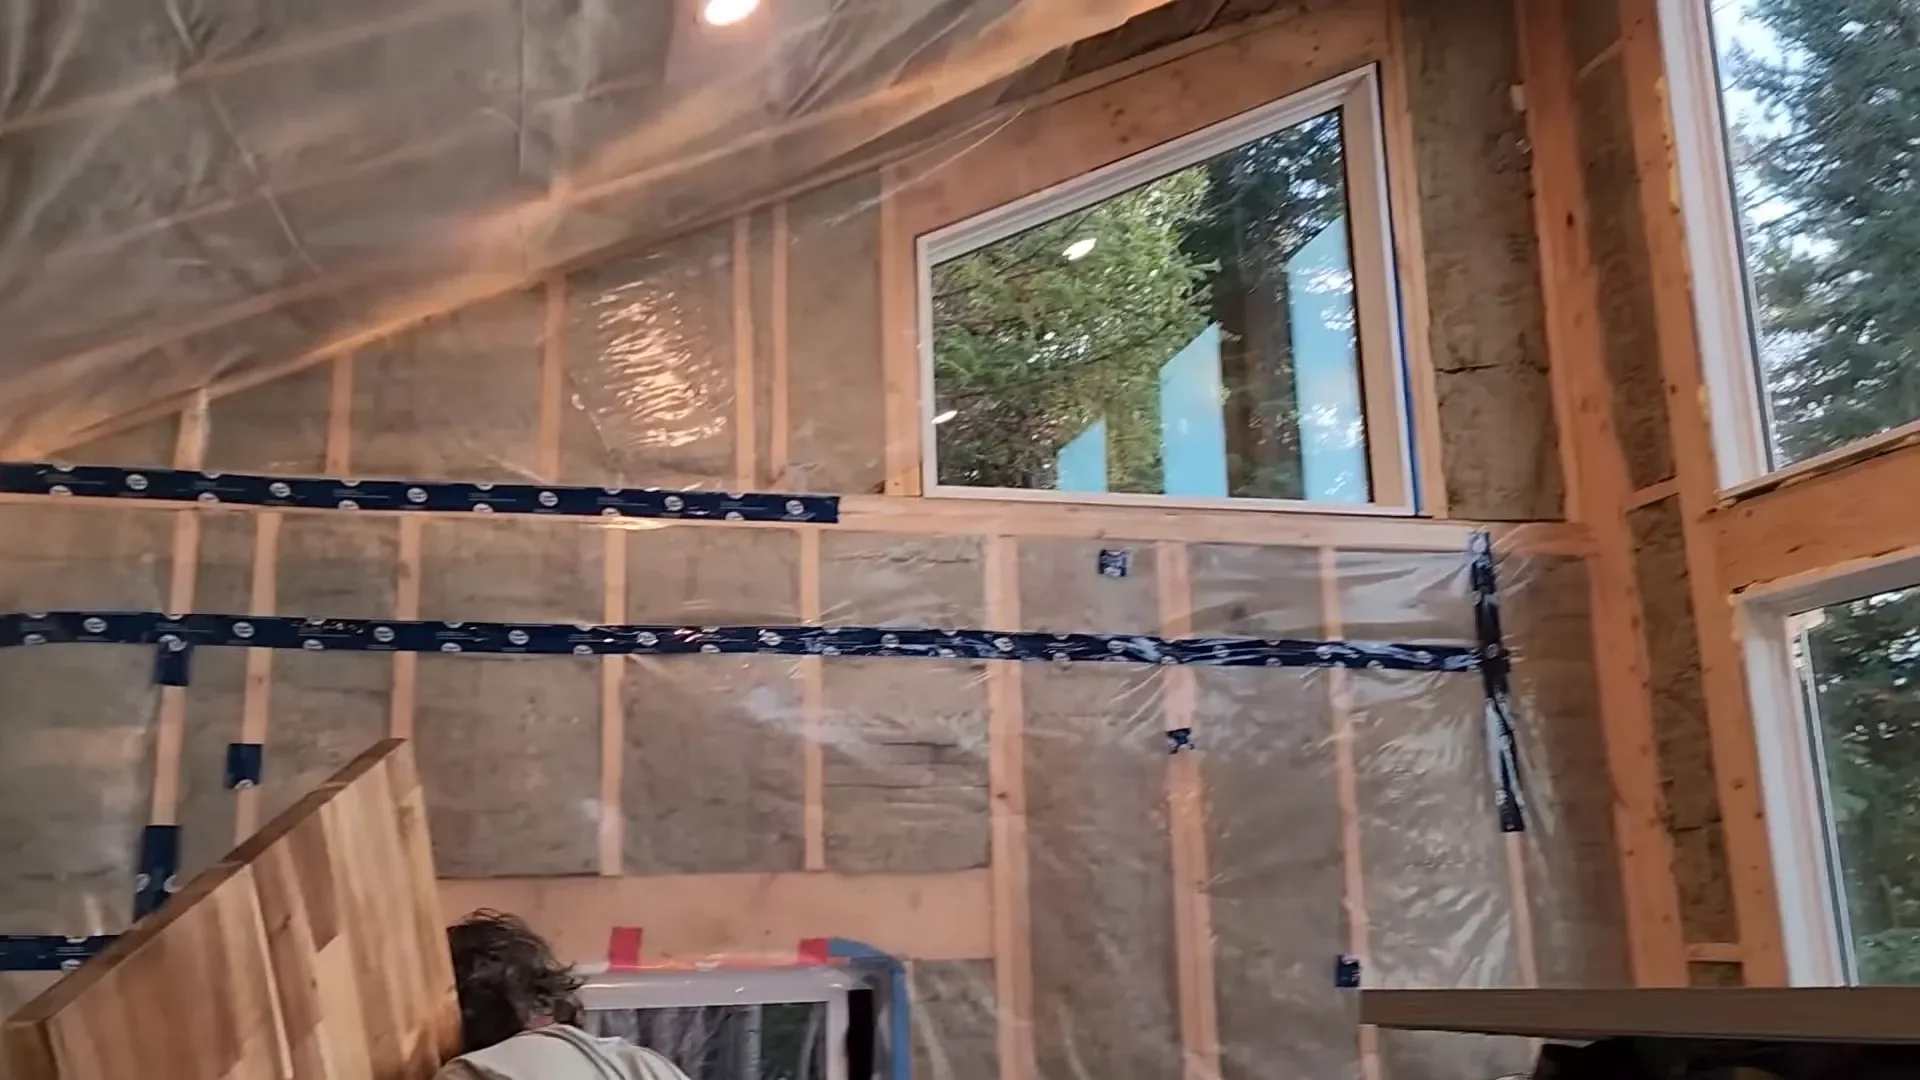
Melodi has always been drawn to bright, airy spaces. As we installed the cedar, we envisioned using white pine for the surrounding walls to keep the cabin feeling open and light. The cedar will serve as a beautiful feature wall, while the lighter wood will complement it perfectly.
You Got a Banana in Your Ear!
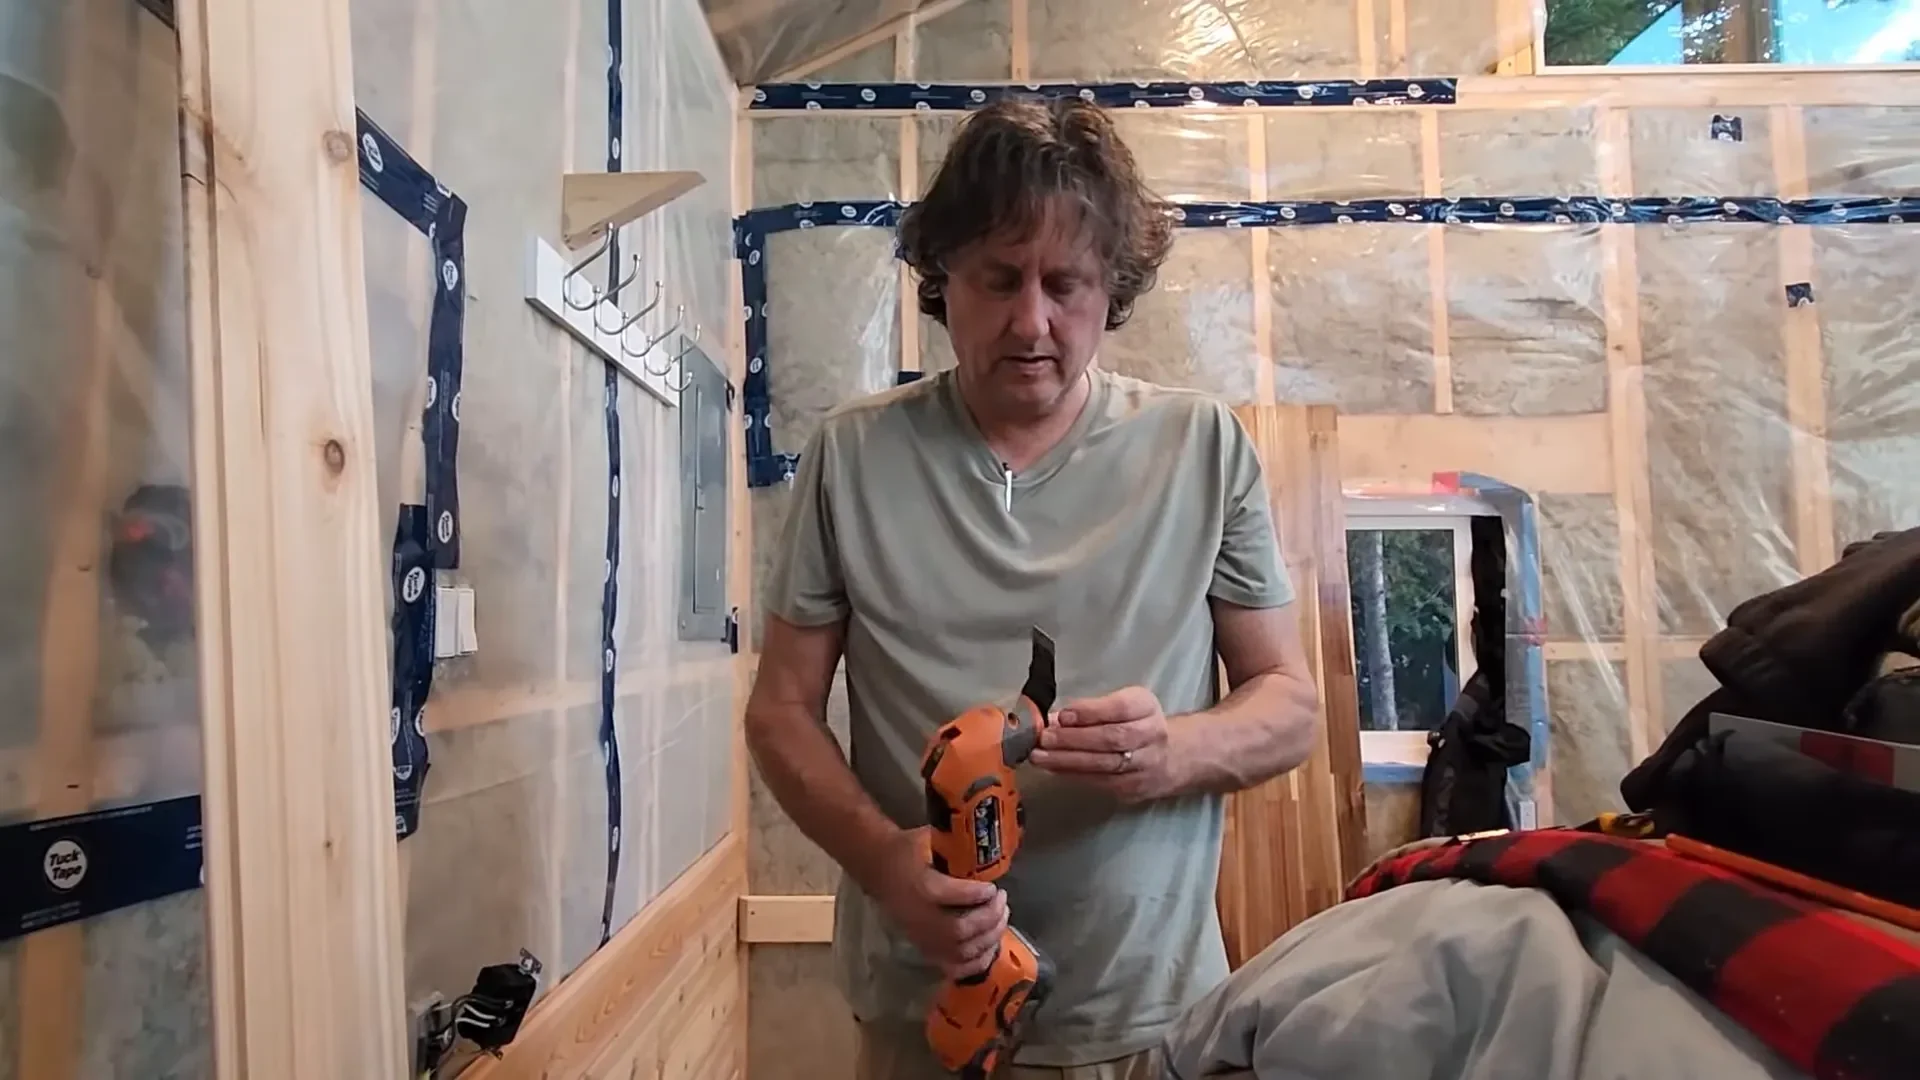
In the midst of our work, we kept the mood light with humor. There’s always a bit of banter while we work, and the playful moments keep us energized. Whether it’s a silly joke or a light-hearted comment, laughter is an essential part of our building process.
Looking for That Special Little Detail
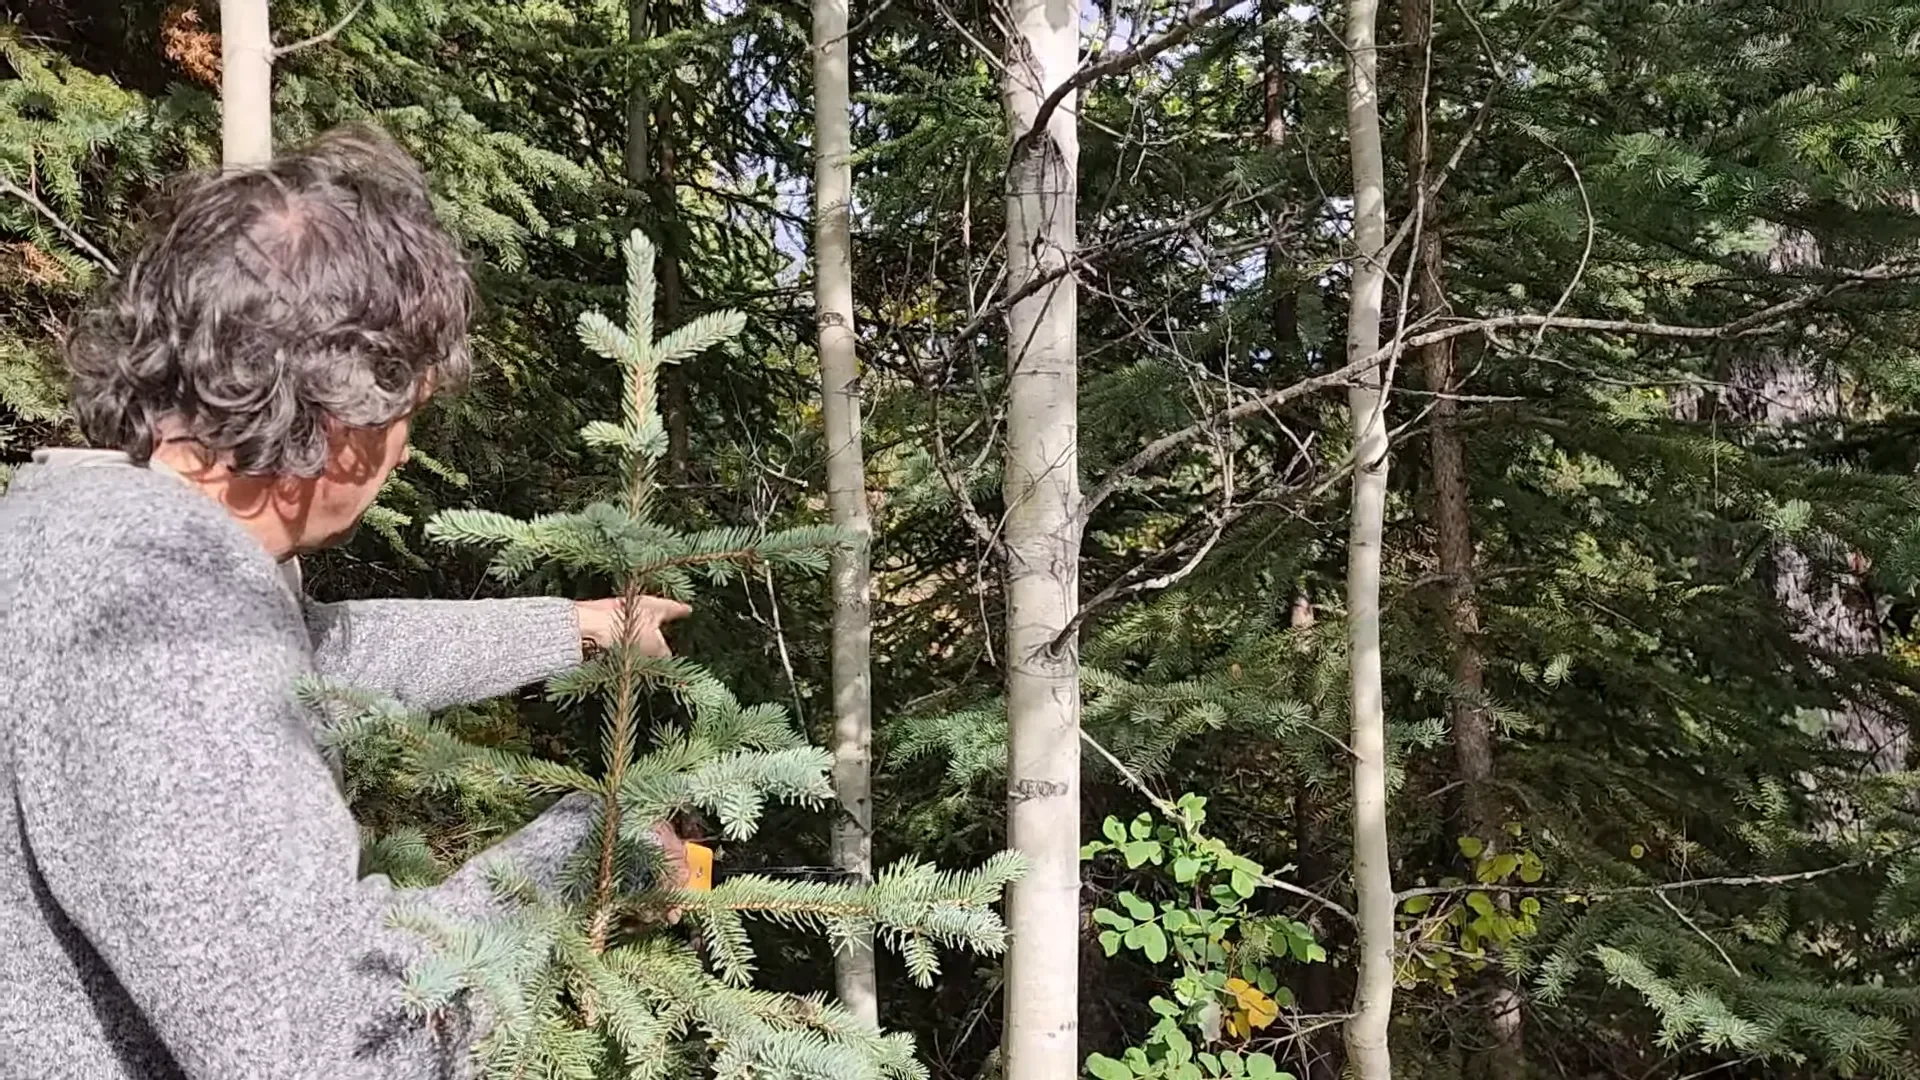
After getting the walls up, we decided to hunt for special trim pieces from the trees on our property. We wanted to use natural materials that would tie in beautifully with the cedar. This not only adds a personal touch but also aligns with our off-grid lifestyle.
The Finishing Touch
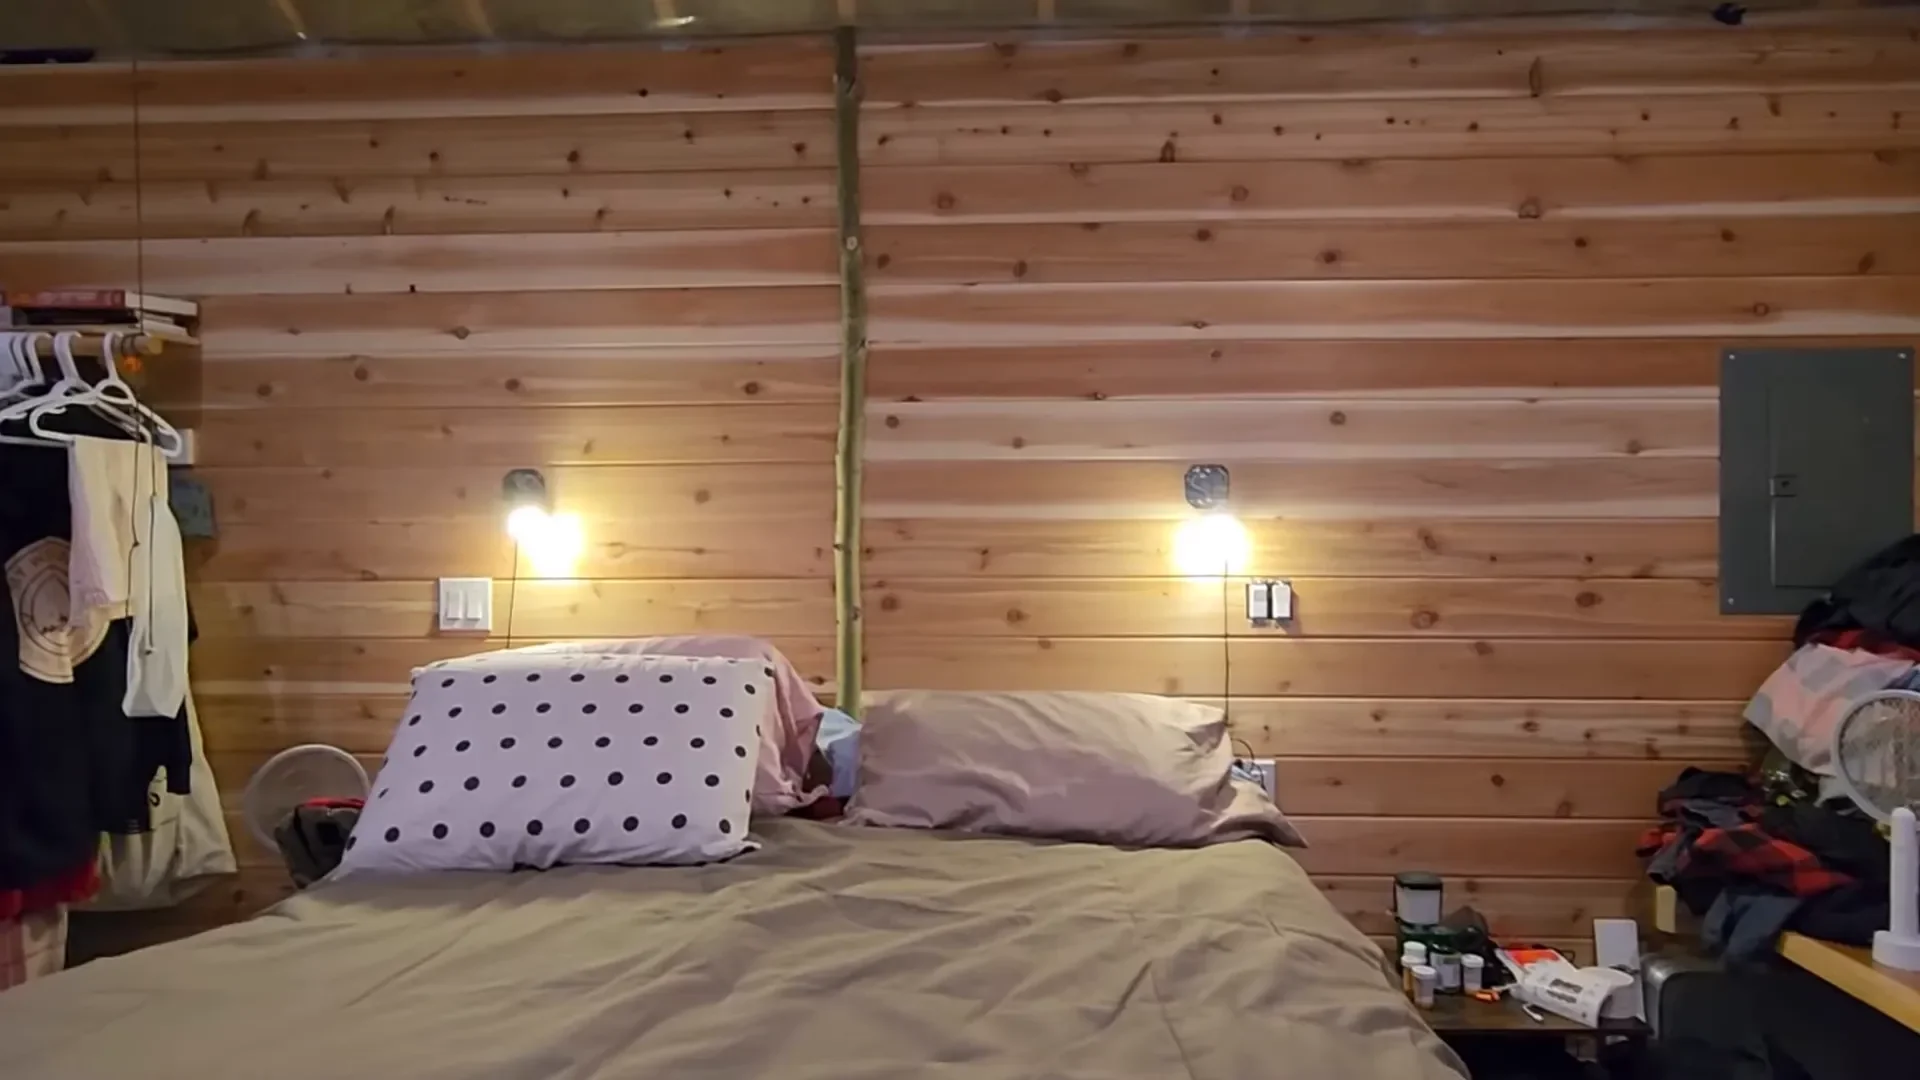
Finally, after a couple of days of hard work, we completed our first wall. The satisfaction of seeing the cedar installed and the unique trim piece we found made it all worthwhile. This accomplishment brings us one step closer to our dream of a fully finished off-grid cabin.
As we continue with our tiny cabin build, we invite you to join us on this journey. Follow us on Facebook, Instagram, and Pinterest for more updates and inspiration!
If you’re interested in exploring more about our journey and the tools, tech, and other things we use, check out A Few of Our Favorite Things or visit My Wild Holm’s Amazon Page for product recommendations.
Thank you for following along with us as we build our tiny off-grid cabin! We can’t wait to share more of our adventures with you.