How to Fix a Wood Chipper That Won’t Start
We bought a wood chipper at auction over a year ago, and it won’t start. After wondering how to fix it and not knowing why it wouldn’t run, we realized we really need our wood chipper to make mulch for our trails and to help clean up all the shrapnel from fallen trees. As self-proclaimed novices in the world of machinery, we decided it was high time to learn how to fix and maintain a wood chipper. So, let’s dive into this adventure together!
Table of Contents
- What We’ve Done So Far
- Diagnosing the Problem
- Testing the Fix
- We Have Elves to Help Clean Up!
- Installing Cedar on the Interior Walls
- Conclusion
What We’ve Done So Far
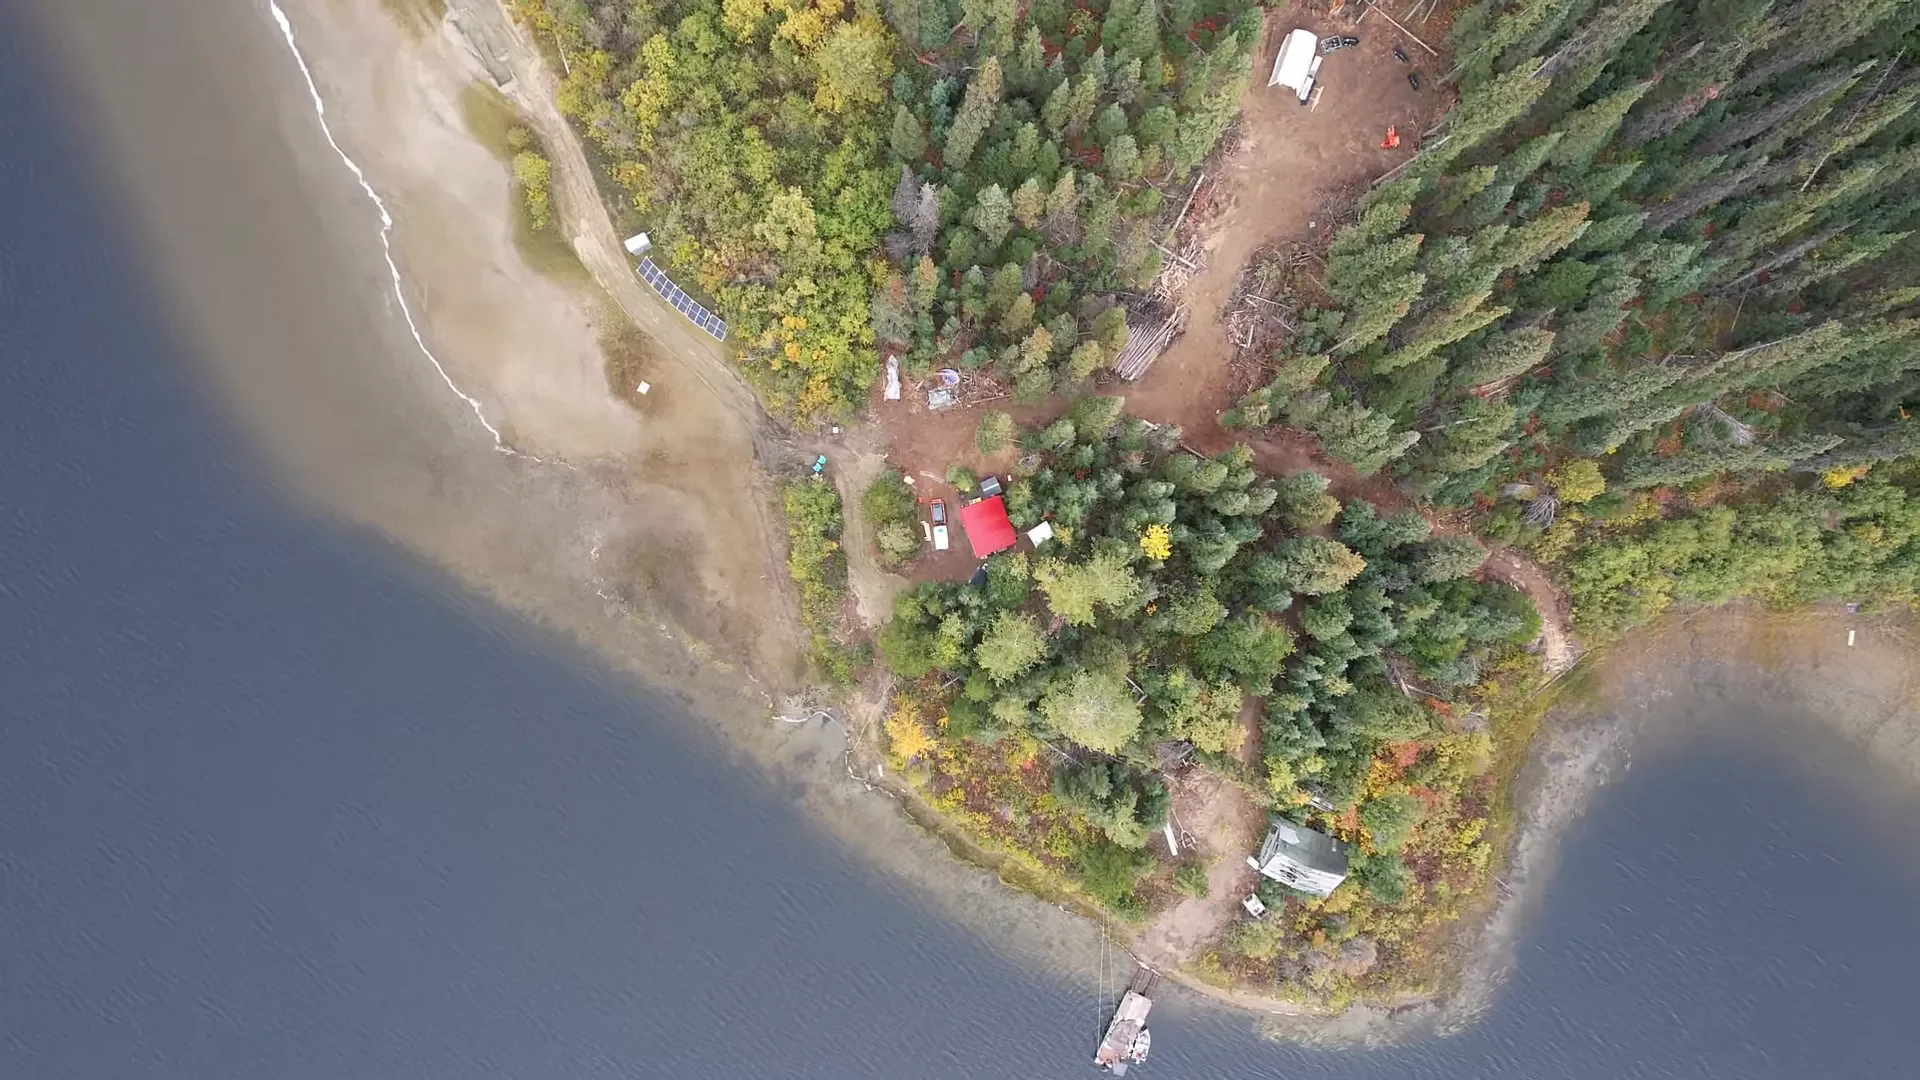
Last year, we cleared a cabin site and an area out back for a future shop. We even installed a temporary solar array for power. This location is a safe spot for the solar panels while we decide where they’ll go permanently. We’ve also built a road to connect the old cabin to our tiny cabin and started on a road to the bay for a future dock.
As we zoom into our cabin site, we can see the progress: a tiny cabin, a nearly complete pump house with a water filtration system, and a storage shed. When we started here, it was nothing but trees, but now it’s beginning to look like an actual homestead!
Diagnosing the Problem
So, back to the chipper. We brought it to the island but never had a chance to get it running. It sat in the snow and rain, and I honestly didn’t think there was a chance it could start. But today, Ryan went out and gave it a shot. Initially, we discovered a problem with the fuel system. After pulling off the covers, we found everything looked good: there was spark when we cranked it over, and the carburetor seemed to function fine. However, we noticed there was no gas in the line!
After checking the fuel filter and the fuel pump, we realized that the diaphragm was intact, but there was no fuel flowing. We had to get a little creative and used high octane fuel from the boat. This led us to bypass the fuel filter temporarily to see if that would solve the issue.

Testing the Fix
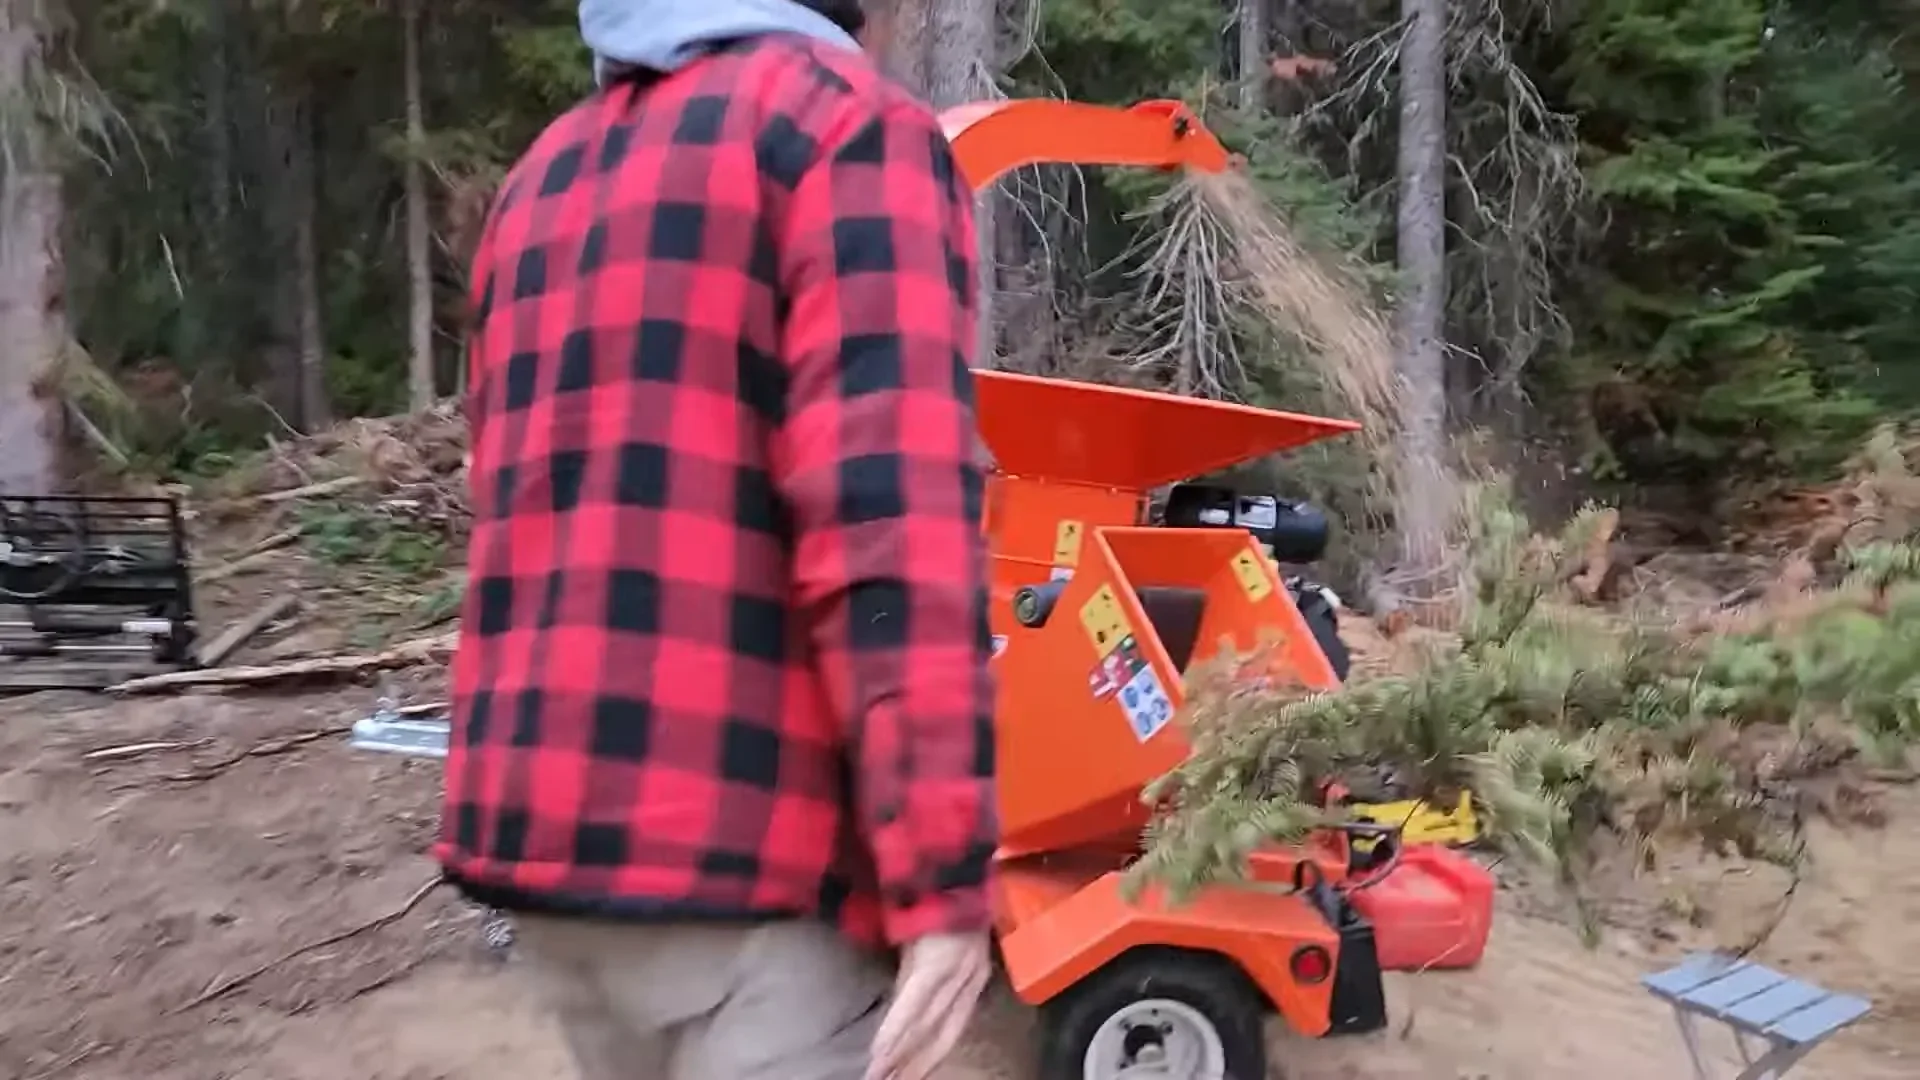
Once we had everything hooked up, we ran the chipper with the high octane boat fuel. Adding some sea foam into the mix helped clean out any gunk in the carburetor. After putting everything back together, we were excited to see it purring like a kitten! It was time to take it for a spin.
As we tested it, we learned that straight branches work better than forked ones because forked pieces require manually pushing them down into the cutters, which isn’t the safest. The time spent trimming waste into straight pieces is well worth it—it’s safer and speeds up the whole process.
We Have Elves to Help Clean Up!
As we were working, we joked about having “elves” to help clean up the mess. Melodi found herself sweeping up all the scraps on the floor because she just can’t stand to see them lying around. One other thing about living in a construction zone: you have to take everything apart to work on it and then you need put it all back together again to live!
Installing Cedar on the Interior Walls
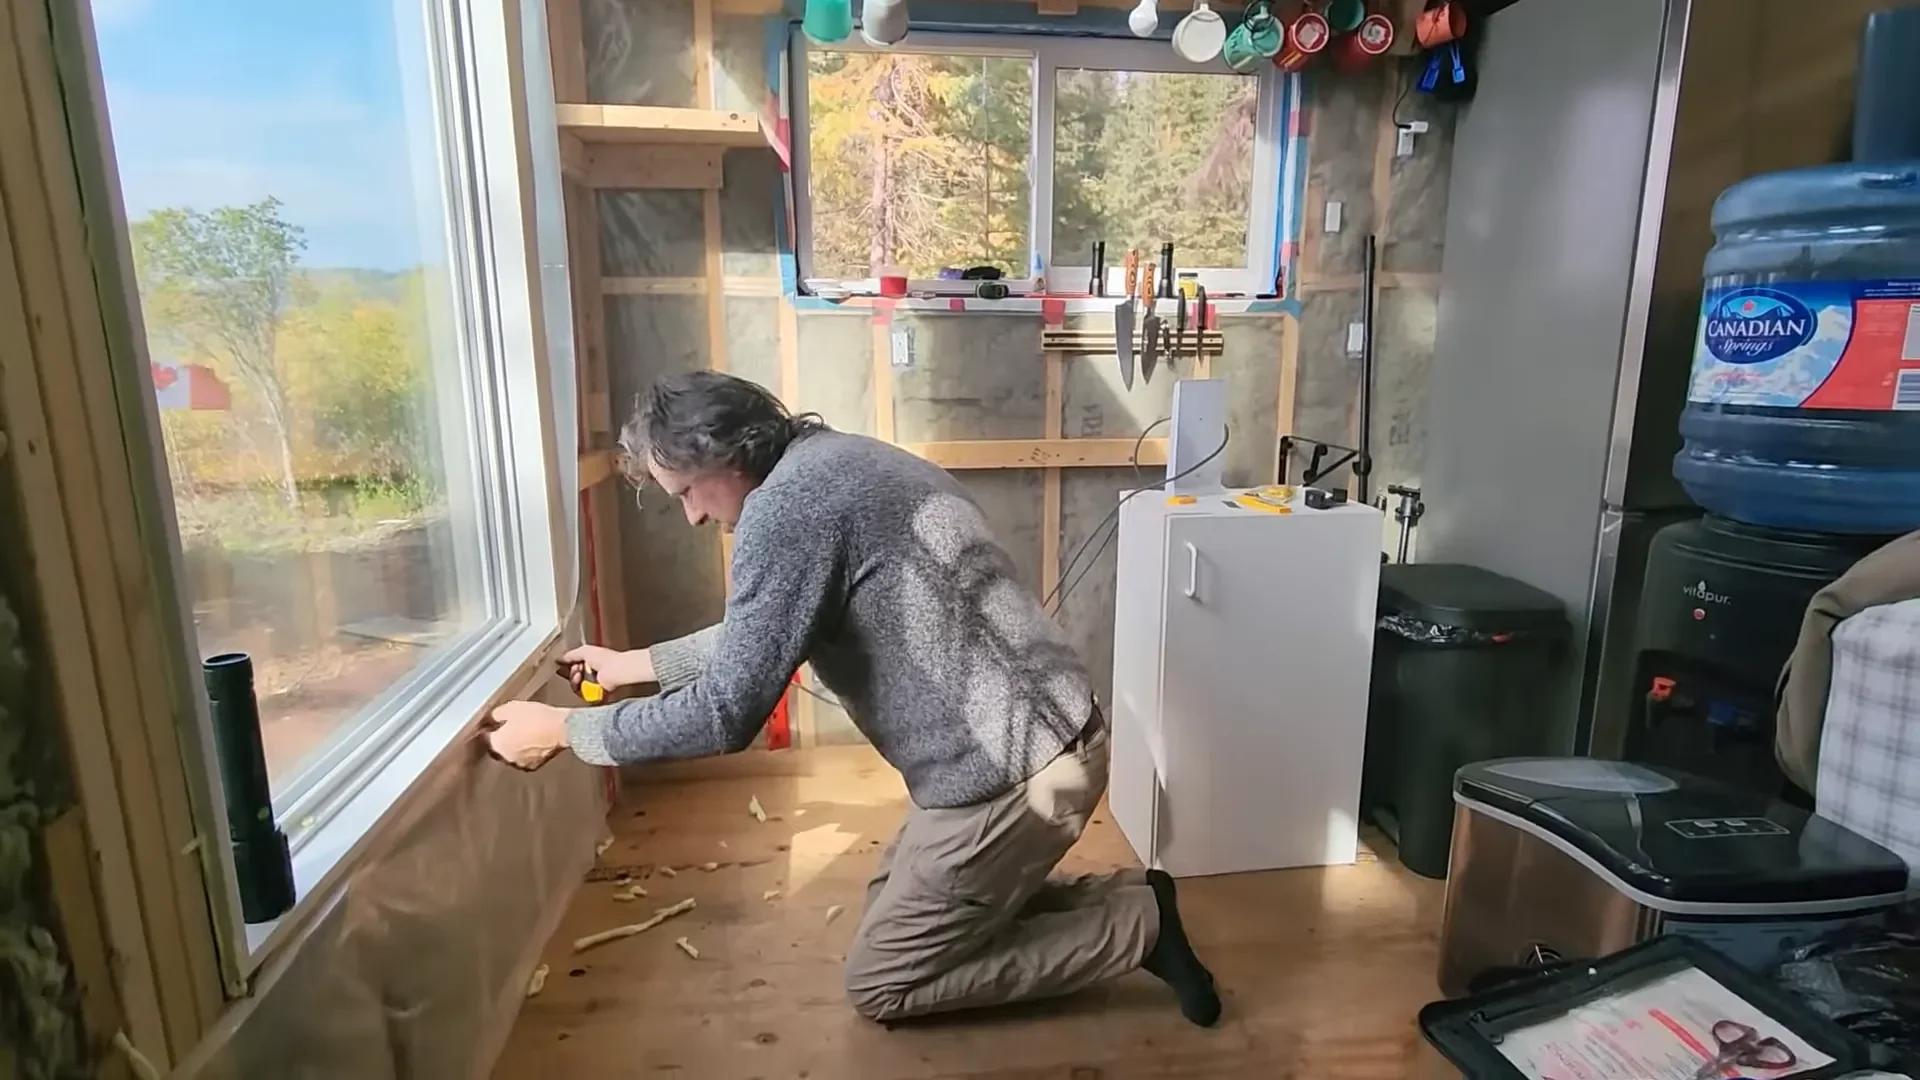
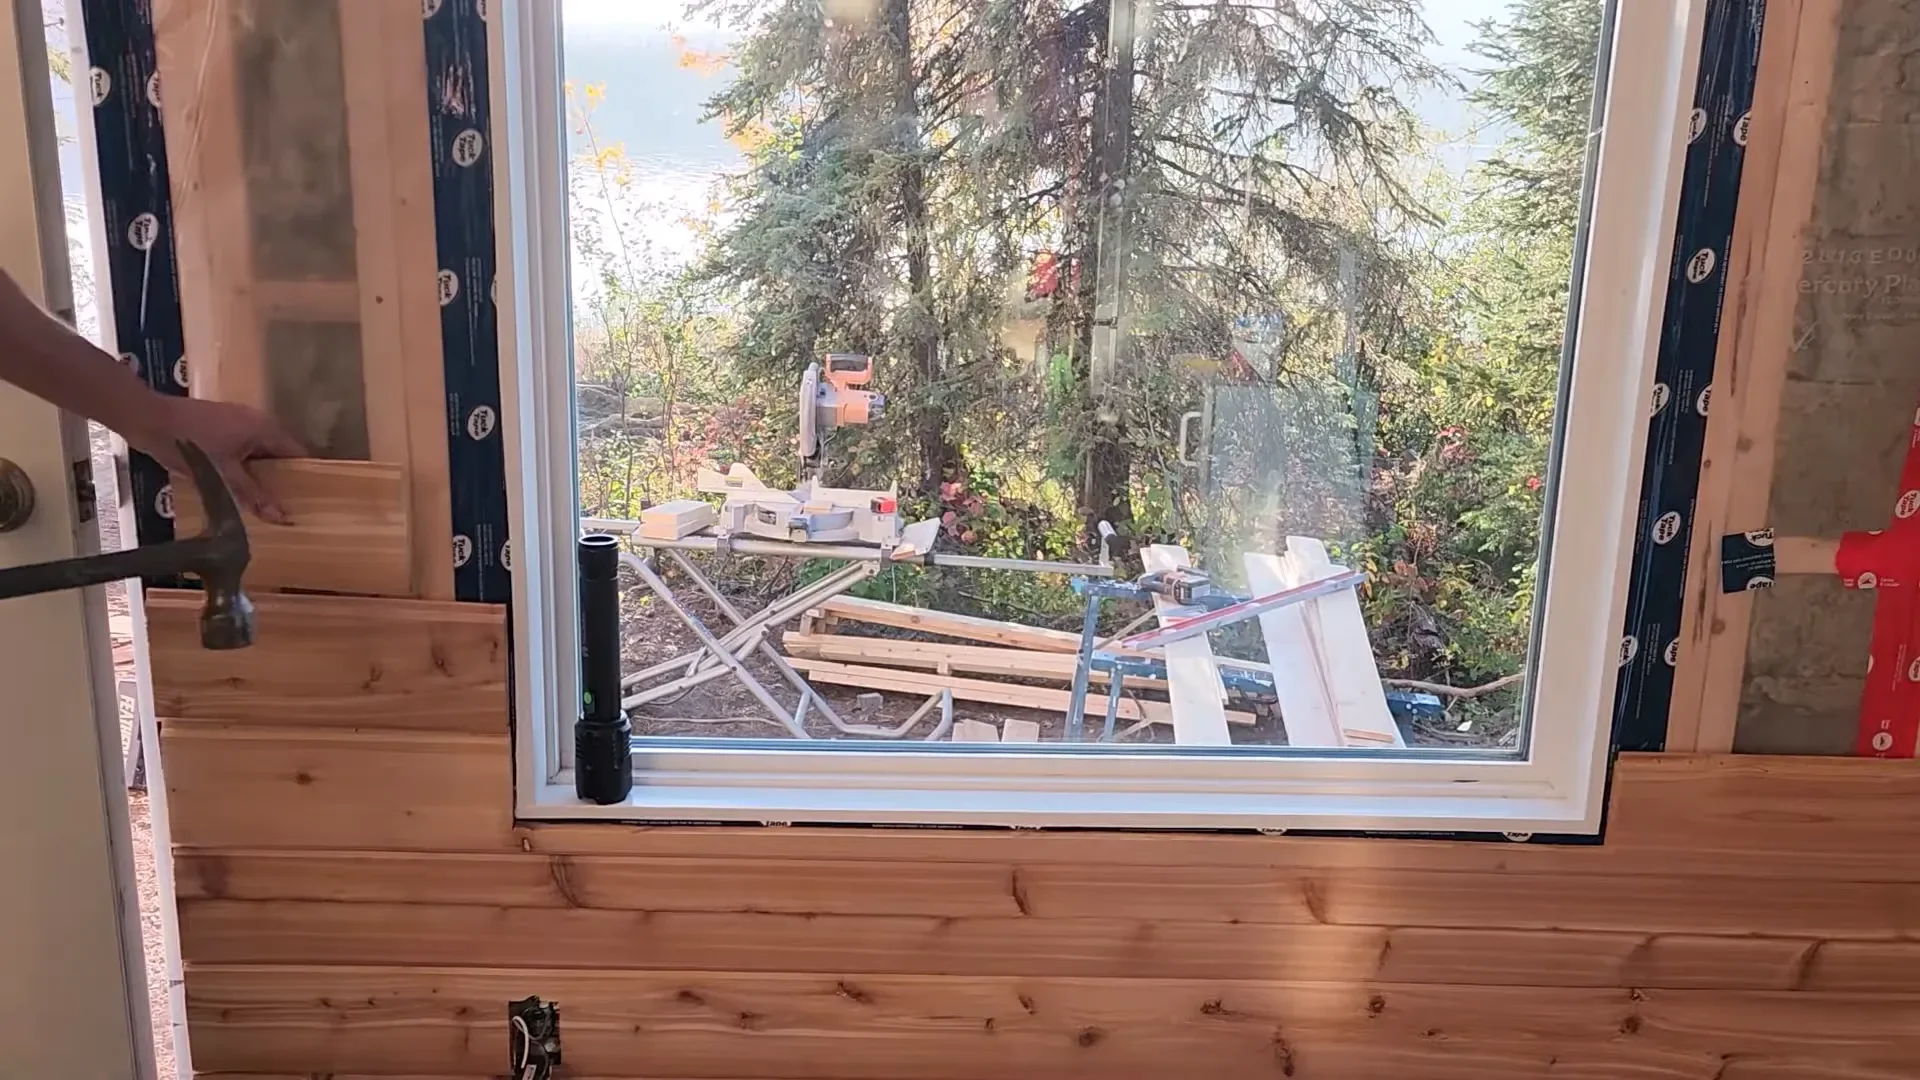
In addition to getting the wood chipper going, we also made progress on the cabin’s interior. We decided to put up cedar siding, which has a lovely look and will brighten up the space. As we framed the windows, we used a technique to ensure everything ended up on the same plane, and it was gratifying to see it come together.
We still have some window trim to pick up from Home Depot, and we’re also considering what blinds to choose. For now, we’ll settle for some cheap vinyl rollers to provide relief from the bright morning sun.
Conclusion
With the wood chipper finally fixed and the cabin coming together, we feel a sense of accomplishment. Despite the challenges, it’s rewarding to see our vision of a homestead slowly taking shape. We hope this guide on how to fix a wood chipper helps anyone else who finds themselves in a similar situation. Join us on our journey as we continue to build our off-grid life!
If you enjoyed this post, please consider following us on Facebook or Instagram for more updates on our homesteading adventures!