Our Off-Grid Greenhouse Build on Our Remote Island Homestead
When we first dreamed about living on a remote wilderness island, we pictured the usual things: woodstoves, long hikes, a cozy tiny cabin… but fresh food is just as important as firewood out here. A greenhouse wasn’t a luxury — it was a way to extend our short northern growing season and bring some warmth and colour into the forest.
This is how we built our first greenhouse using simple materials, 6-mil poly film, and a whole lot of determination.
Choosing the Best Greenhouse Location on Our Remote Island
Finding a greenhouse site on an island full of uneven ground, tree roots, and surprise pockets of swampy soil is a challenge all by itself. We walked the land again and again looking for that perfect mix of sunlight, shelter, drainage, and a spot flat enough to work with by hand.
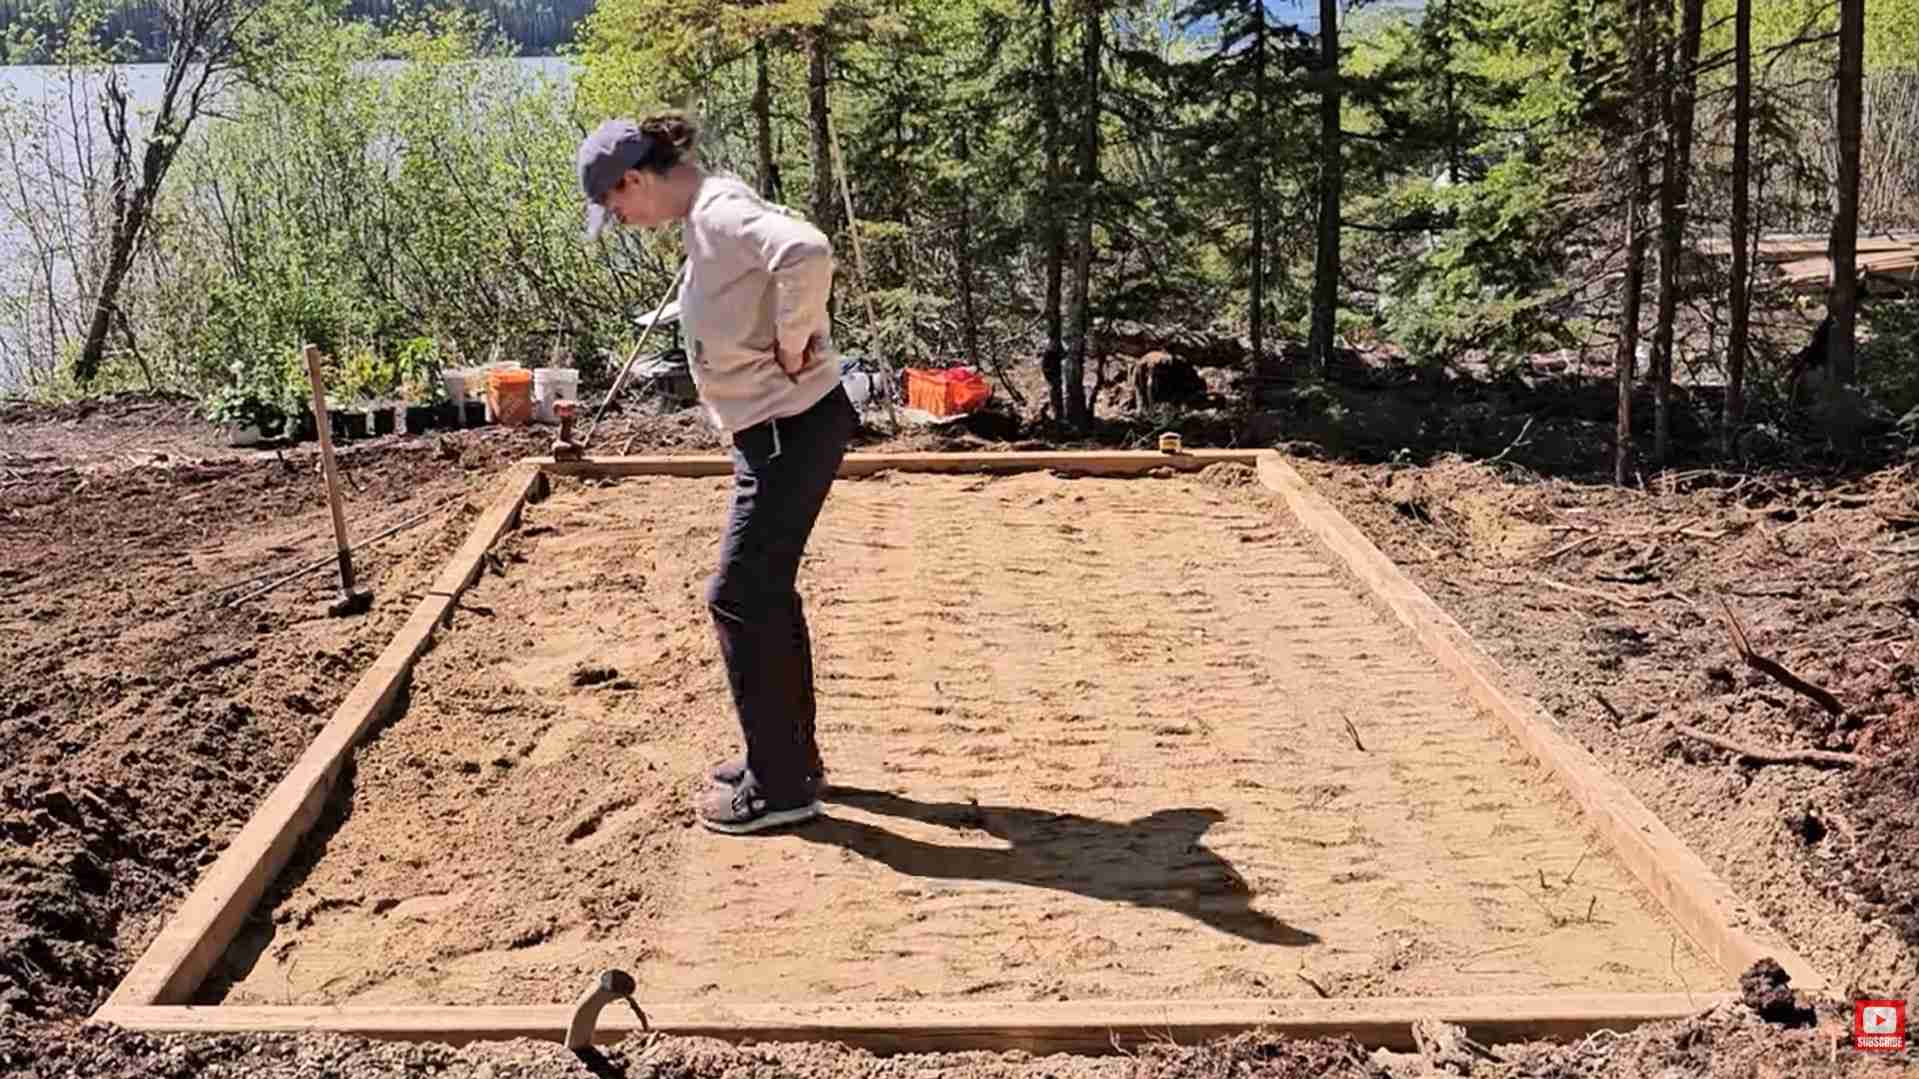
Eventually we staked out a rectangle above the lake, framed it in, and began leveling the ground manually. No machinery, no shortcuts — just determination and a vision of fresh tomatoes in June.
Leveling the Ground and Preparing the Greenhouse Base
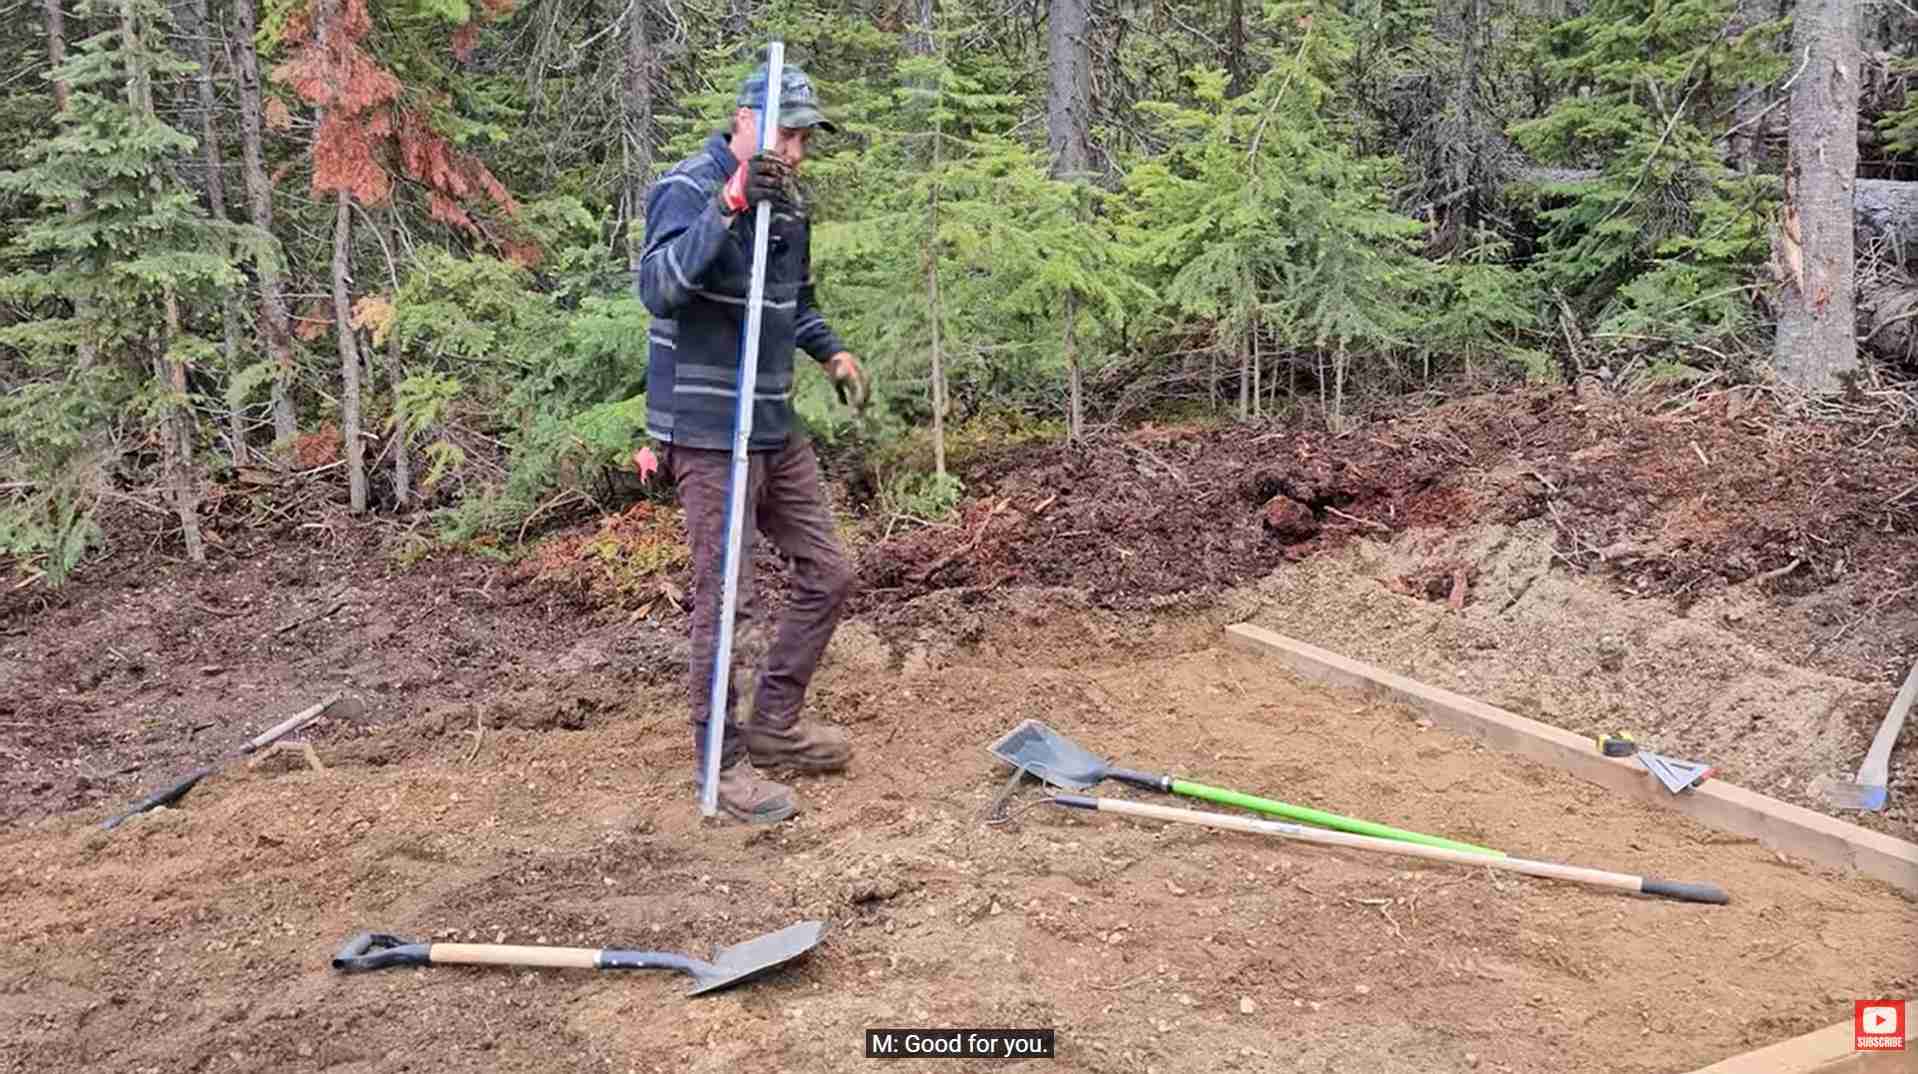
Once the frame was set, it was time to compact the soil. This is where island innovation shines. Ryan tamped and raked; Melodi packed the ground using what can only be described as a “riverdance” technique — surprisingly effective.
The base needed to be strong enough to support the greenhouse through windstorms, rain, and temperature swings. By the end, the ground was packed, level, and ready for walls.
DIY Framing: Building the Greenhouse Walls
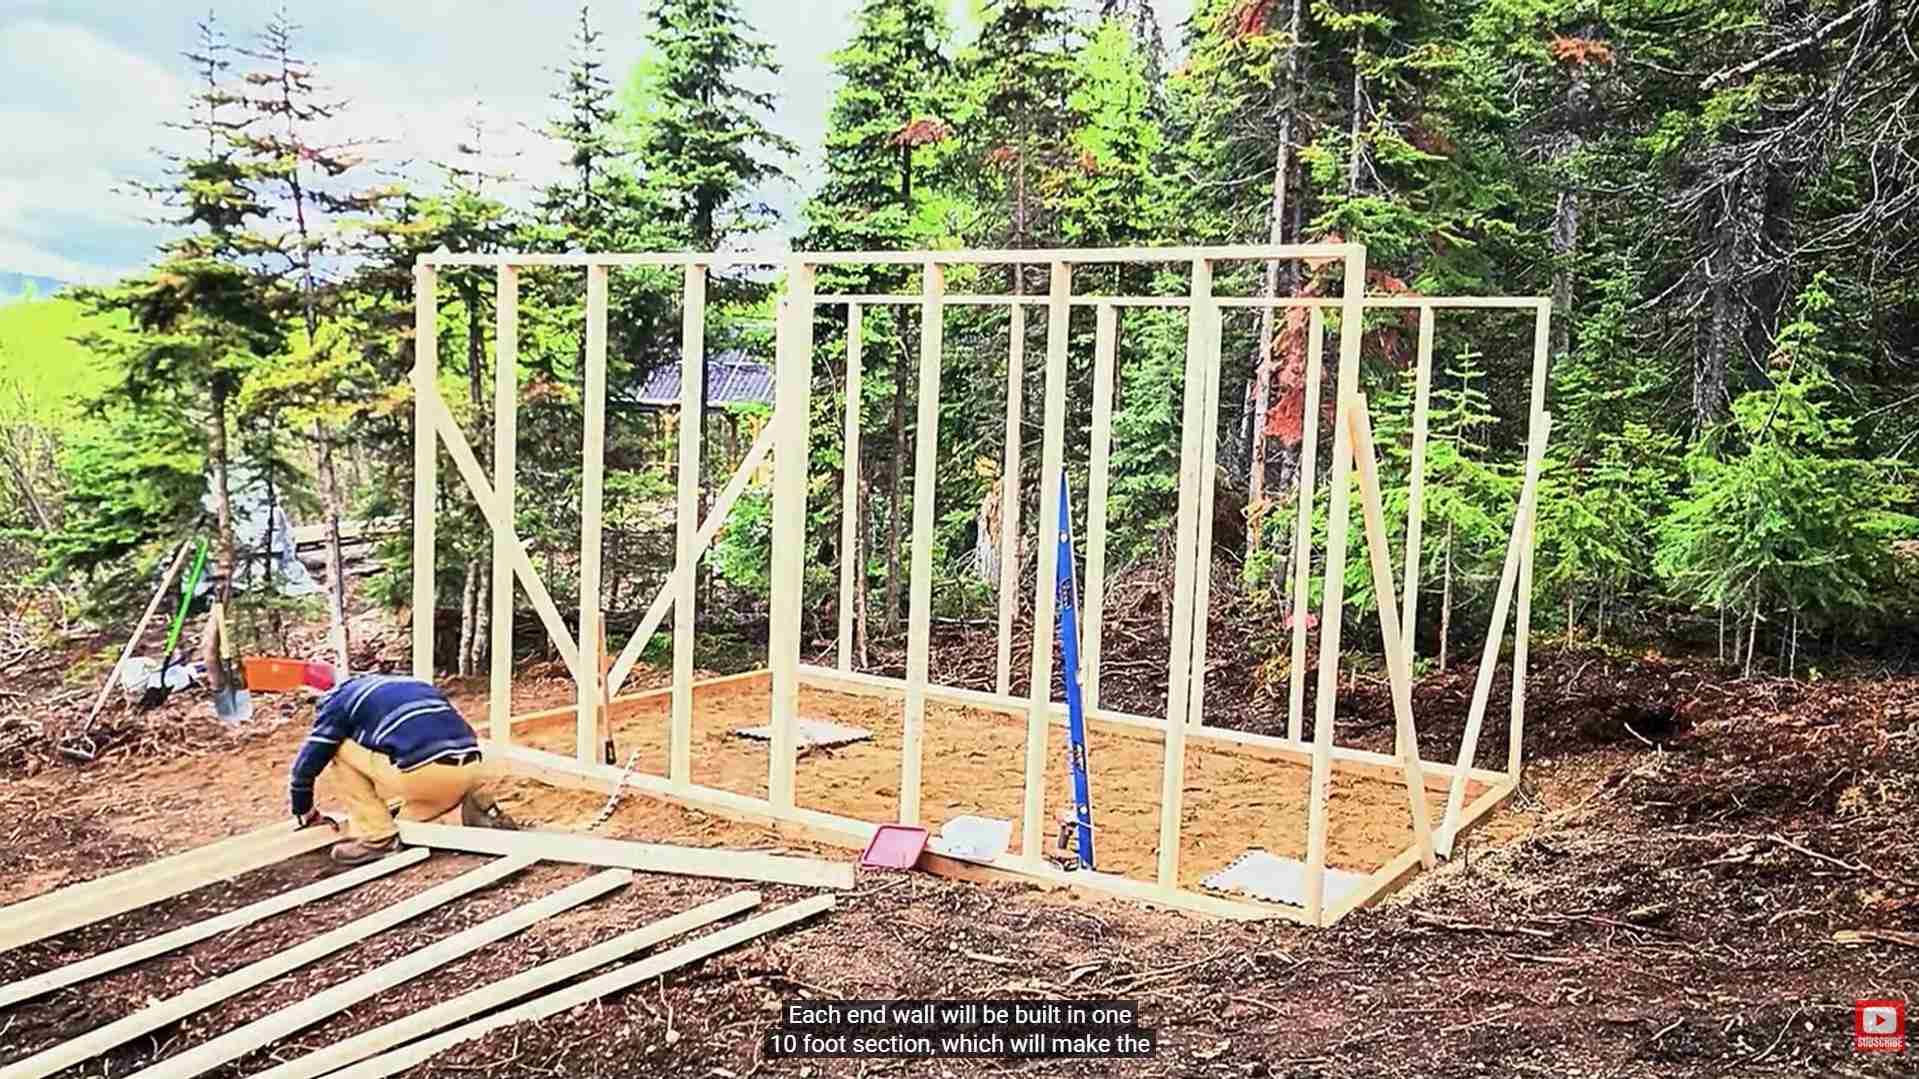
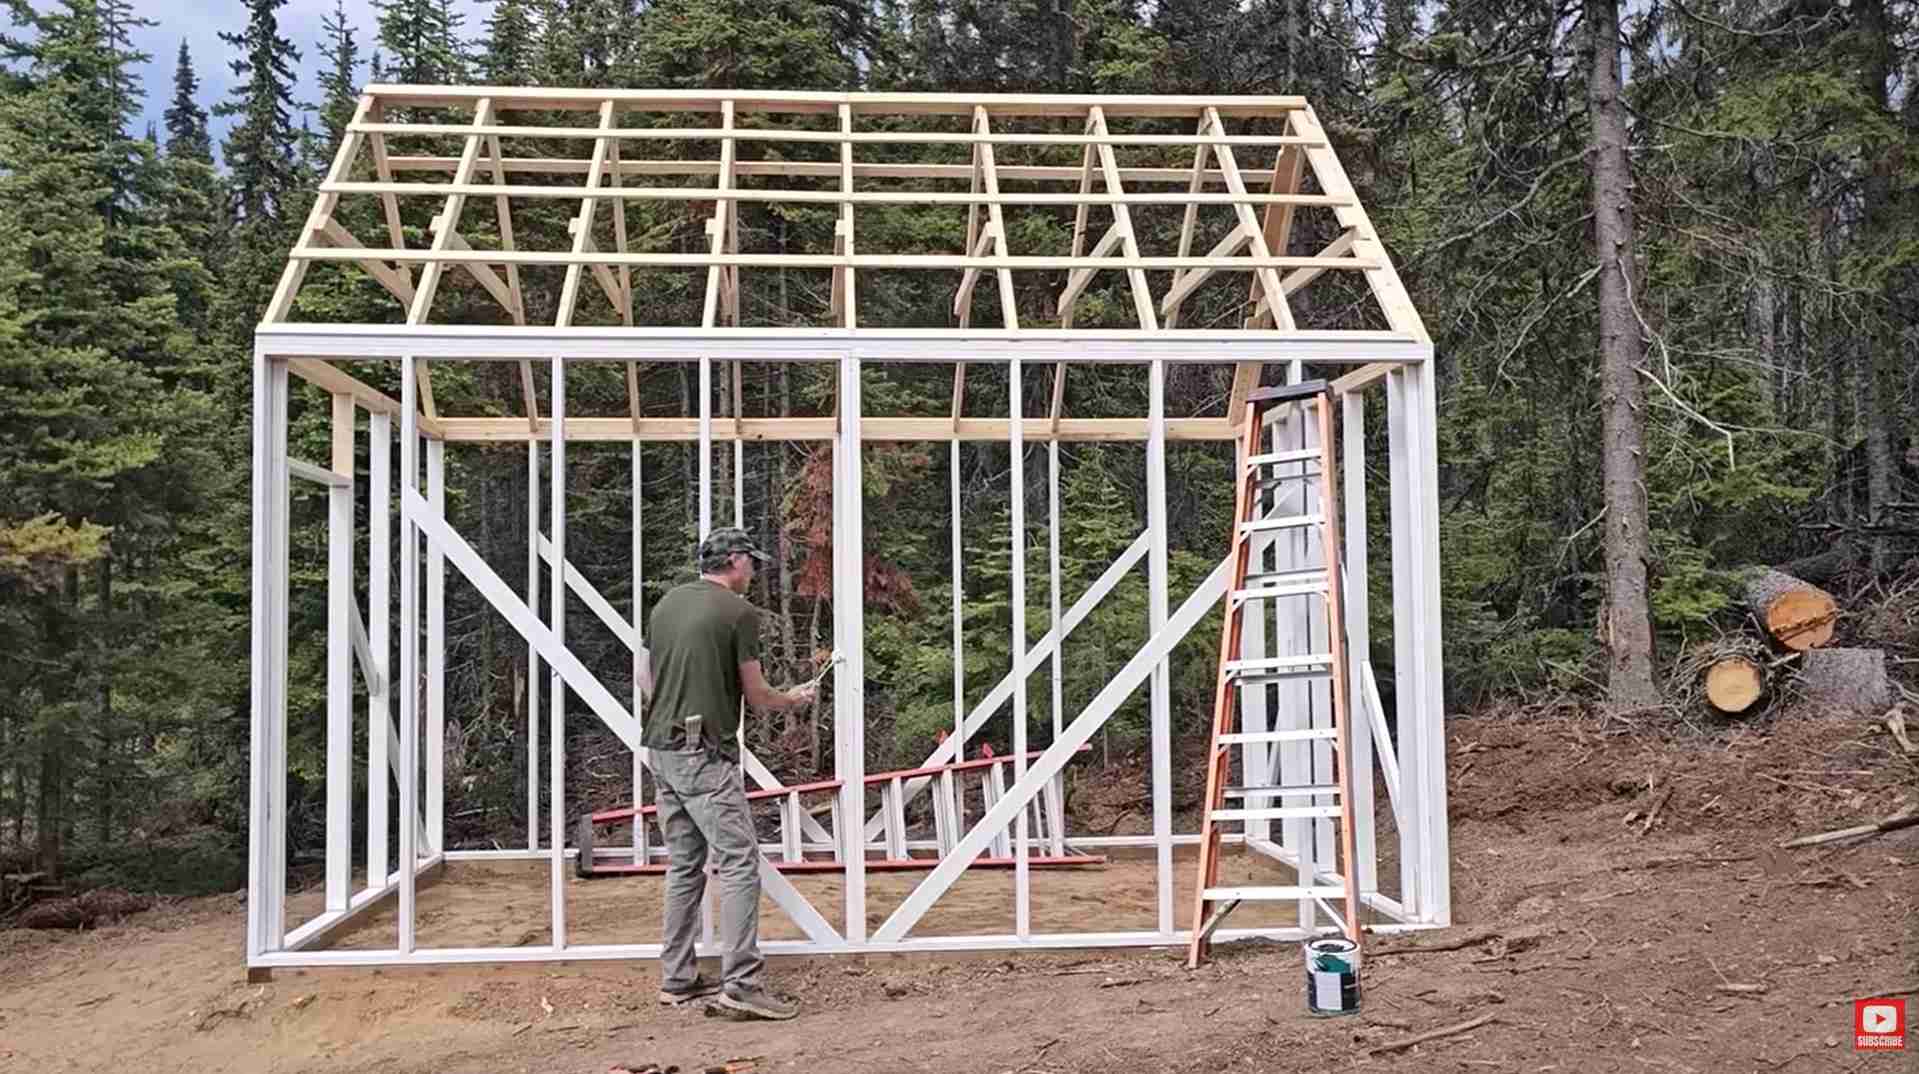
With a solid base in place, the framing began. Every board was cut on-site, hauled across the island, and measured with the same level we’ve used for nearly every project here.
Watching the walls lift into place is always a magical moment — the leap from imagination to structure. Suddenly the greenhouse had shape, height, and presence among the trees.
Installing Rafters and Creating a Greenhouse With a View
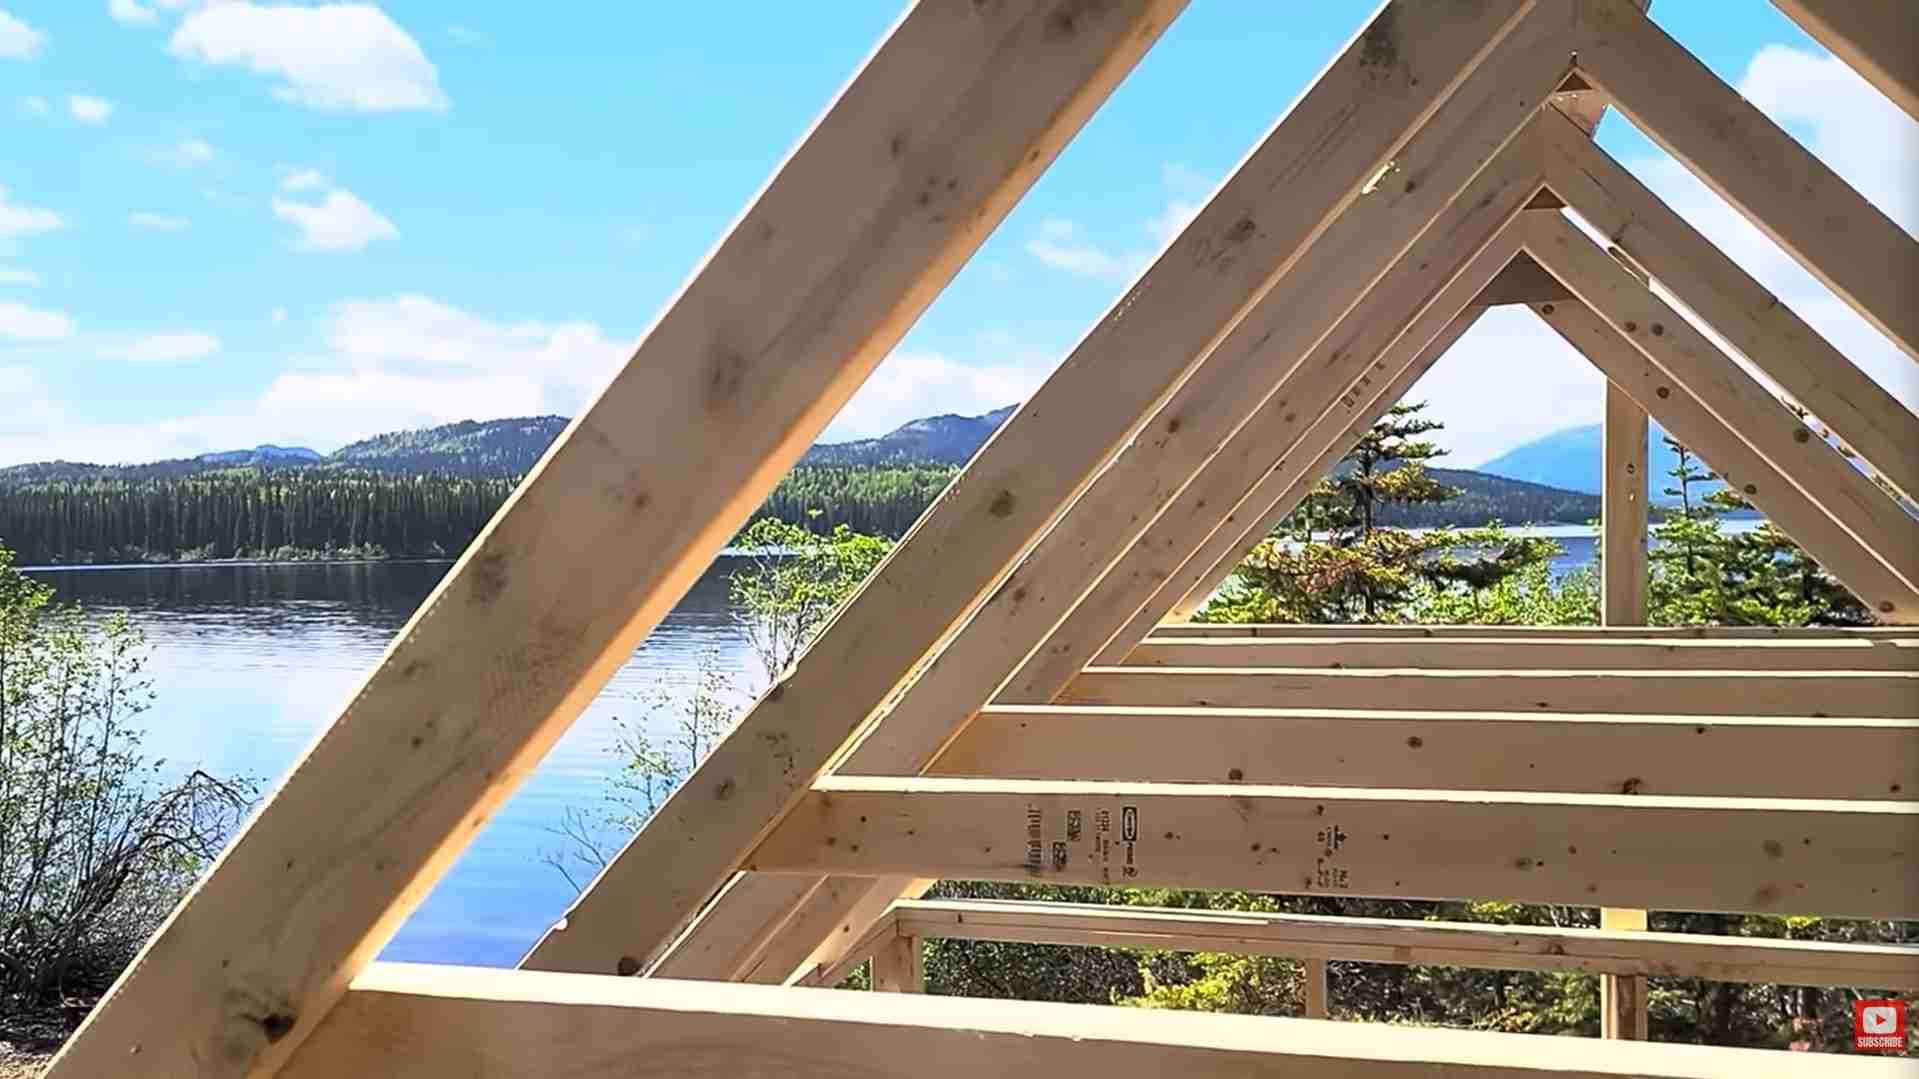
The day the rafters went up, the island gave us postcard scenery. Through the frame, you could see the lake, mountain ridges, and treetops layered perfectly between the beams.
It was the moment we realized this greenhouse wasn’t just a utility structure — it would be a sanctuary. A warm place to tend seedlings in early spring and a peaceful spot to steal a few minutes of sunshine on cooler days.
Wrapping the Greenhouse in 6-Mil Poly Film (Roof and Walls)
Instead of costly rigid panels, we wrapped the entire greenhouse — roof and walls — with 6-mil poly film. It’s affordable, lightweight, and easy to replace. Will it survive a northern BC winter? We honestly don’t know.
But that’s the point: this greenhouse is a test. A way to learn how well simple materials can stand up to remote, off-grid conditions before investing in anything heavier or more expensive.
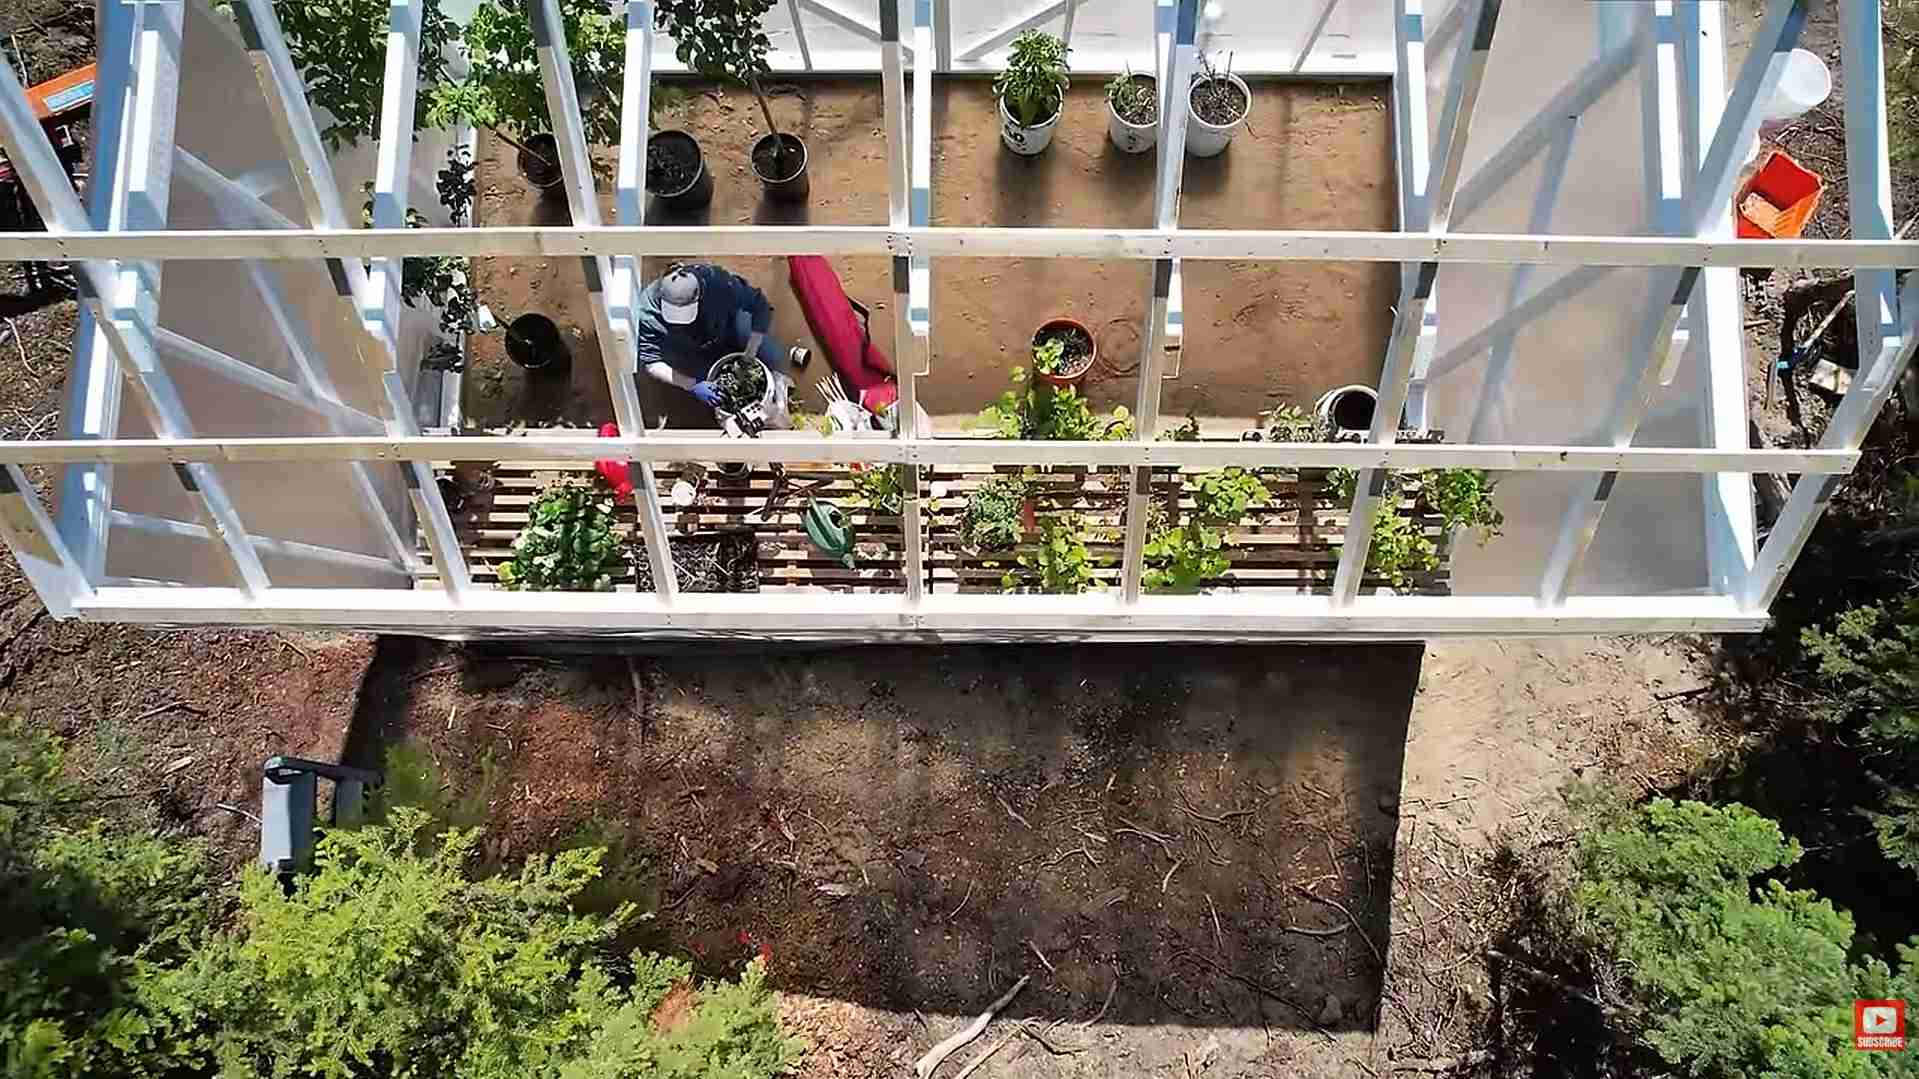
As the plastic went on, the greenhouse brightened and Melodi’s excitement soared. This is her favourite place on the island — her future jungle of seedlings, herbs, and early-season veggies.
The Finished Greenhouse: A New Step Toward Off-Grid Self-Reliance
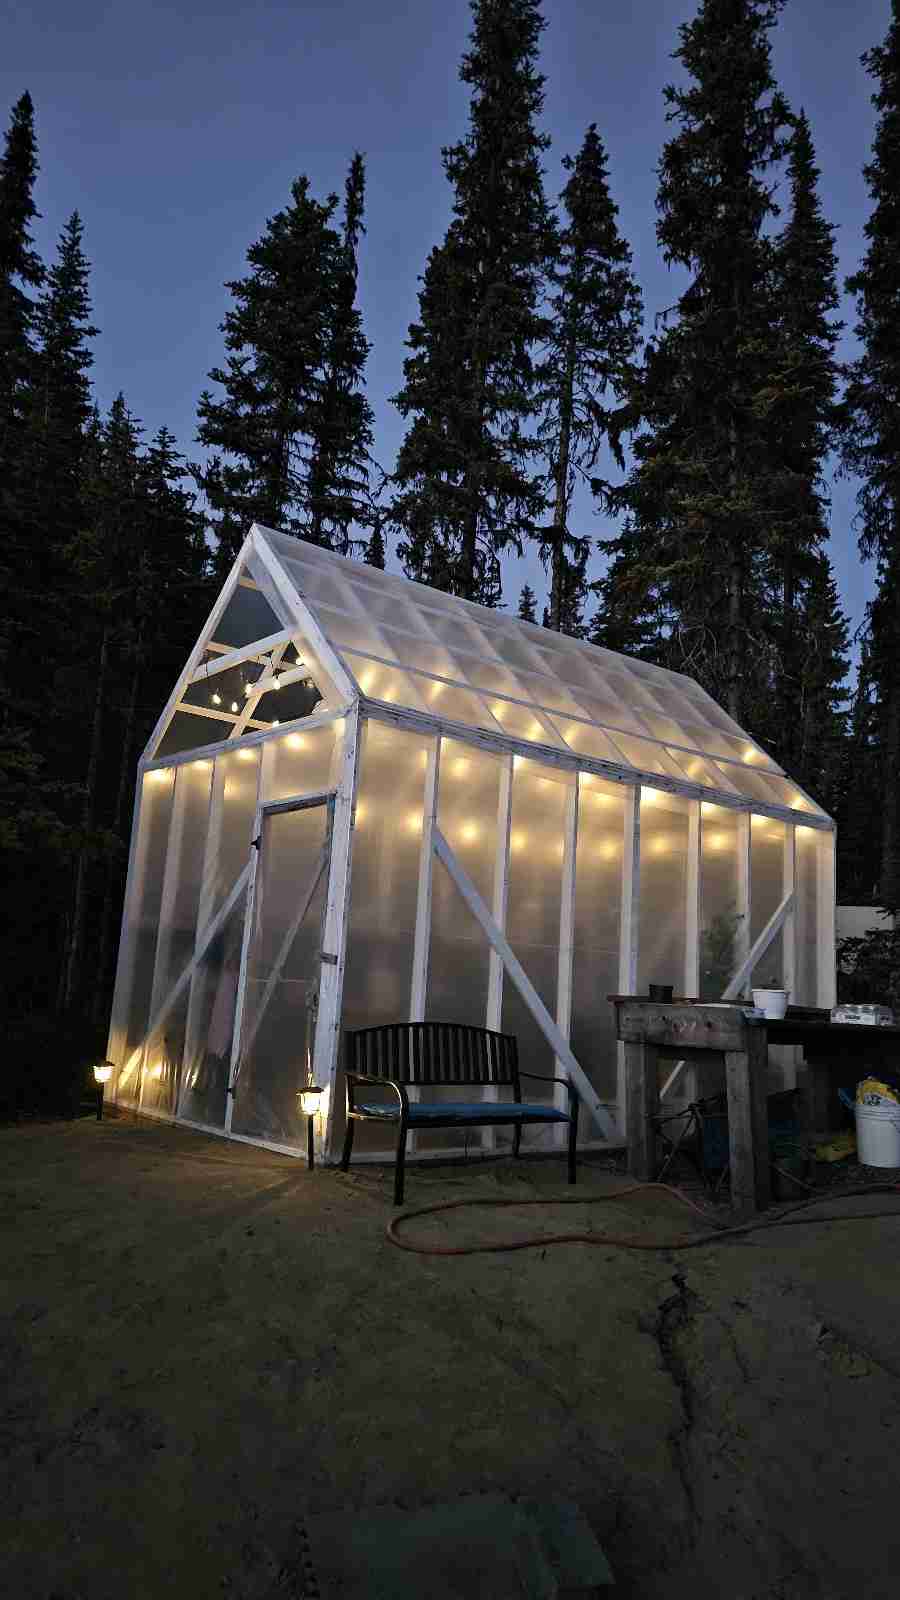
When the final sheet of poly was secured, we stepped back to see a tall, glowing greenhouse tucked into the forest. Inside, the first trays of plants waited in the warmth. Outside, the solar array hummed quietly, powering the future food that will grow here long before the snow has melted.
This greenhouse is humble, experimental, and absolutely perfect for this stage of our homestead journey.
If the winter rips the plastic apart?
Then we learn something new, make a few changes, and build it again.