Living Off Grid – Tiny Cabin – Remote Wilderness Island – Alone and Loving It! – S3 Ep22
Welcome back to our remote island homestead! In this episode, off‑grid living on a remote island is put to the test as we are racing to build guest accommodations so they can be ready before our family arrives to visit. Ryan must also get the storage shed built under the array before we leave! We welcome you to join us for a day packed with mud, mist, and milestones on Bird Island!
Table of Contents
- Setting Up The ShedRooms
- Taking it to the Next Level — lights, power, & wifi
- Moving the Array — solar array maintenance
- A Door for REALLY BIG Chickens!
- Our Storage Situation Improves – Big Time!
- Sour Apples and a Construction Mistake
- What’s Next
Living Off Grid with ShedRooms
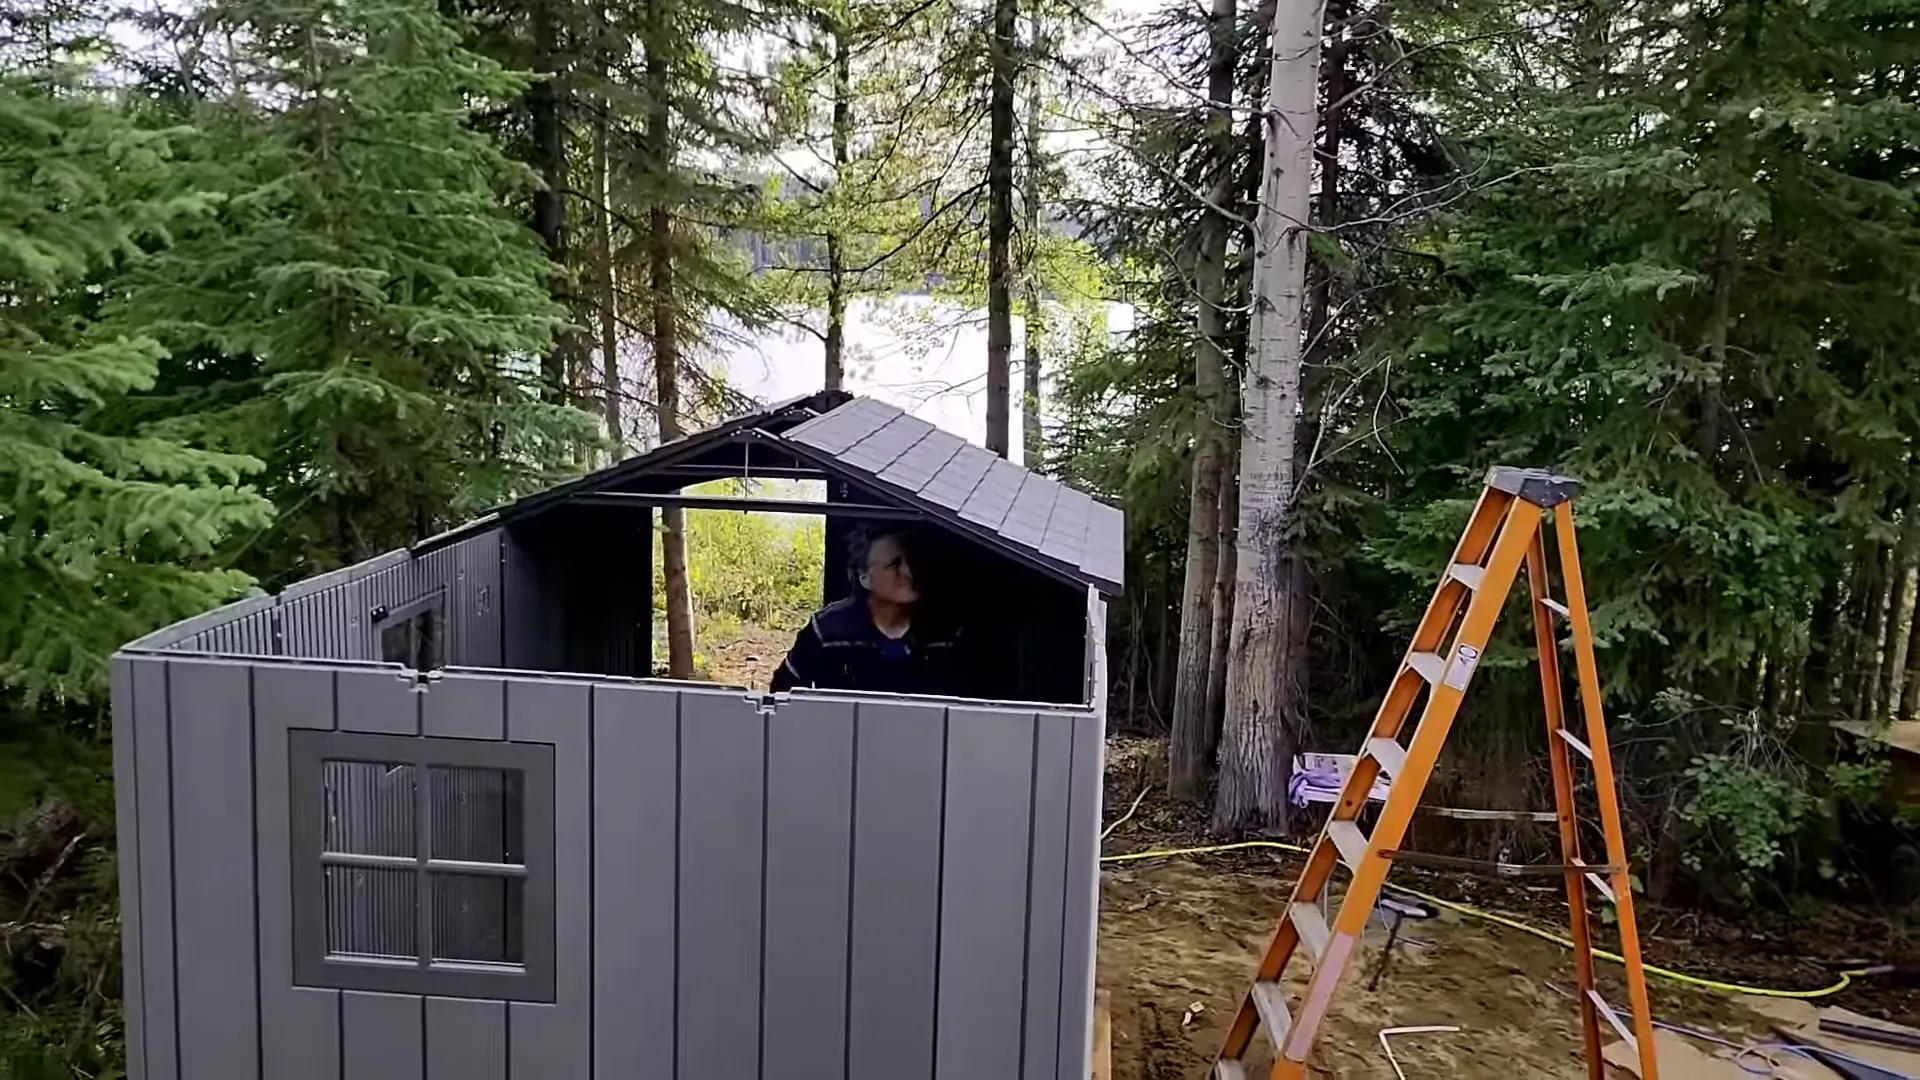
We started the day before dawn — quarter after five — running for the truck and gear, then pulling away from shore past Berry Point in the cold mist. Once on site we focused on erecting the first of two shed-rooms: compact, sturdy “bunky” sheds that will serve as guest cabins. These panels go together quickly when two people are steadying, lifting, and counting. We joked about needing more hands, but we got the roof panels on — 108 screws for the roof alone!
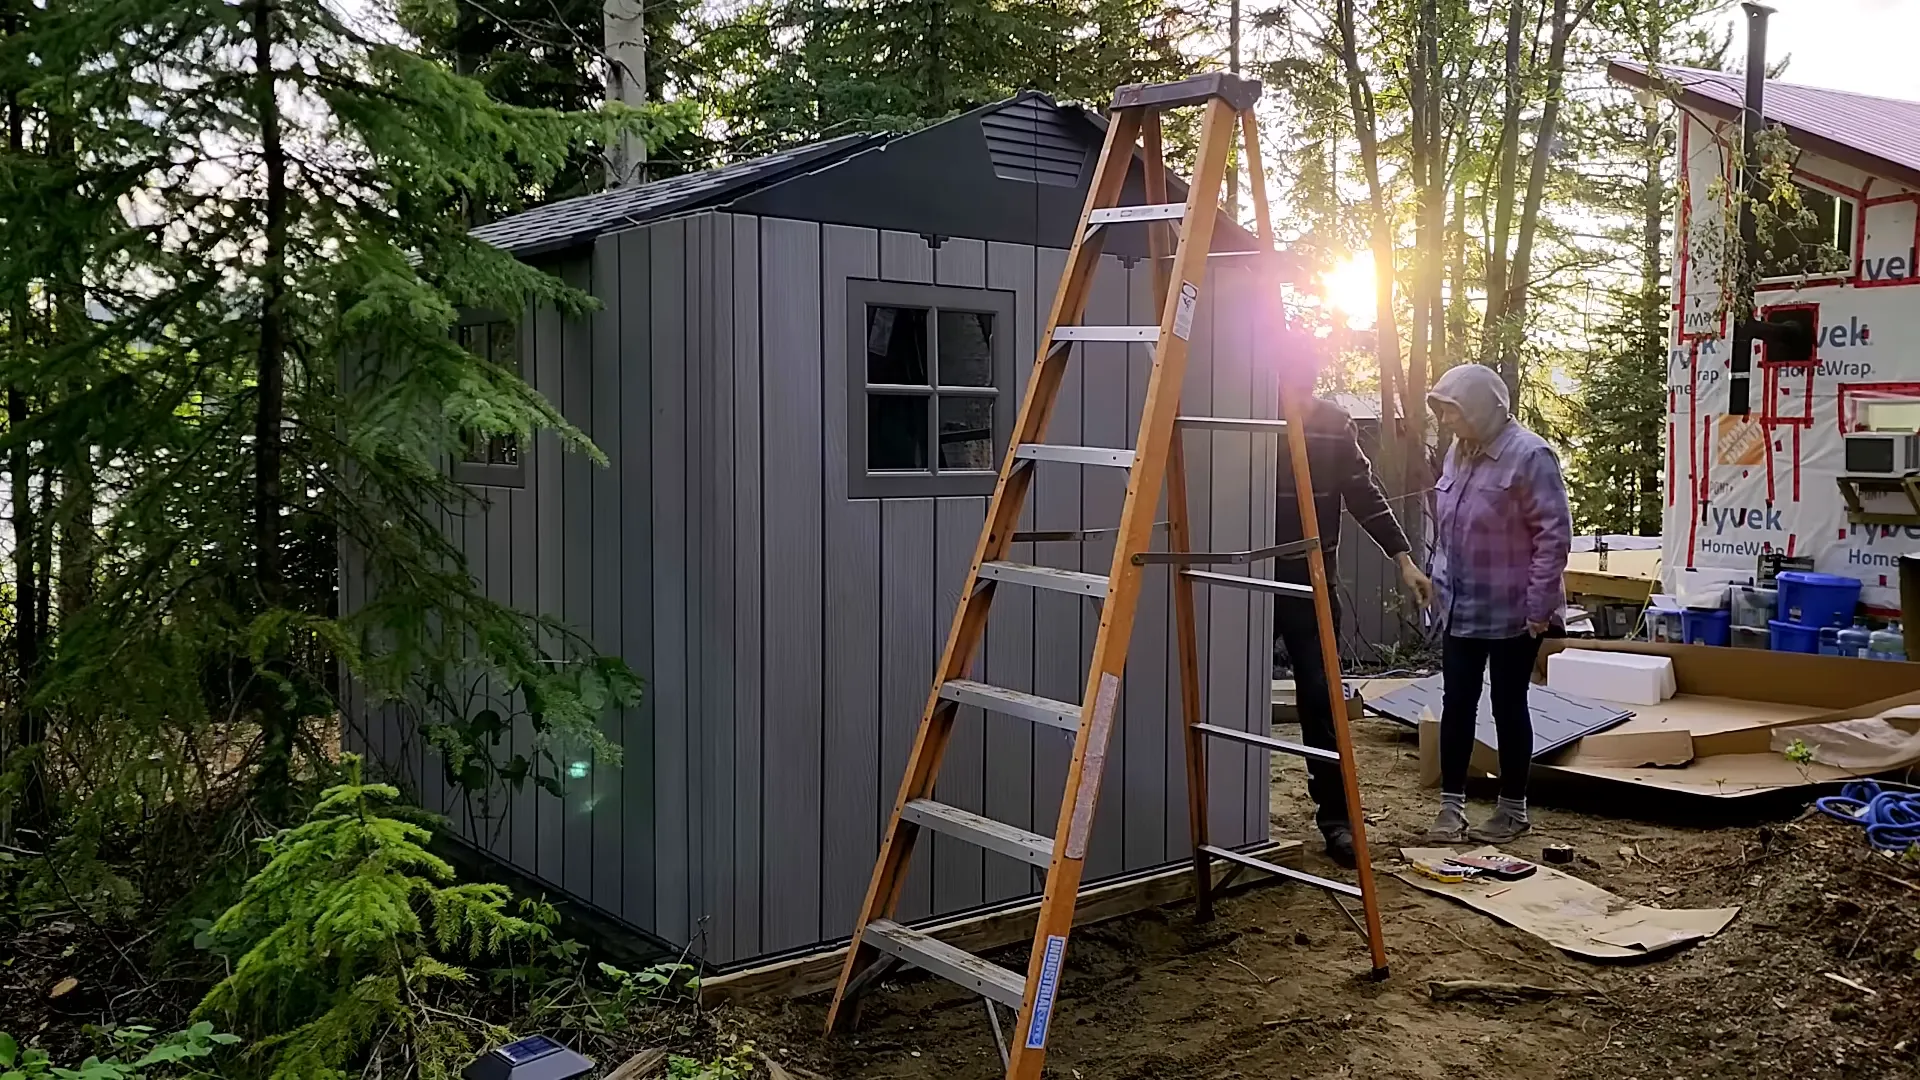
The sheds are simple but surprisingly solid. We reinforced corners with the included metal posts, added the skylight for daylight, and tested the fit of the bed and shelving. Our goal was to be efficient: a wooden bed frame to lift the mattress off the floor for storage underneath, tiny shelving, and a cozy layout so a guest can sit and stare out the French doors at the lake. It’s incredible how much livable space a compact storage shed can become with a little planning and elbow grease.
Taking Living off Grid to the Next Level — lights, power, & wifi
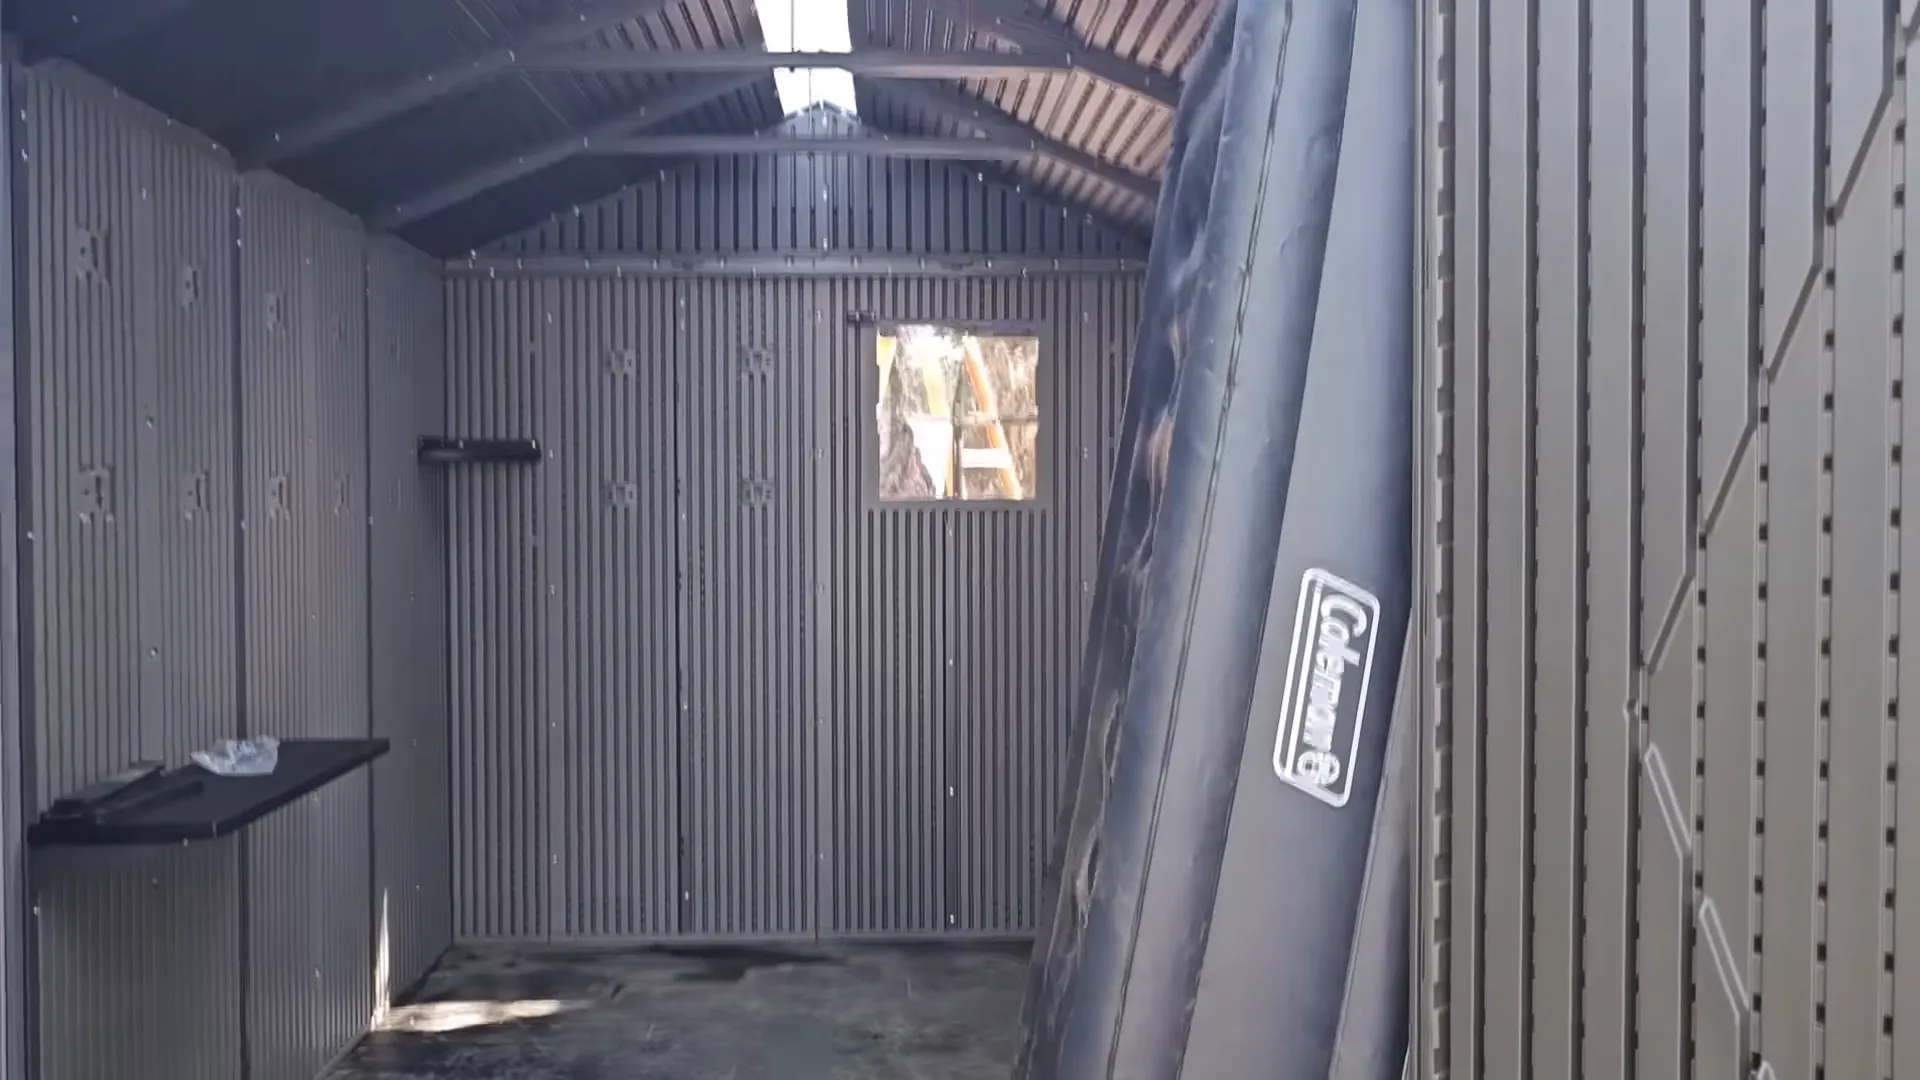
Once the basic structure was up we talked about comfort. We plan to add power, lights and wifi, turning these sheds into real tiny cabins where family will feel welcome. Small creature comforts make all the difference when people arrive for a stay — a chair, a little laptop station, and accessible lighting change the whole vibe.
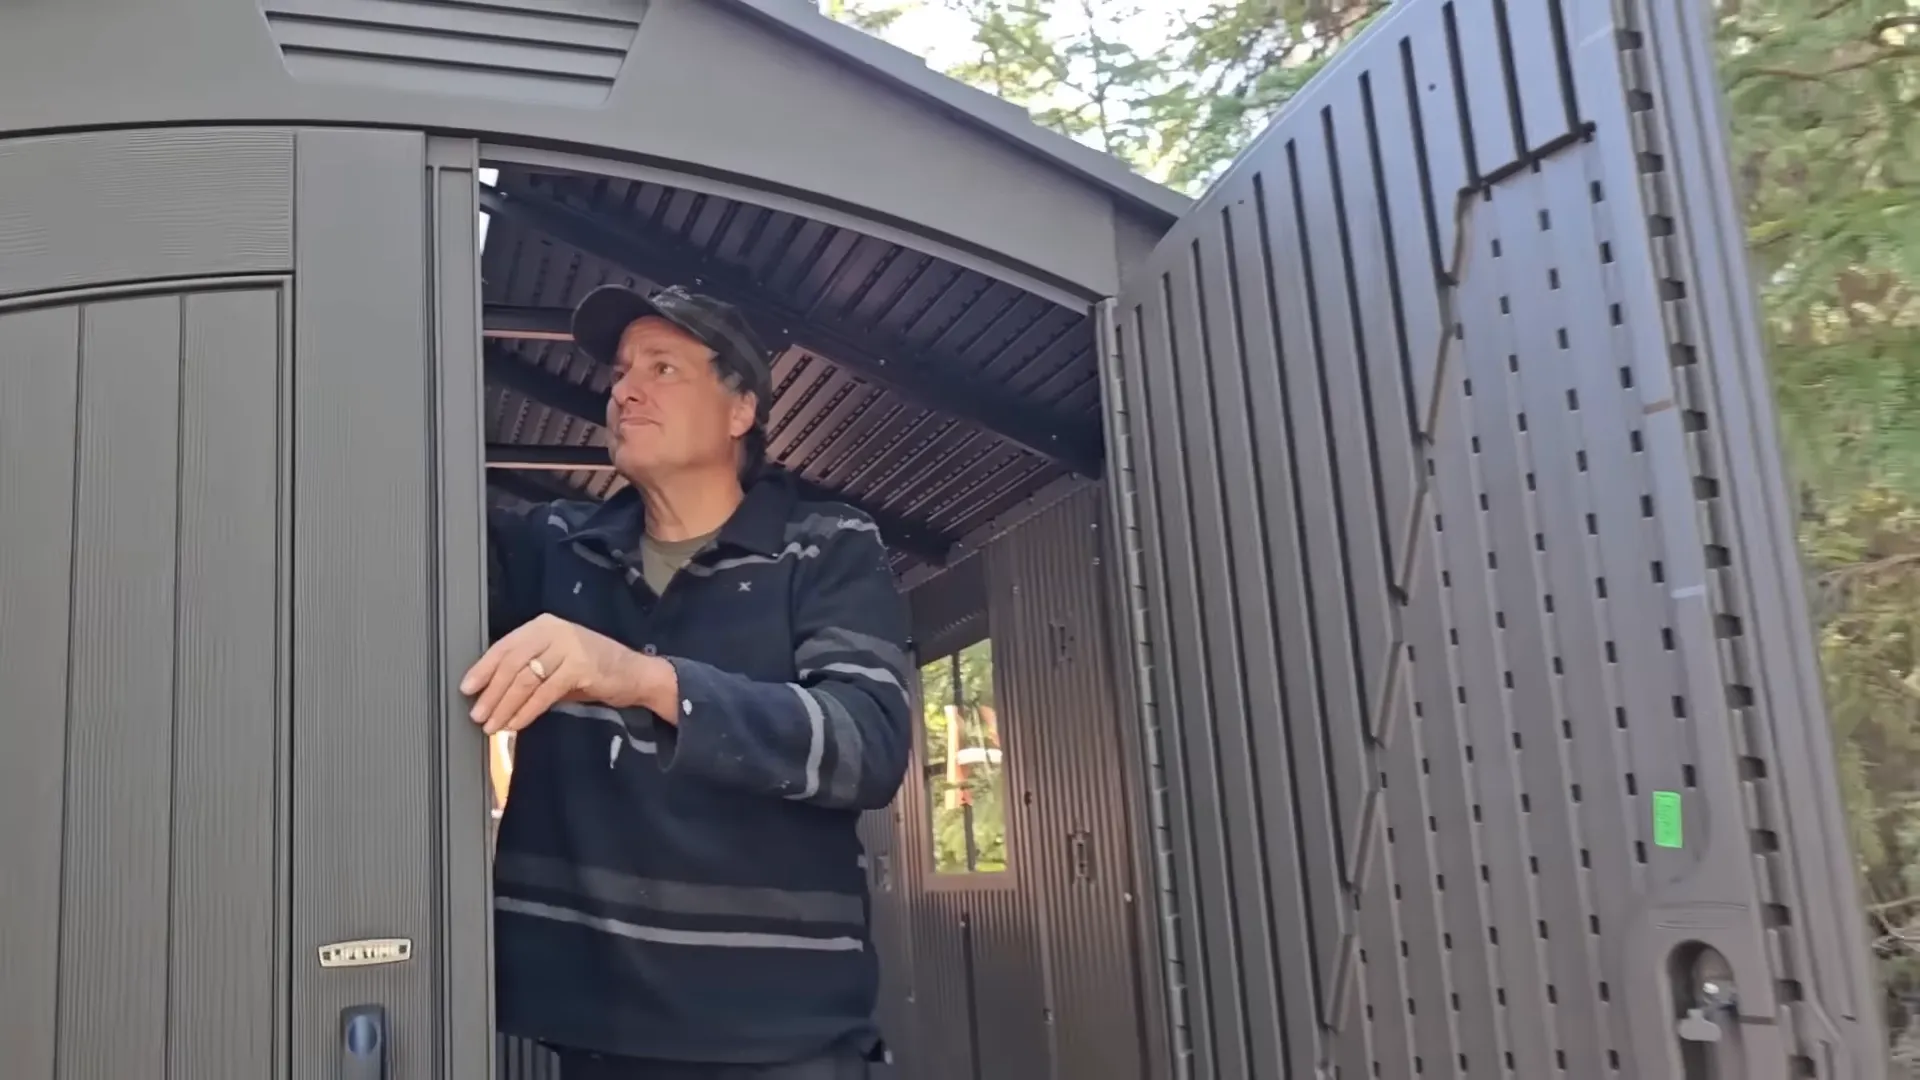
Practical decisions were made on the spot: where to put corner shelves, how the bed should face the view, and how to preserve headspace when adding storage. We also swept the floor (twice), acknowledged the mud, and talked through finishing touches like pallets for and end-of-porch lighting to make a friendly porch area.
Moving the Array — solar array maintenance
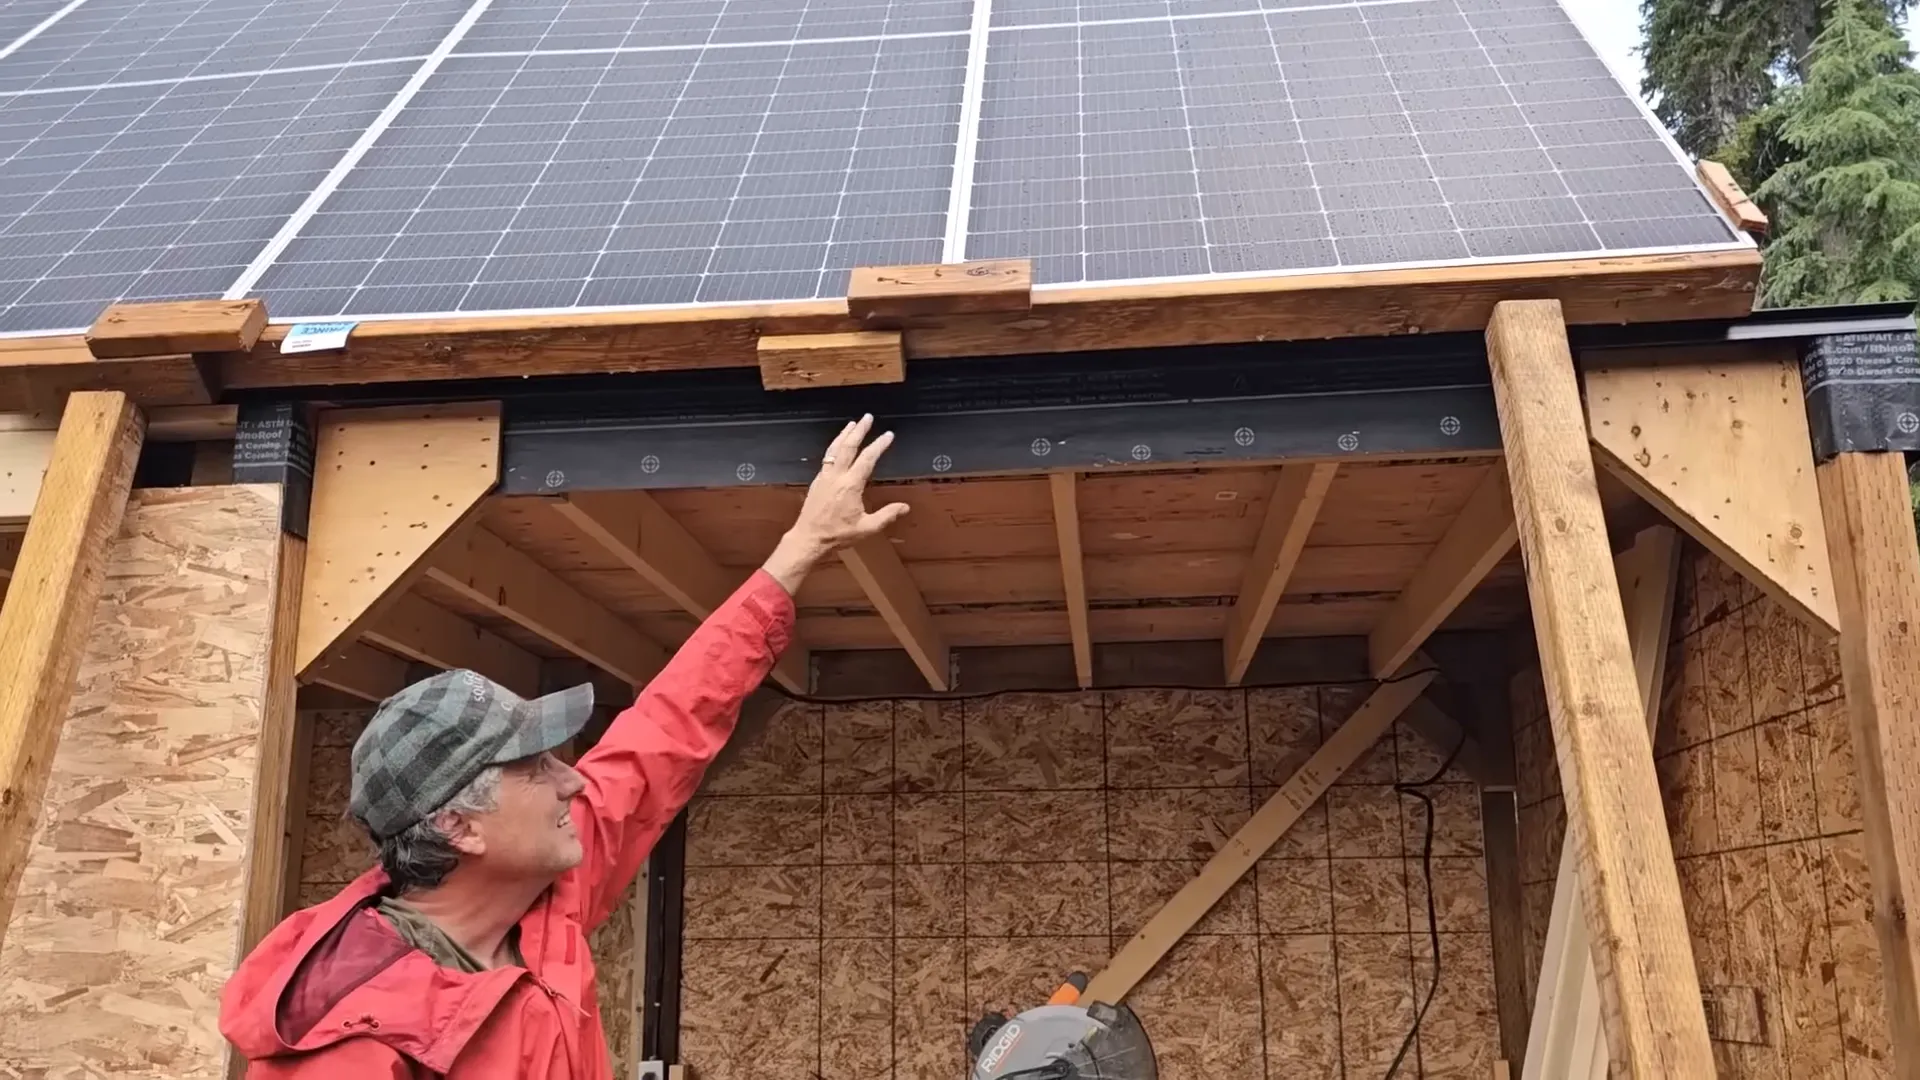
With the sheds underway we switched focus to the solar array that sits above the storage building. The array had to be adjusted to allow a drip edge to run under its leading edge so water would drain away from the building, not onto it. To do that we disconnected and temporarily cantilevered the array. It’s heavy — roughly 1200 pounds — so we used timbers to lever it just a hair to slide flashing under.
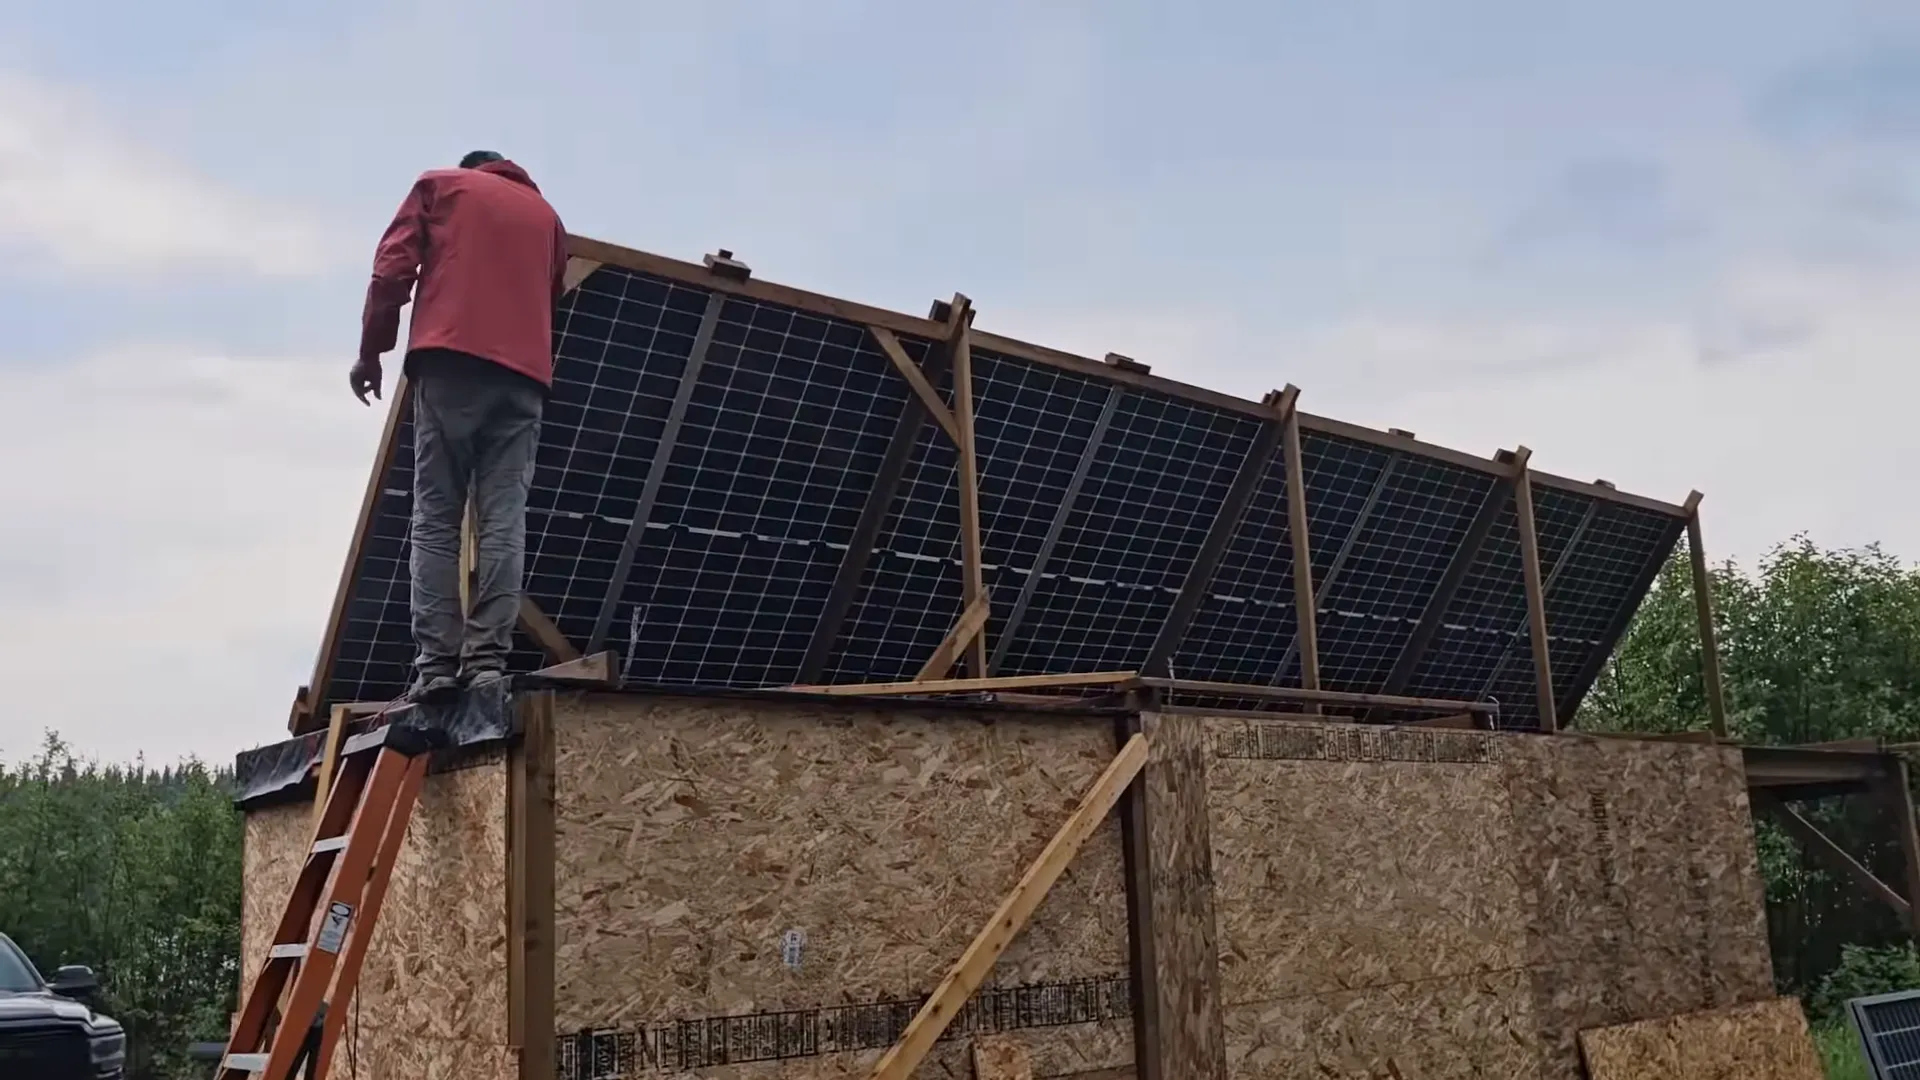
There’s always tweaking to be done. The panels were slightly misaligned due to mount geometry, so drilling in place (instead of swinging a hammer) was necessary to avoid damage. We found that a careful balance of leverage, flashing, and a plan to add building paper later would keep the wood protected from water. Routine maintenance like this keeps an off-grid system reliable — and saves headaches during storms.
A Door for REALLY BIG Chickens!
We had some fun along the way, calling one of the pieces a “chicken-asaurus” door — a big, heavy barn-style slab we used to help lever panels. With creativity and patience, temporary tools become solutions. We test-fitted doors and hinges, learning that screwing a door in place, setting the hinge, then removing temporary screws made final siding easier and more accurate.
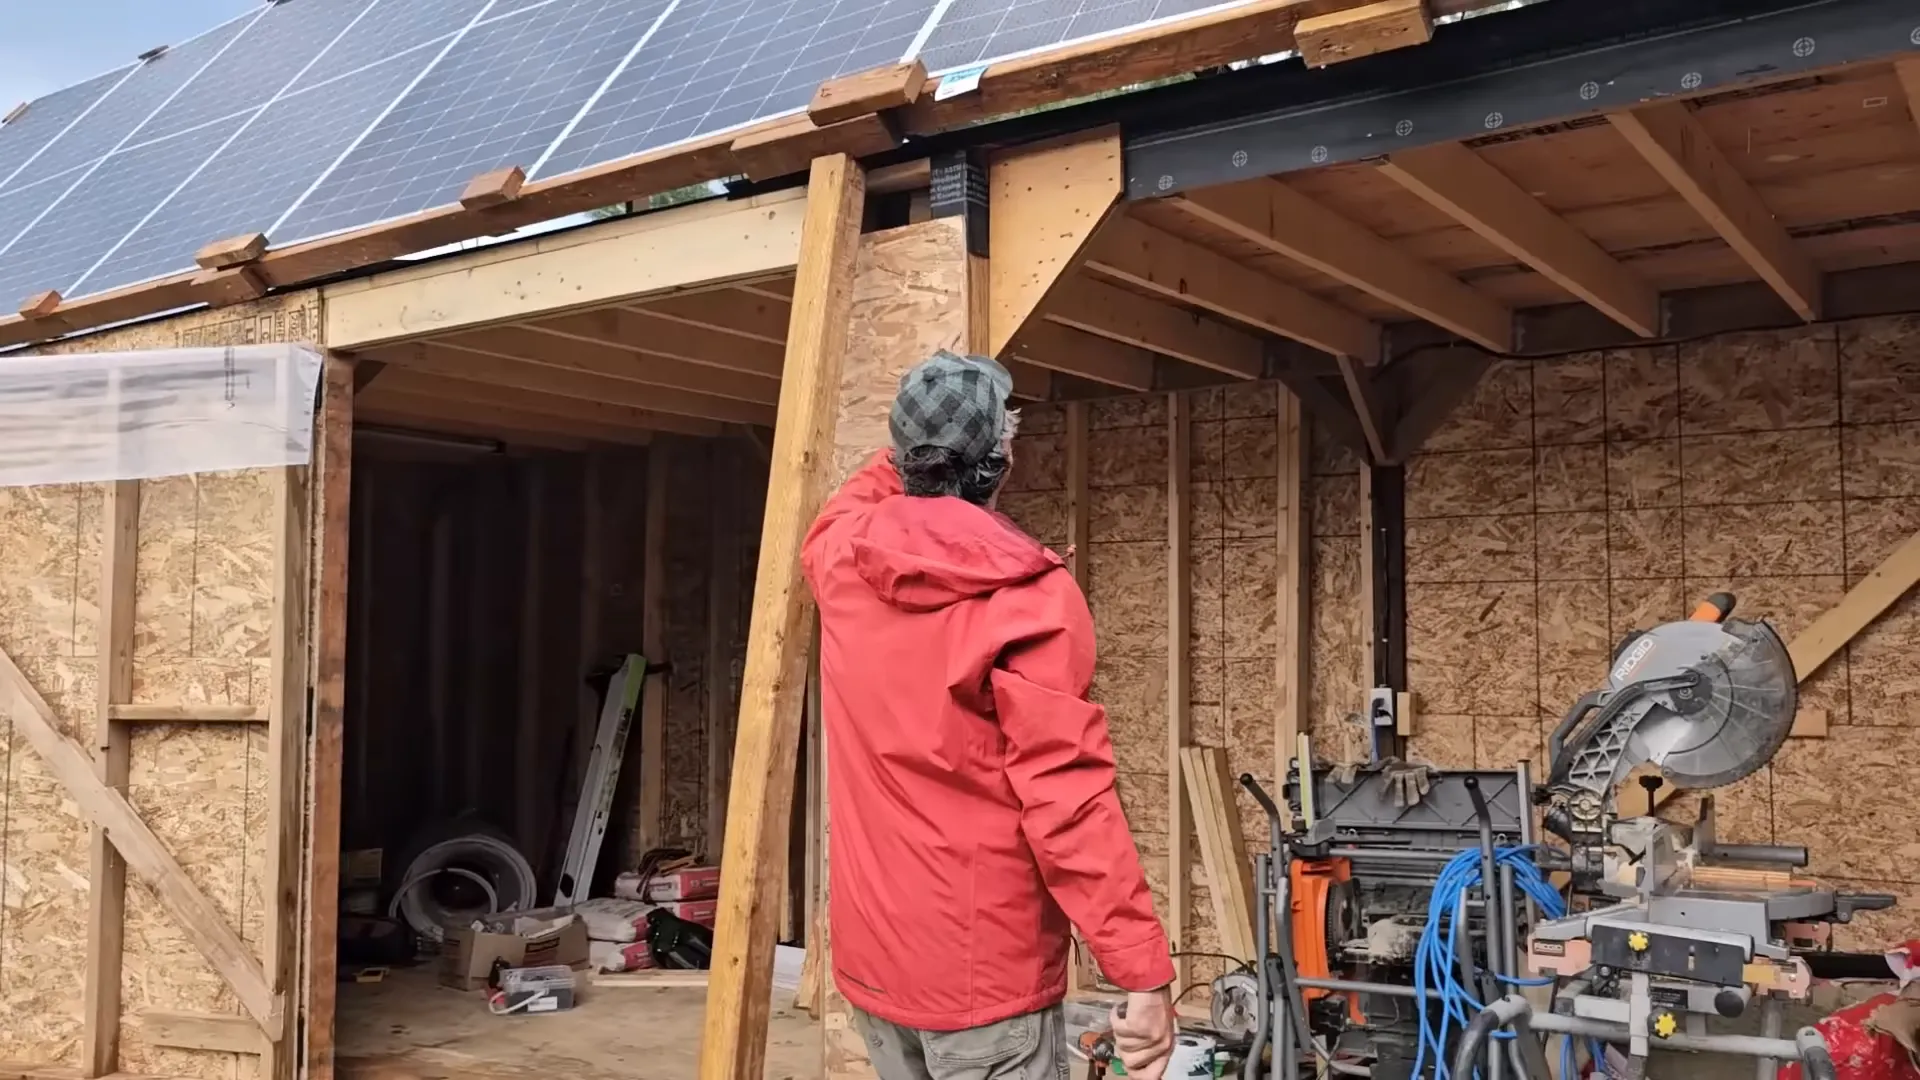
We did bend one drip edge during the effort, but it was minor and fixable. The priority was protecting the sill plate — adding flashing to prevent water running down behind the trim was a must. Those little details keep the building dry and long-lived in a wet environment like our island.
Our Living Off Grid Storage Situation Improves – Big Time!
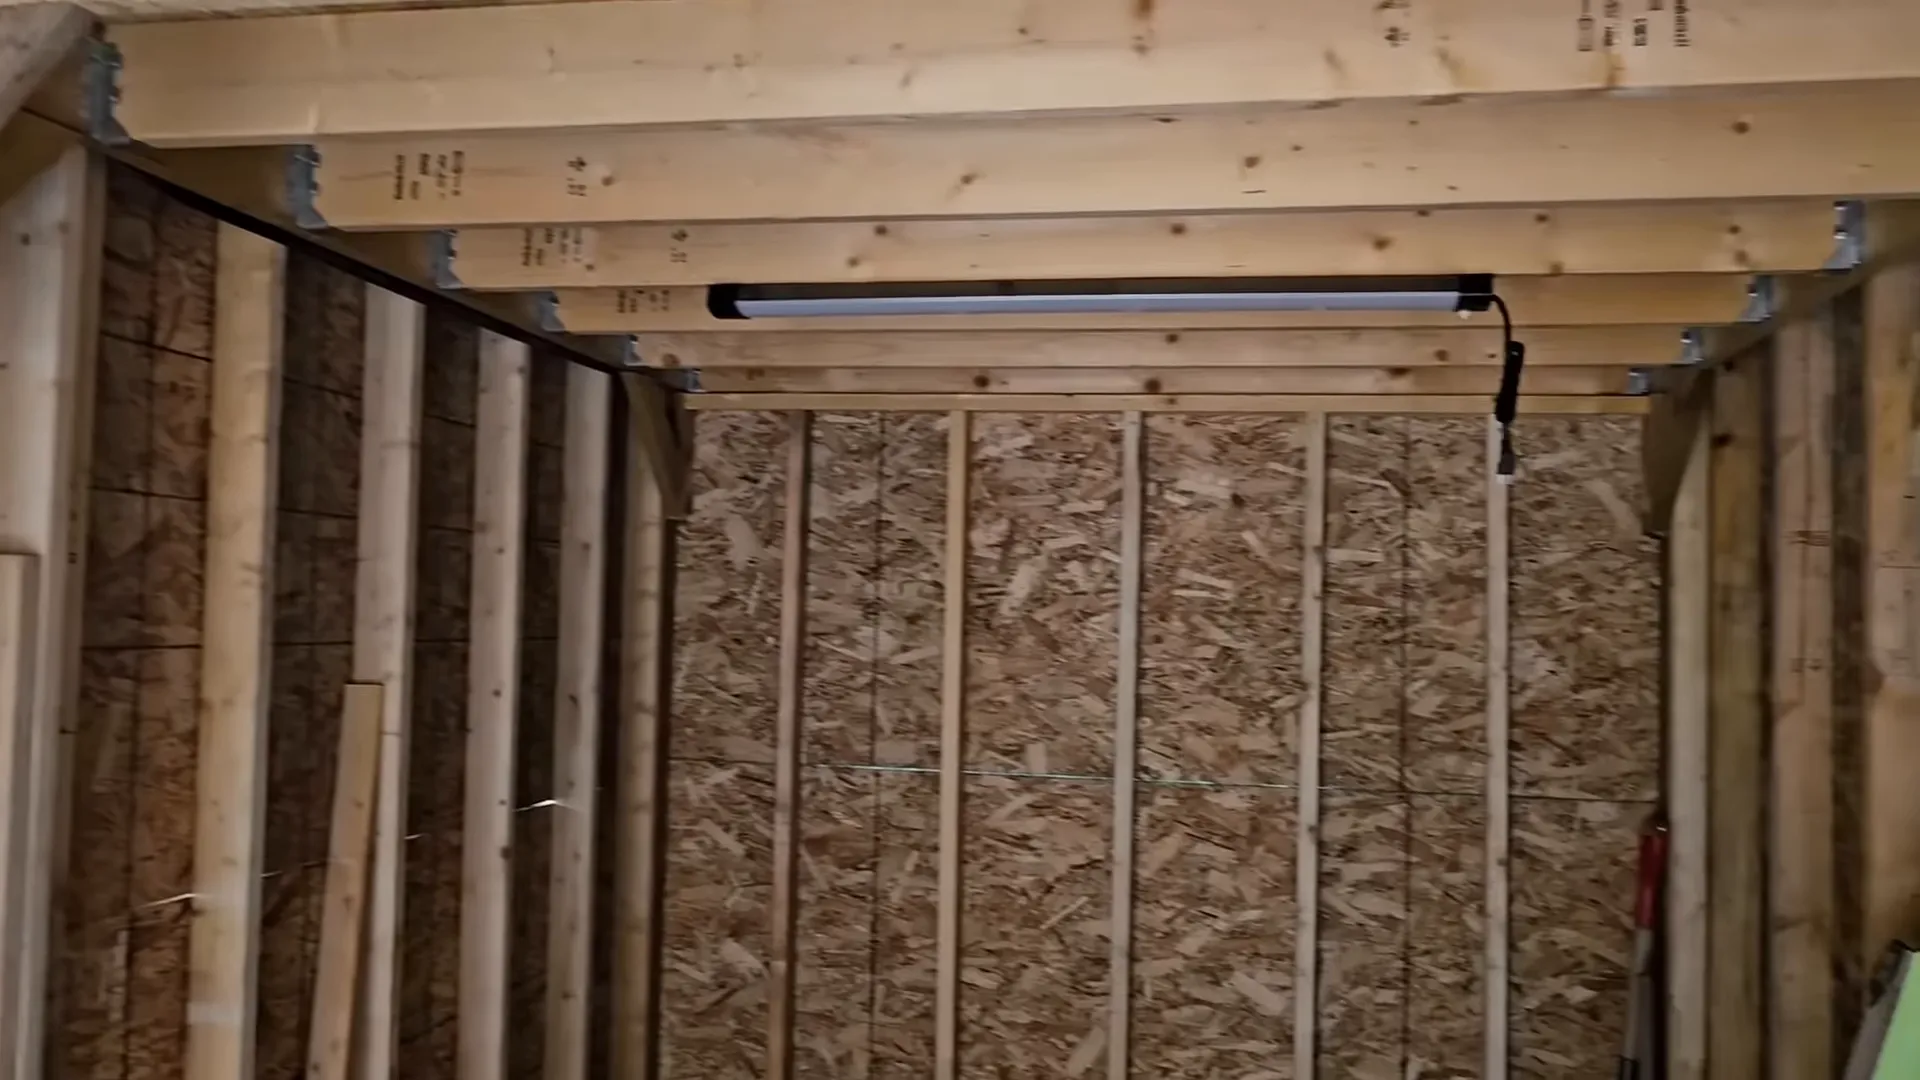
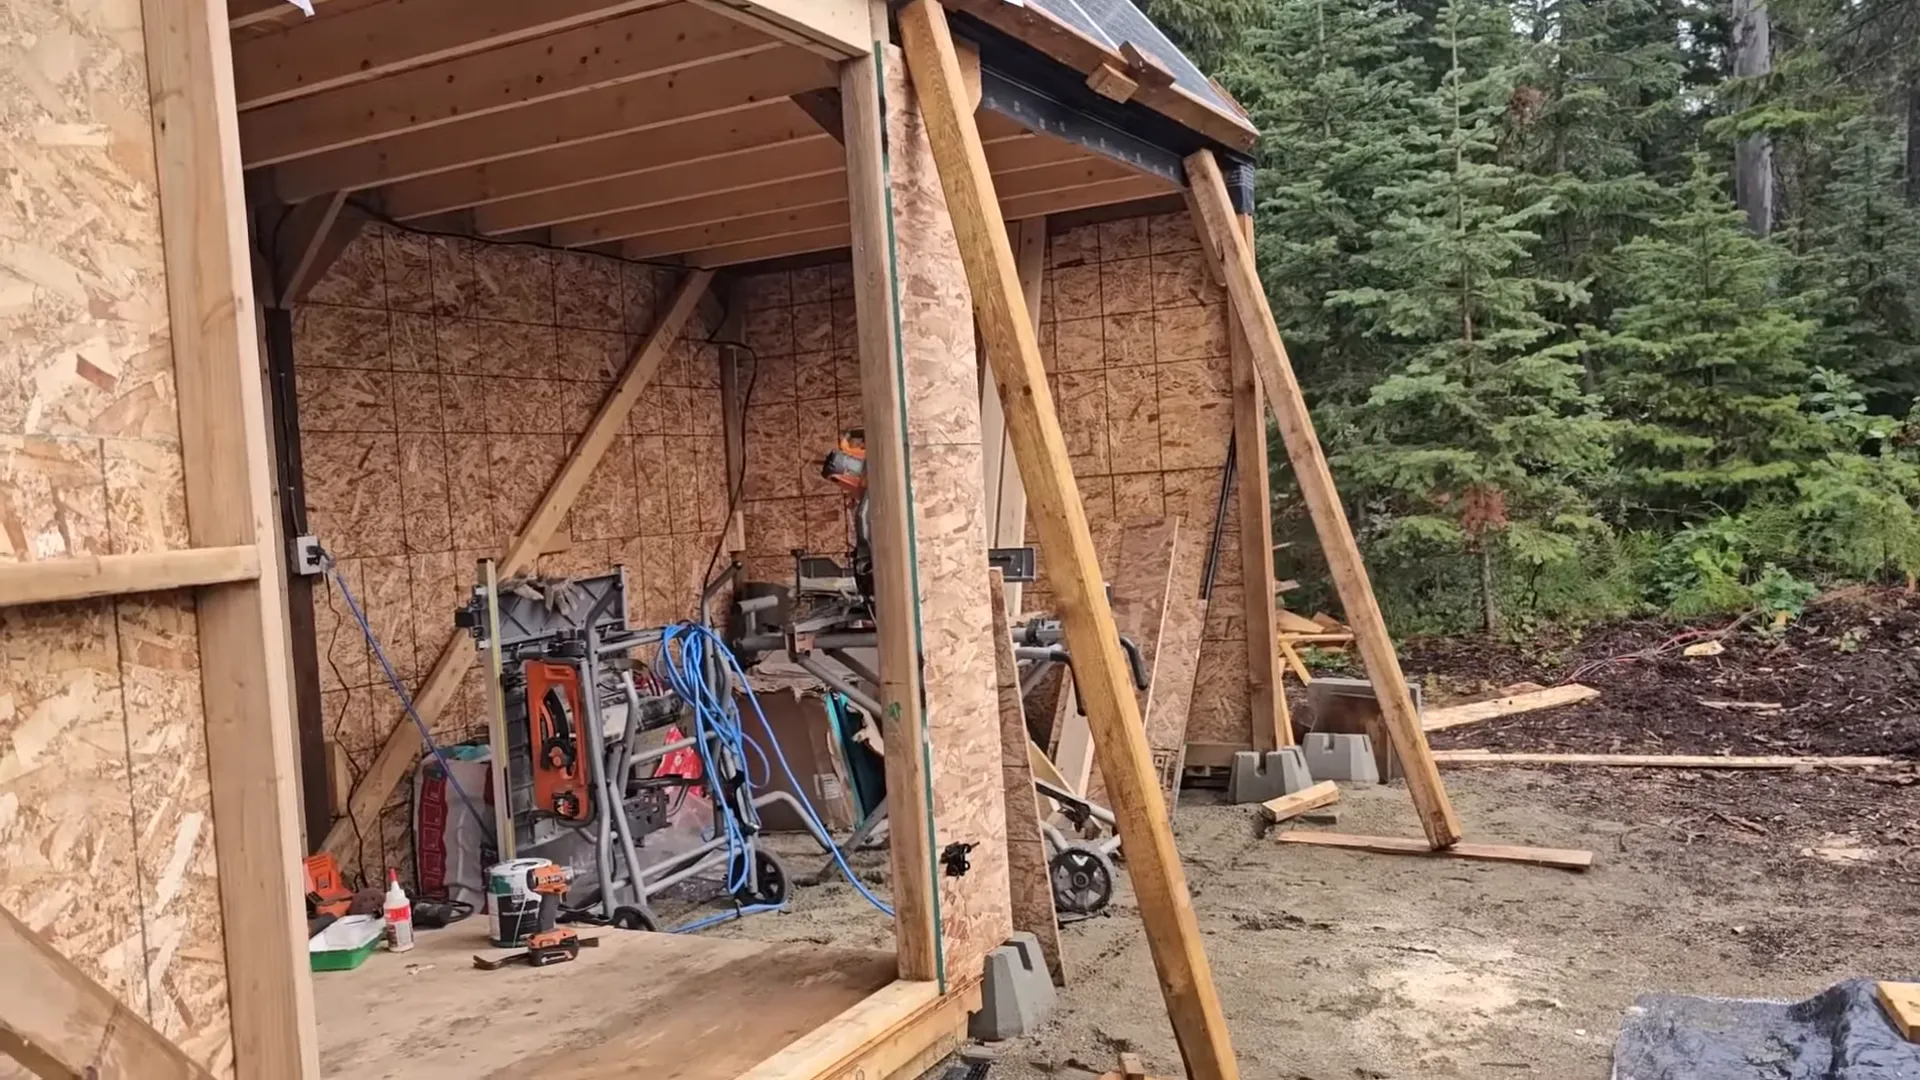
With one shed finished we had usable enclosed space for tools, panels, and even guests. We can already see how better storage changes daily life here: temporary electrical lines can be buried, a yard hydrant will be trenched below the frost line, and extra solar panels can live on temporary racks until we mount them permanently. Clearing and organizing these spaces simplifies everything — from installation to weekend stays.
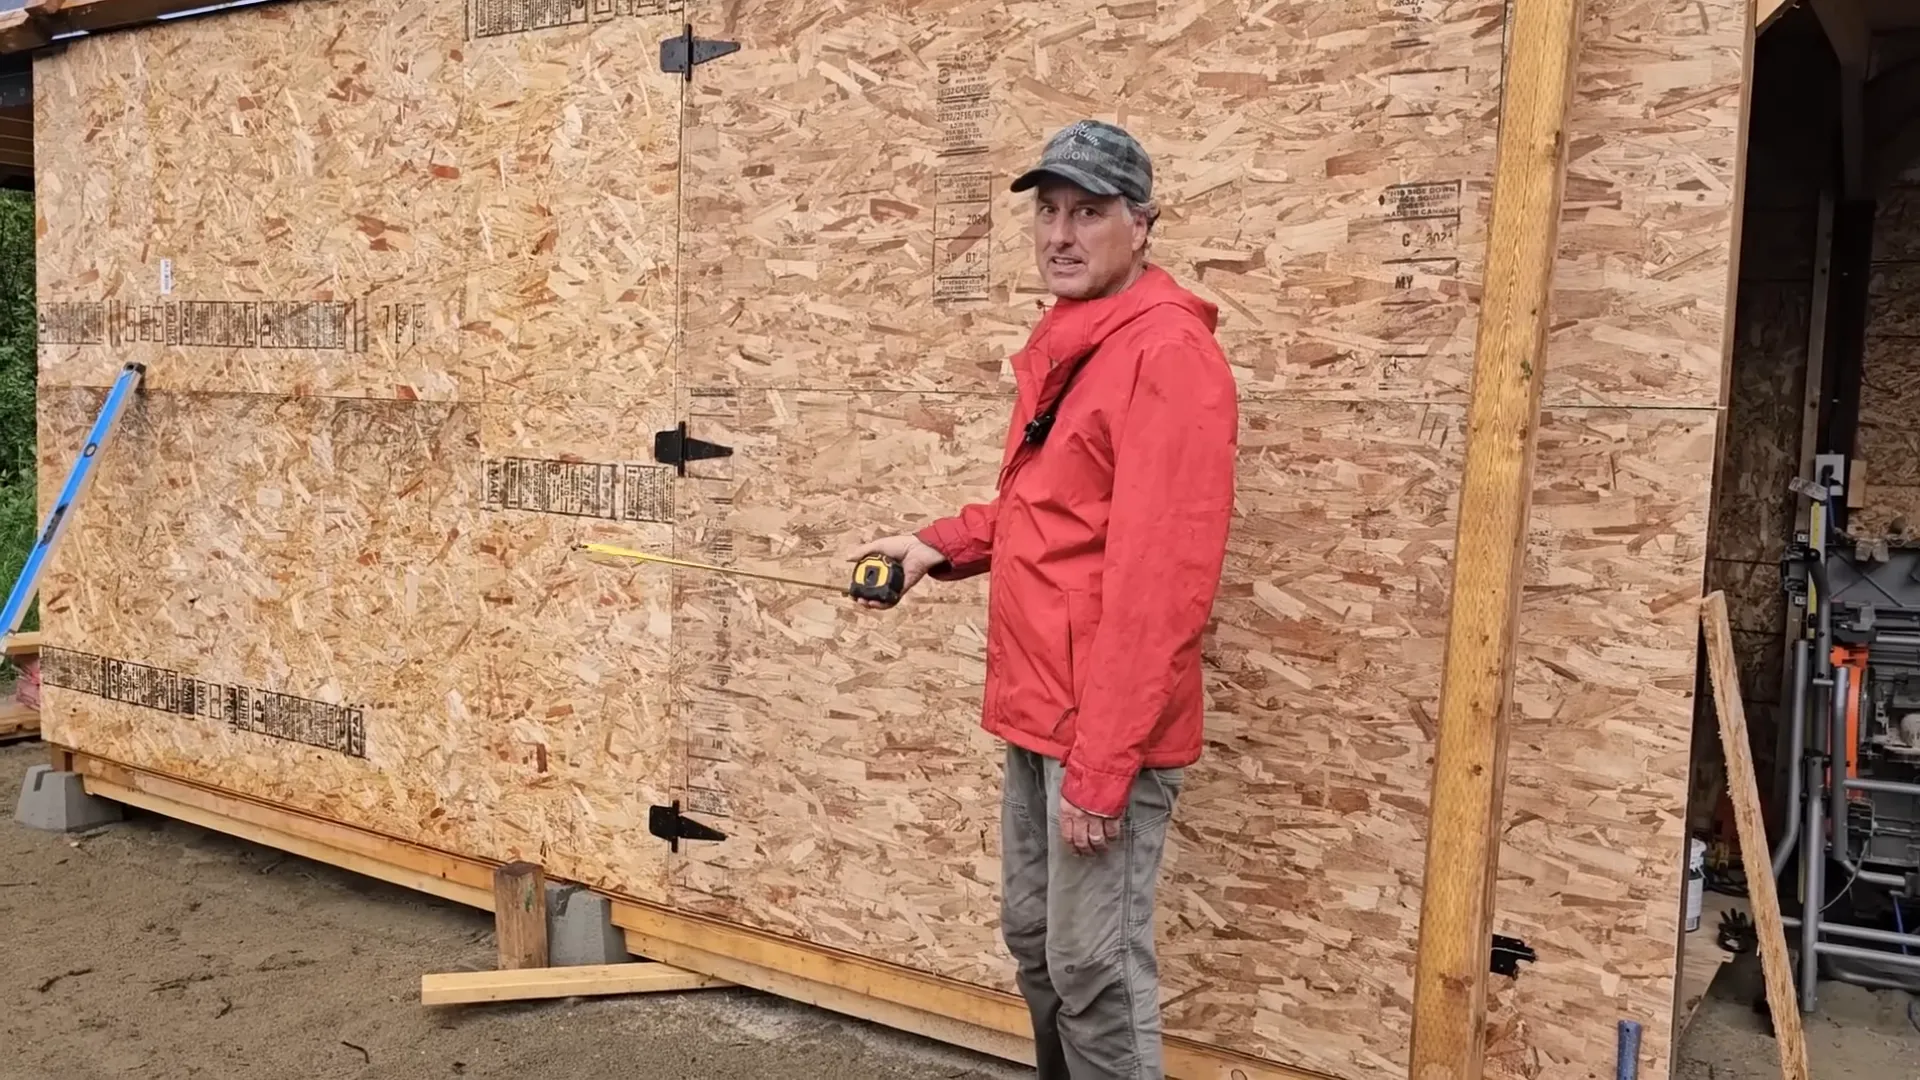
We’ll be building temporary racks for the remaining panels like we used last year and tidying up wiring and water to make things safer and more efficient. Small infrastructure projects like these compound into big usability gains for an off-grid homestead.
Sour Apples and a Construction Mistake
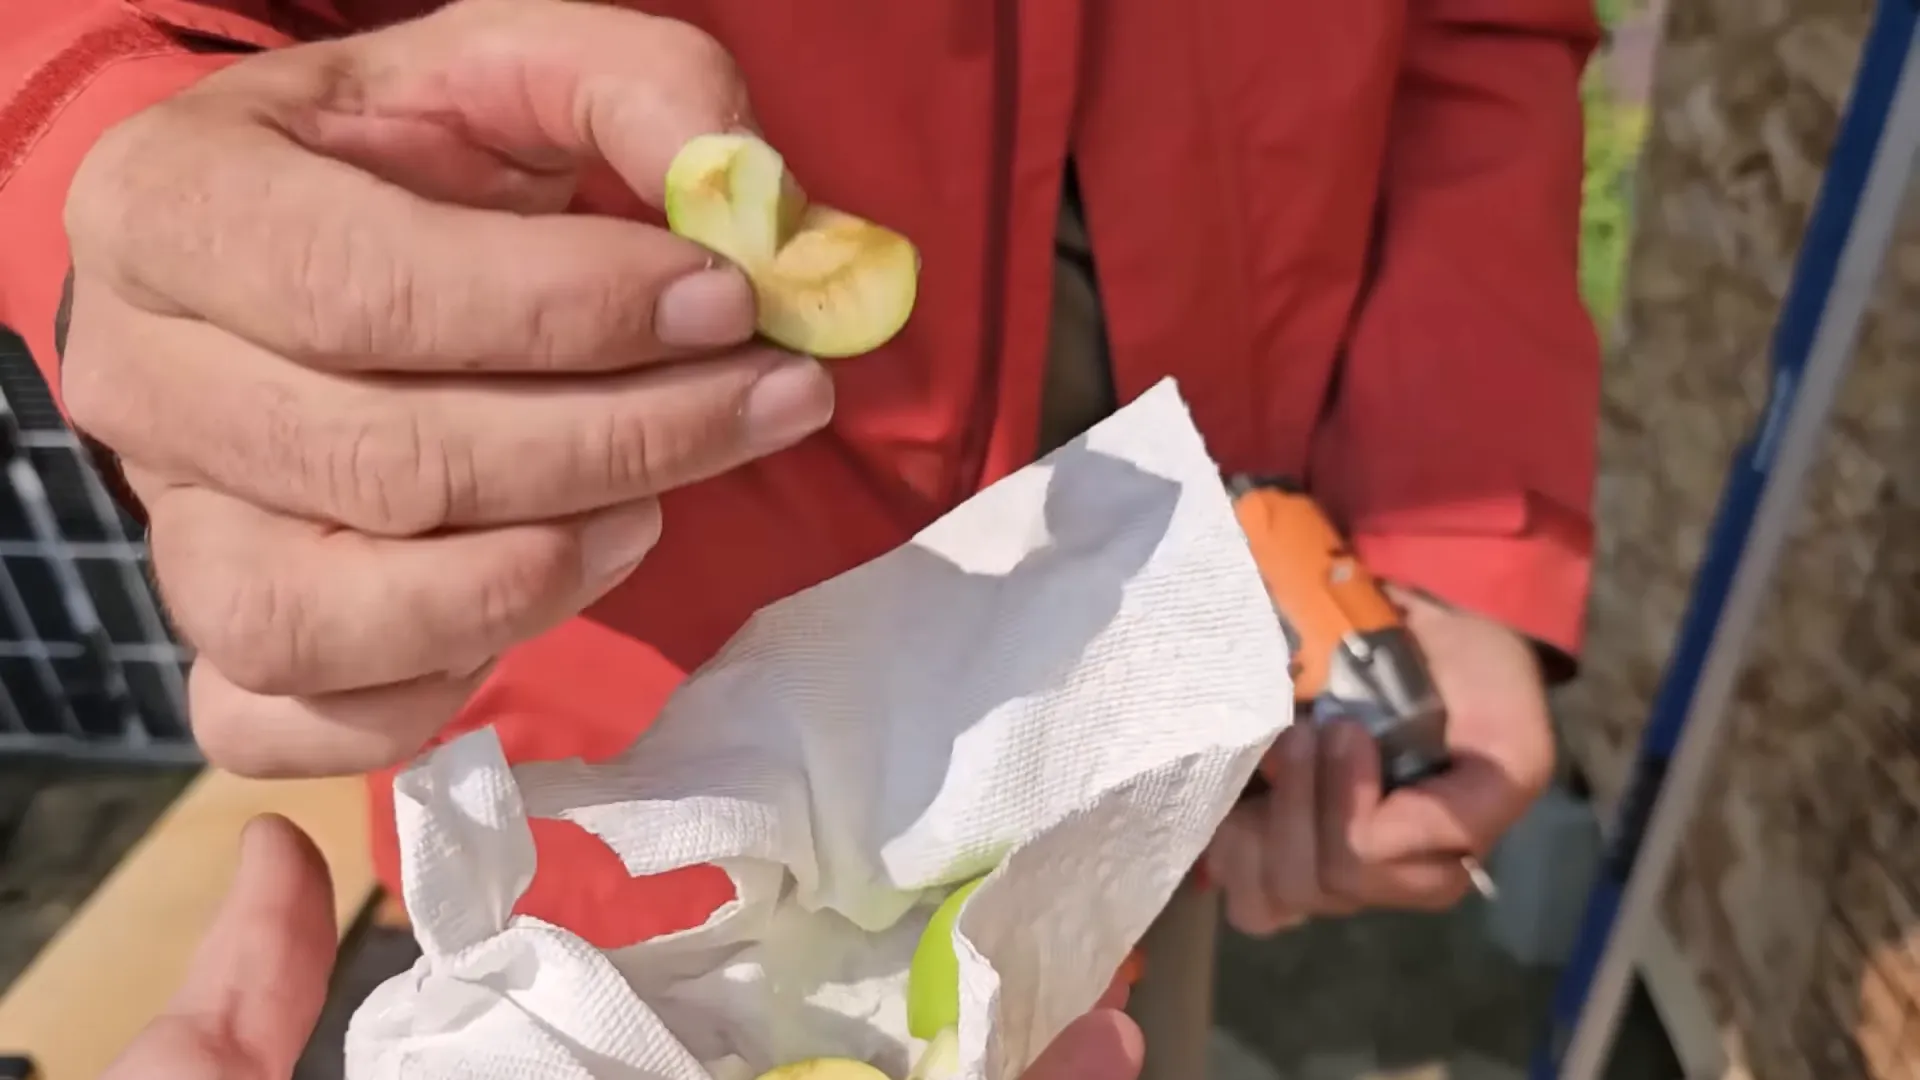
One joyful detour: our very first apples. Ten apples fell in a storm, bruised but edible. We washed and sampled them — tart, bright, and a little surprising — and celebrated that our trees are finally bearing fruit. Little wins like this keep us motivated on long build days.
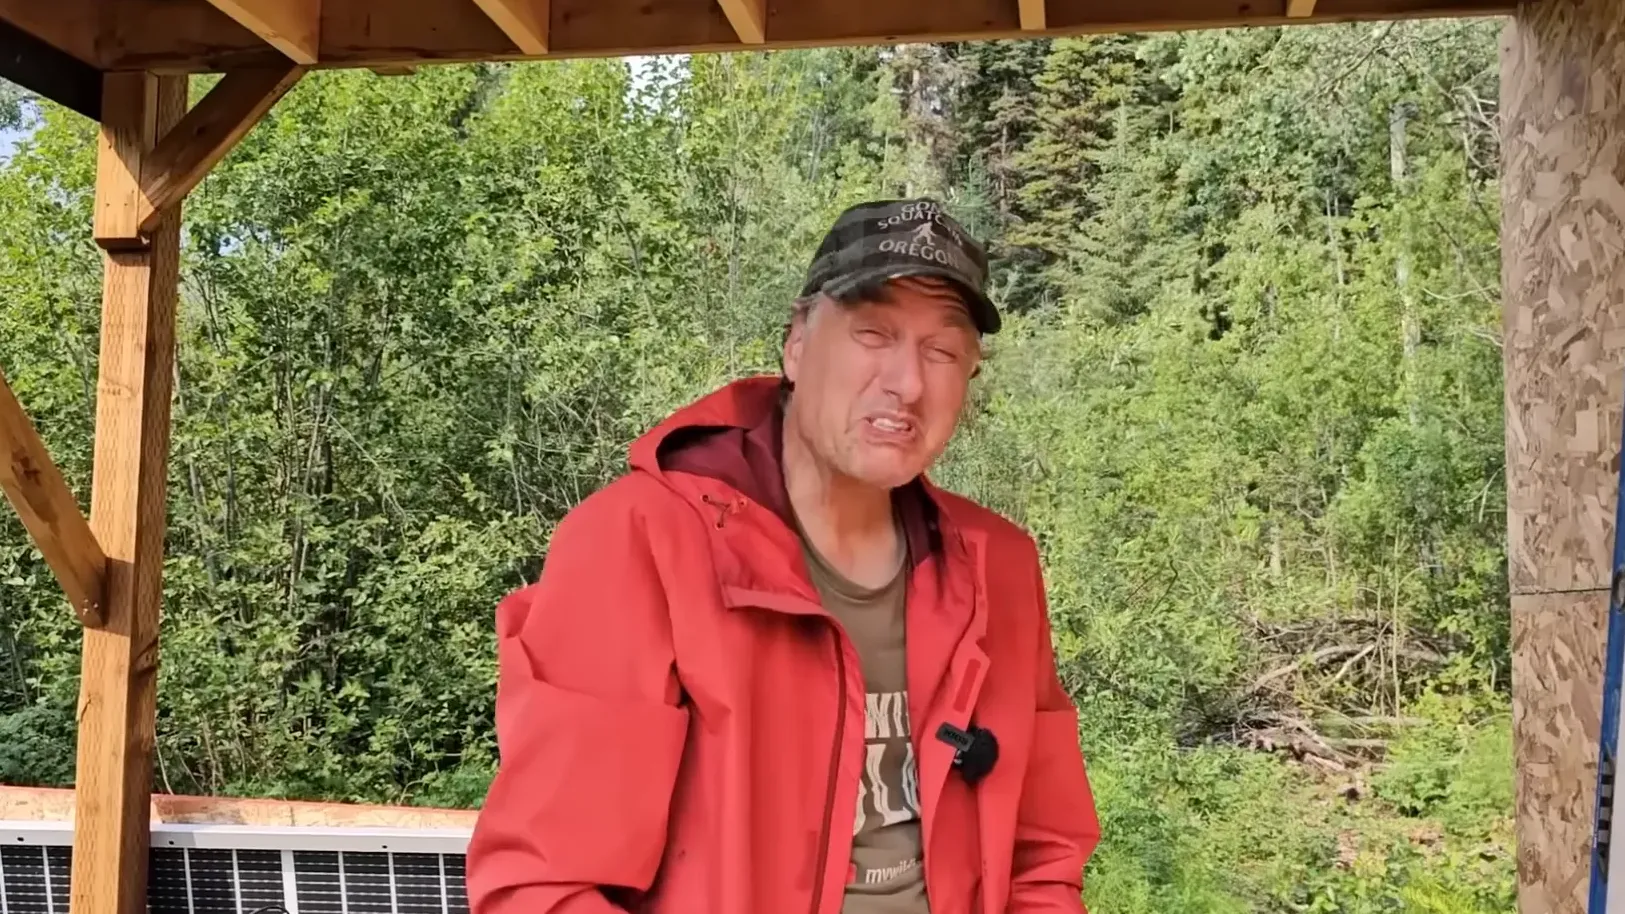
We also reflected on a small construction mistake: screwing sheathing in place rather than nailing with a nail gun cost extra time. It was a reminder that the right tool saves time and makes installations stronger. We cleaned up, applied flashing around the sill plate to keep water out, and made plans to finish the sheathing and building paper when time allows.
What’s Next
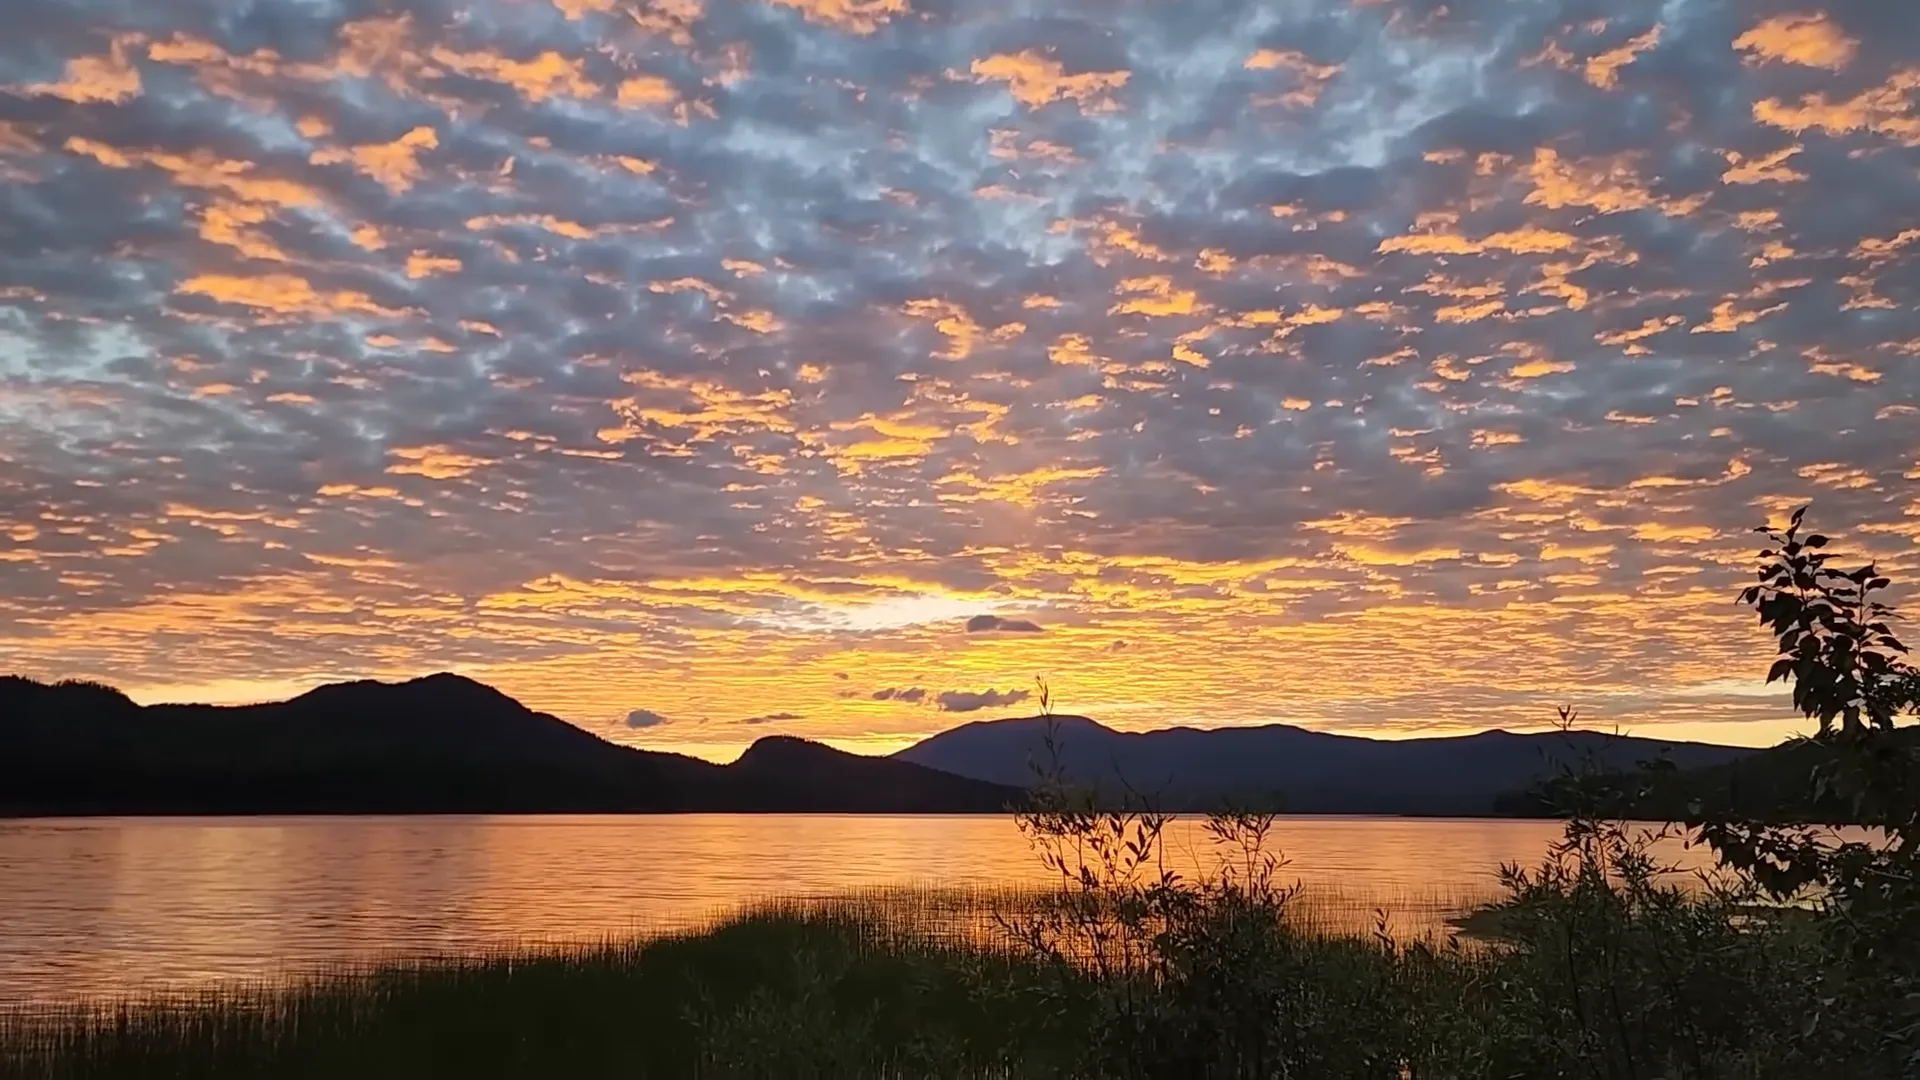
We’re working against a tight timeline: a 15-hour trip back to our home base and family arriving soon. Melodi will stay behind for a couple of weeks while Ryan returns to complete outstanding tasks. Before we leave, priorities include finishing the array shed weatherproofing, trenching for a yard hydrant, and burying temporary electrical lines.
We’re excited to host family and show them what living in a tiny cabin on a remote island can be like. If you’ve followed along, you’ll know how satisfying it is to convert a simple storage shell into a cozy, functional guest cabin. There’s always more to do — and that’s part of the fun.
“It was a day.” — the perfect way to sum up a full day of work, laughter, and little victories.
Quick Practical Notes
- Solar array weight: ~1200 pounds — use proper leverage and supports when adjusting.
- Always protect sill plates with flashing; water is the enemy of wood.
- Building paper should go under drip edge; sequence matters when weather hits.
- Tools matter: nail gun vs. screws can save time and give a stronger hold.
Resources & Where We Shop
We keep a running list of tools and favorite gear that make off-grid life practical. For convenience, check our curated list of favorite things and our Amazon store to find many of the items we use in builds: My Wild Holm Favorite Things and My Wild Holm Amazon Store. You can also follow us on social media — especially our Facebook page for updates.
If you want to watch how we started this whole process, the next video will take you back to the beginning of this phase and you’ll see how all the pieces came together.