Installing Solar Power for our Tiny Cabin
Today we are installing solar power for our tiny cabin and we are super excited! We powered up the solar panels and they are producing perfectly. We ran wires from the panel to the inverter and our tiny cabin is all wired and ready to receive solar power. This is an exciting day for us… flipping the switch to activate solar power will finally get us off the generator!
Table of Contents
- The moment of truth – the inverter is hung
- Strong chance of electrocution?
- Following the wire from the inverters to the solar panels
- How to wire 120V into a 240V panel
- Clouds in the sky, yet six panels producing 277V, or 90.5% of spec
- Back to base camp after visiting Berry Point
- Is the barge taking on water?
- Spa day for Opal
The moment of truth – the inverter is hung

We started our day with the big moment of truth: hanging the inverter. It was a thrilling sight as we prepared everything for our solar power for tiny cabin. The inverter is the part of the system that converts the energy collected from our solar panels into usable electricity for our cabin. We were excited to think about all the power that would soon be ours!
Strong chance of electrocution?
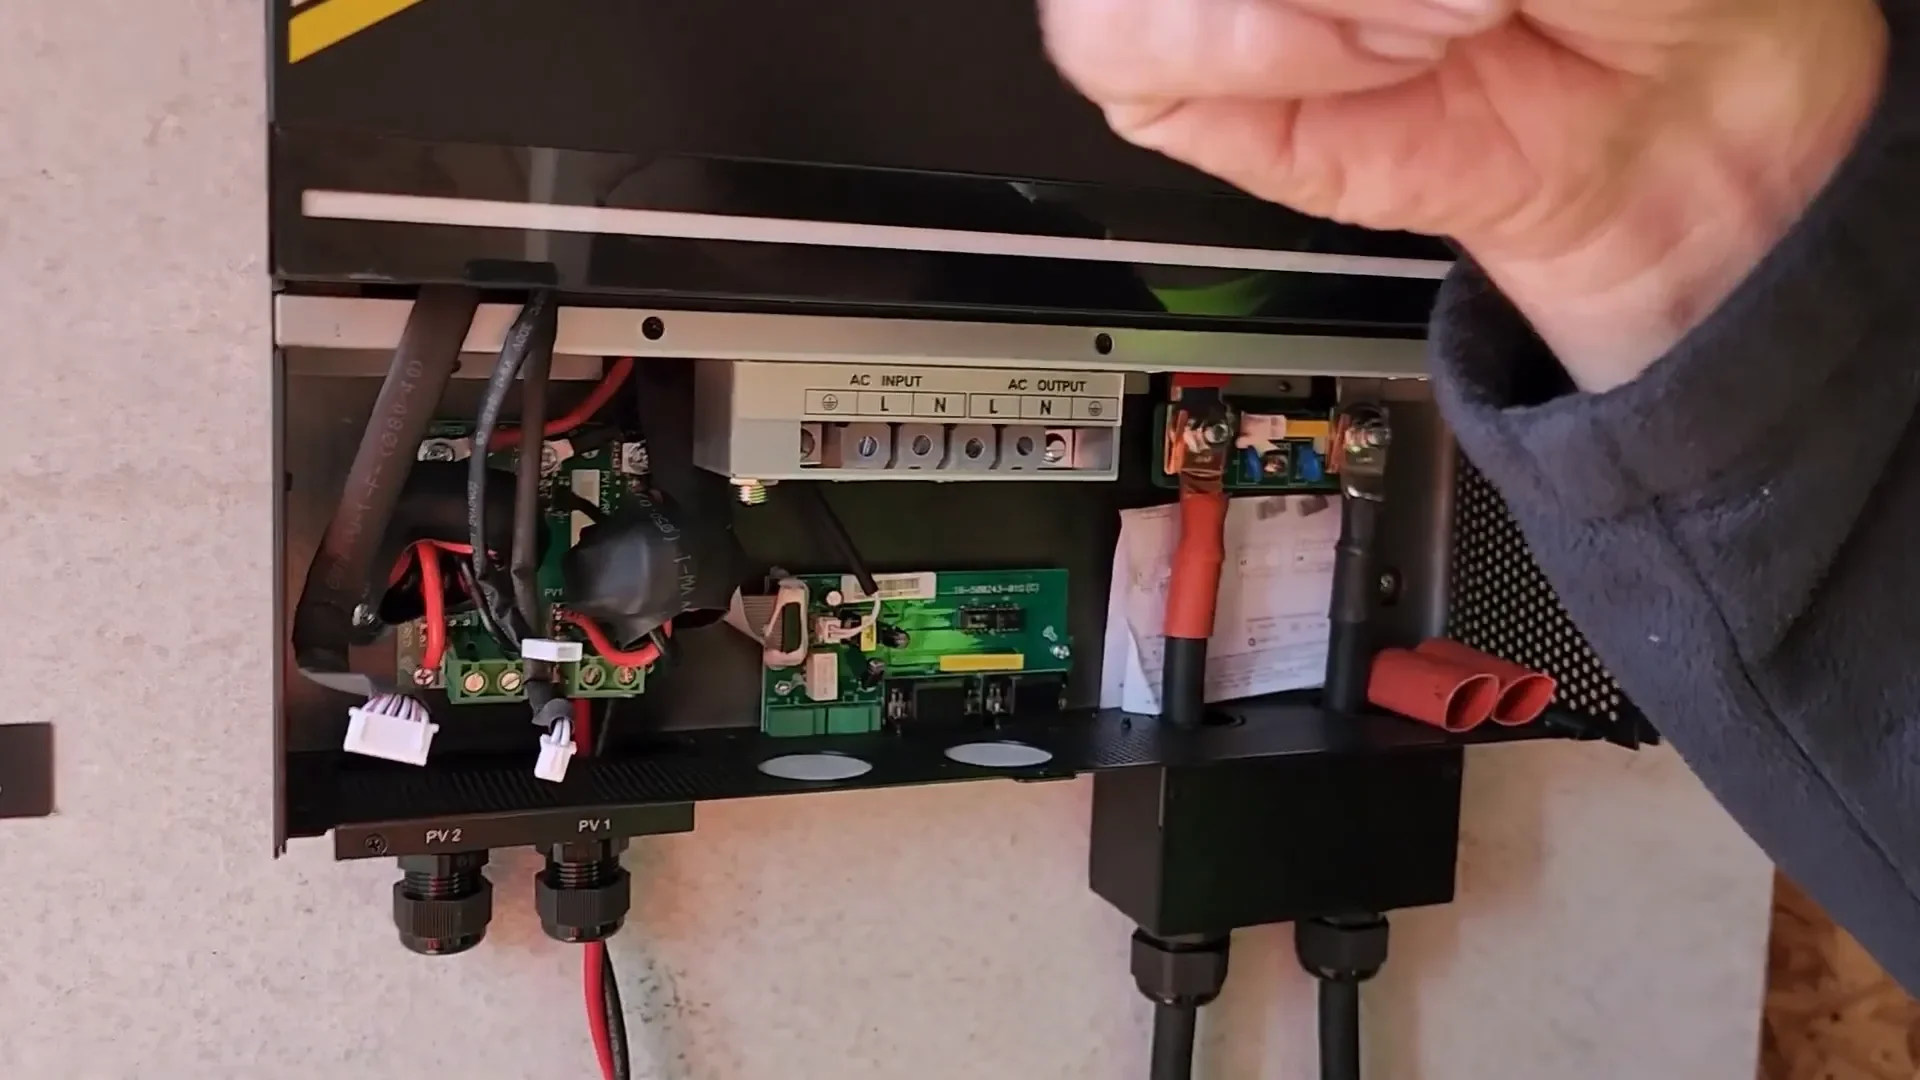
As we dove deeper into the installation, we had to be cautious about the potential for electrocution. Handling electricity always comes with risks, and we made sure to take necessary precautions. We discussed how the inverter works and the importance of isolating power while we were working. Safety first!
Following the wire from the inverters to the solar panels
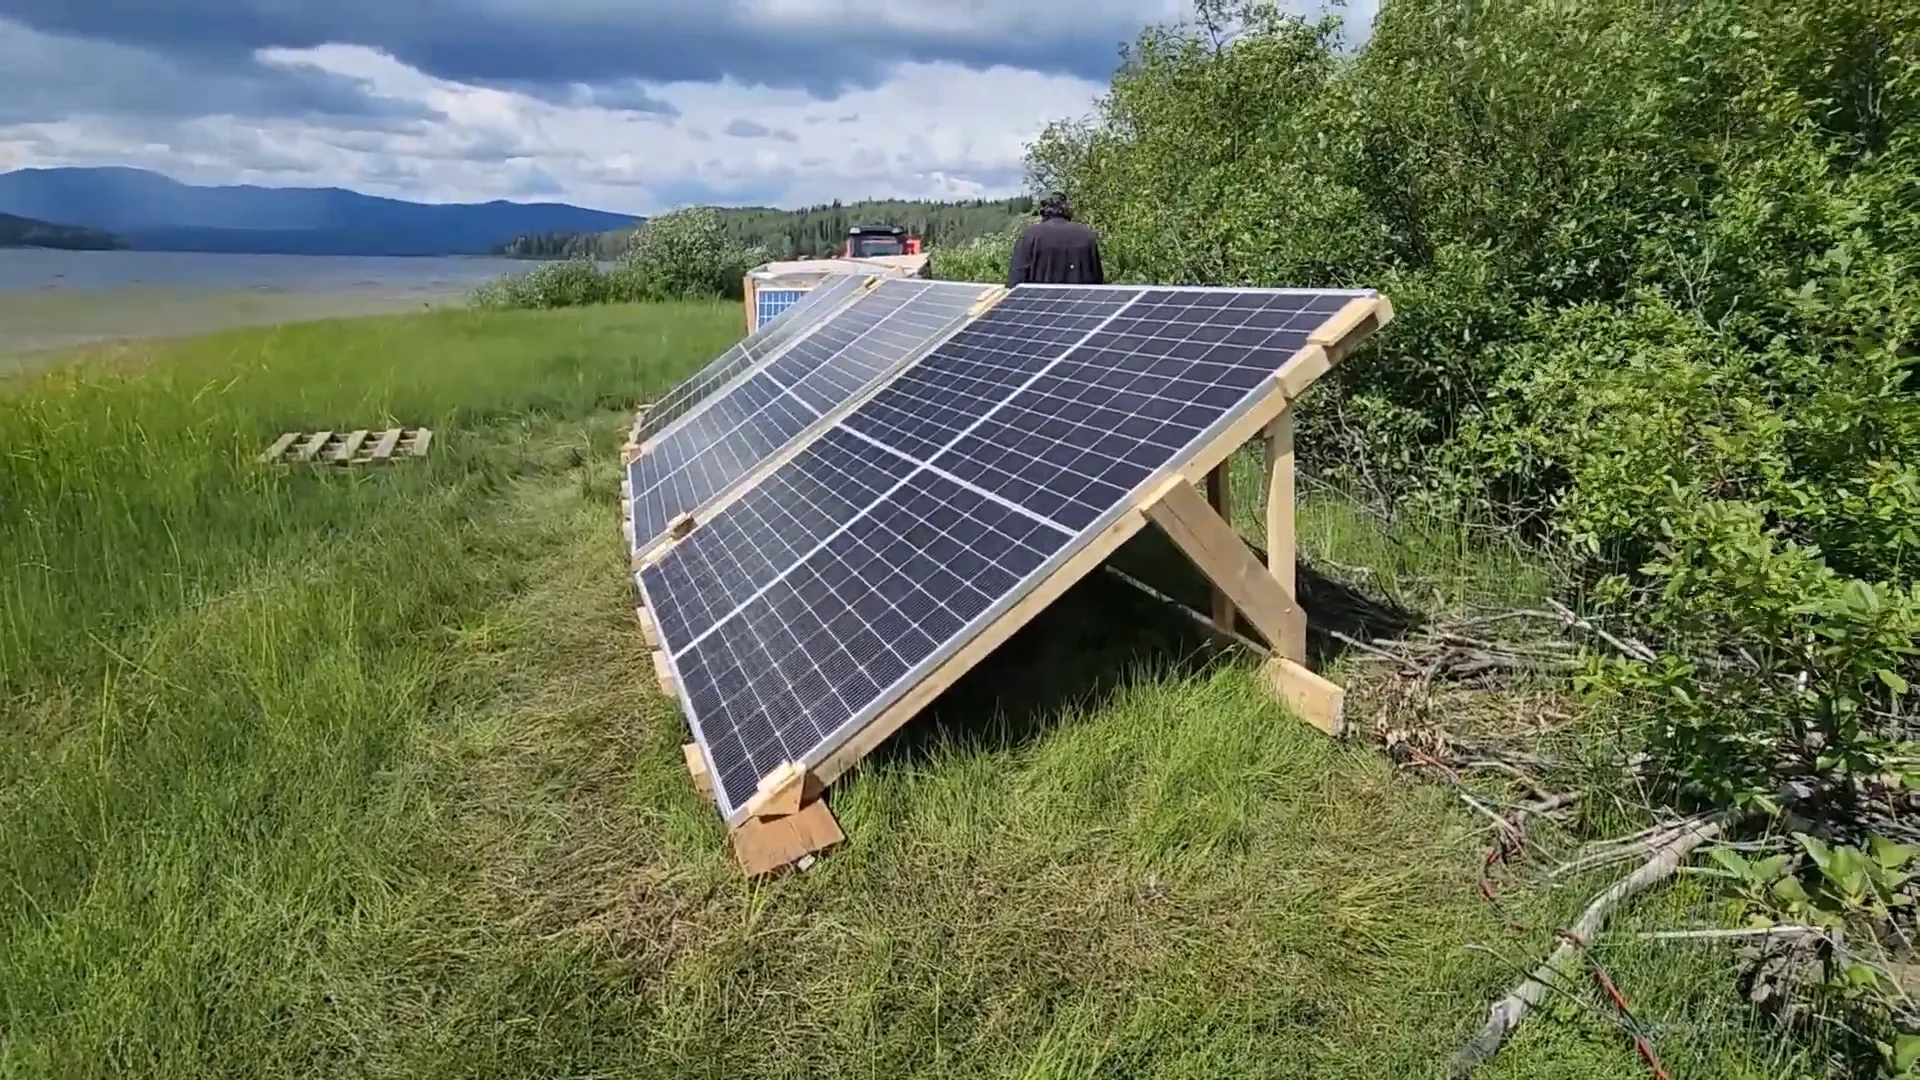
Next, we ran wires from the inverter to the solar panels. This part of the solar power setup for our tiny home was necessary, as it linked our energy source to our power system. We made sure everything was within specifications and that our wiring was safe and efficient. It felt great to see the progress we were making!
How to wire 120V into a 240V panel
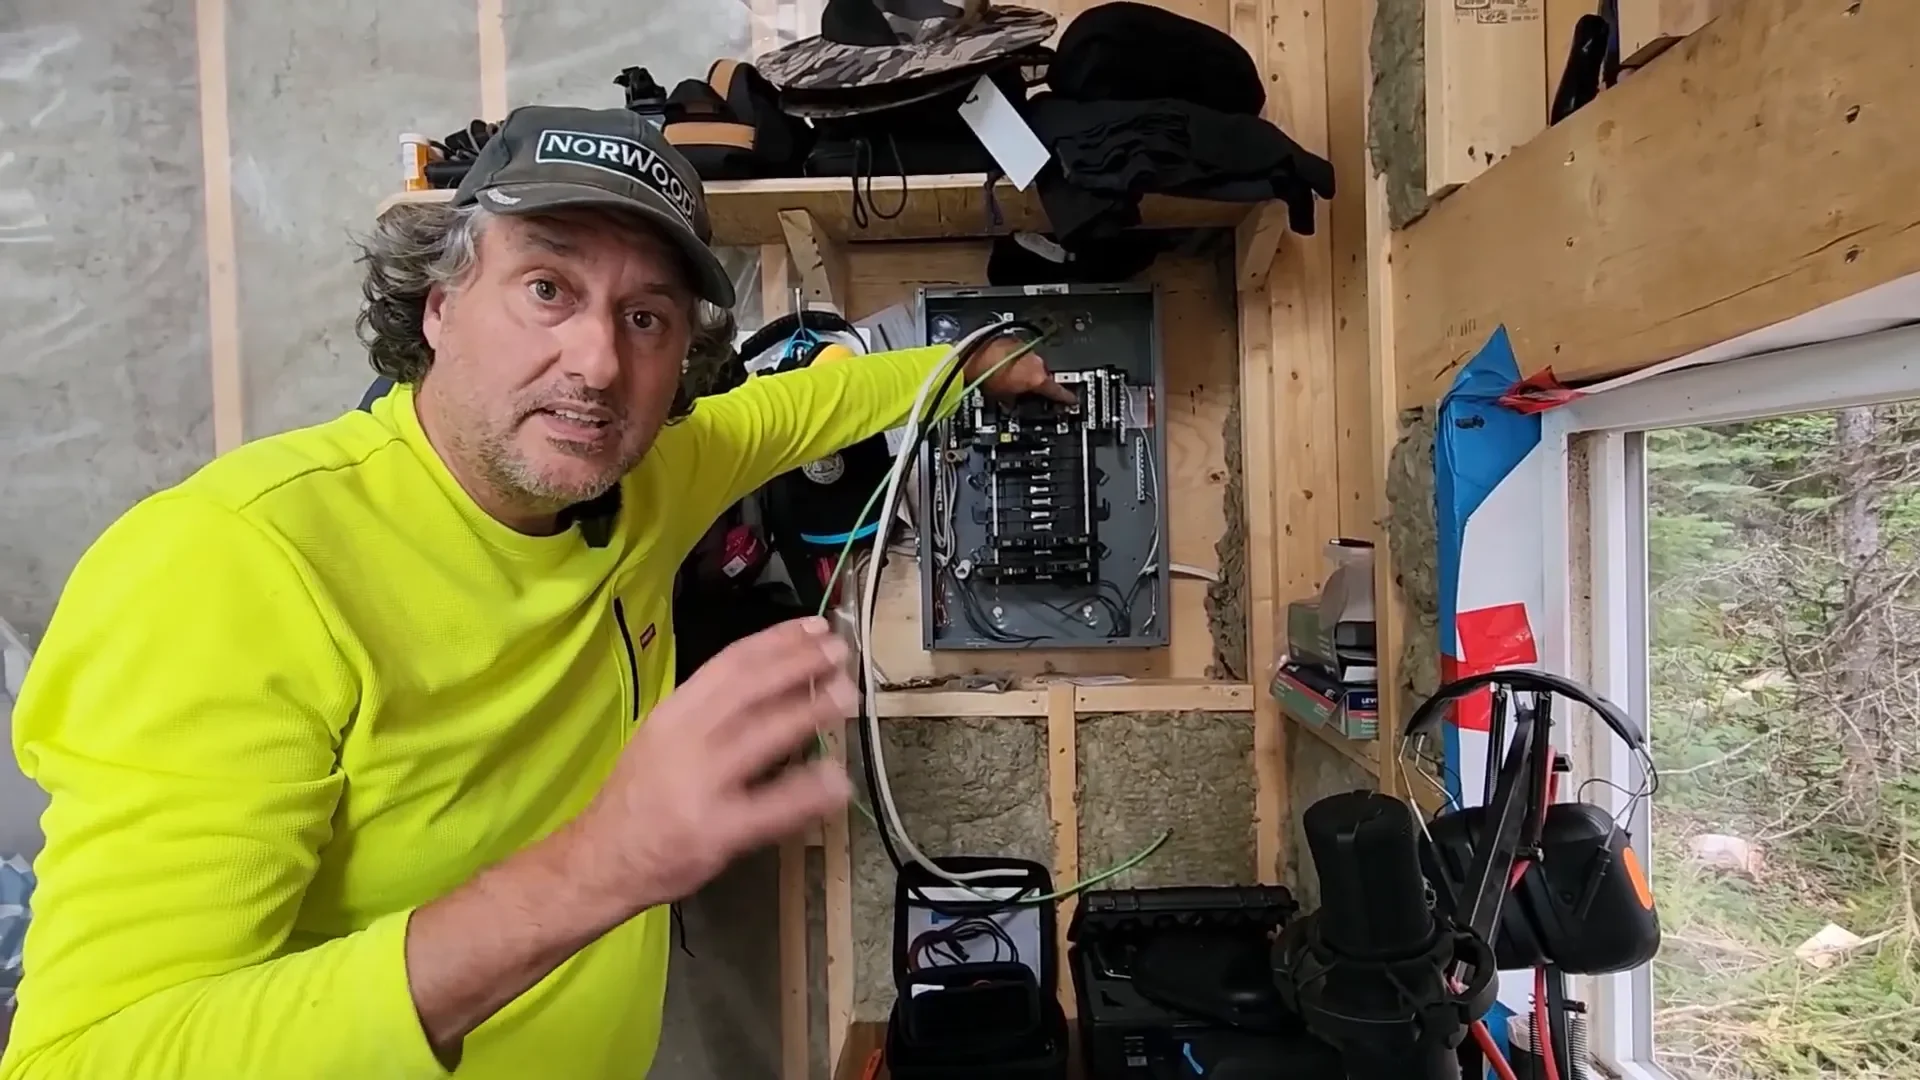
One of the more technical aspects of our installation was wiring 120V into a 240V panel. We explained the difference between the two voltages and how to safely connect them. This knowledge is essential for anyone looking to install a solar power system in a cabin. It’s all about understanding the electrical layout and following safety guidelines!
Clouds in the sky, yet six panels producing 277V, or 90.5% of spec
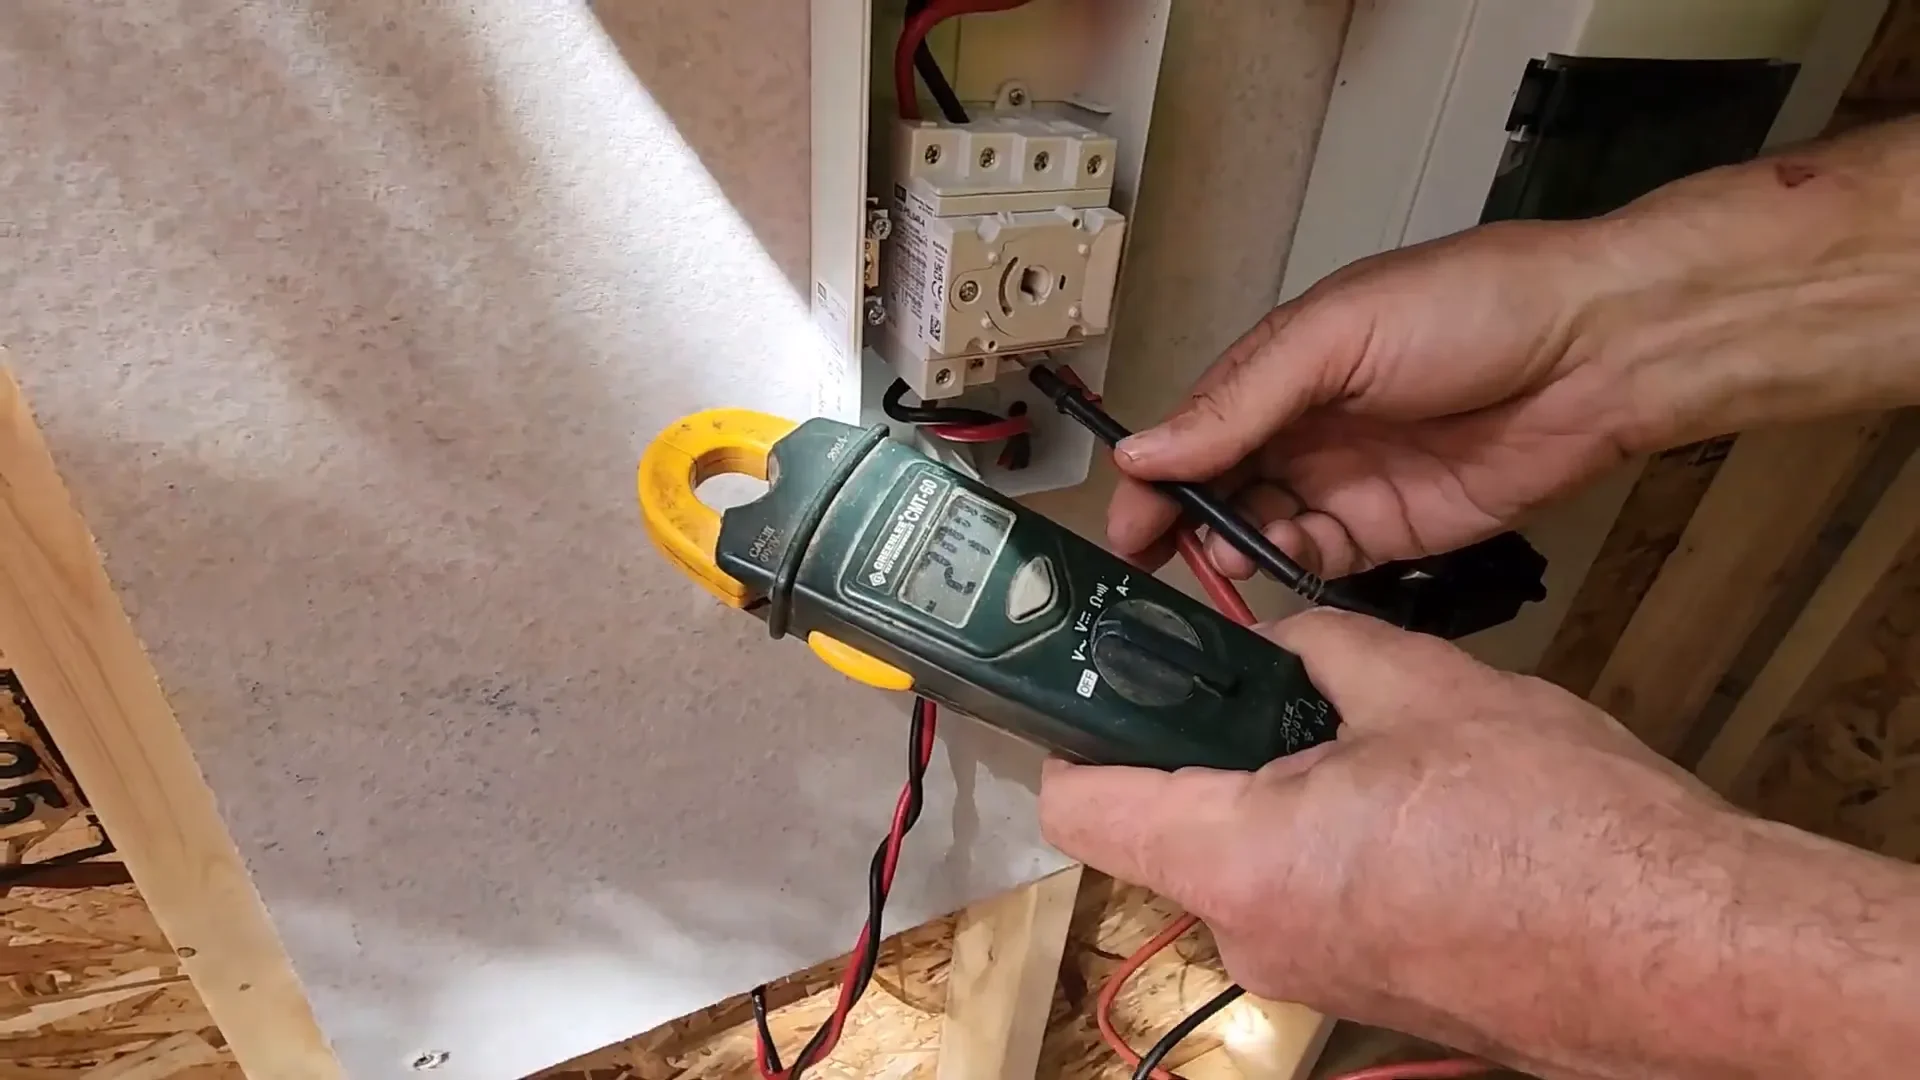
Even with clouds overhead, our six panels were producing an impressive 277V. We were amazed at how well the system was functioning despite the less-than-ideal weather conditions. This truly exemplifies how solar power can be a game changer for those living off-grid.
Back to base camp after visiting Berry Point
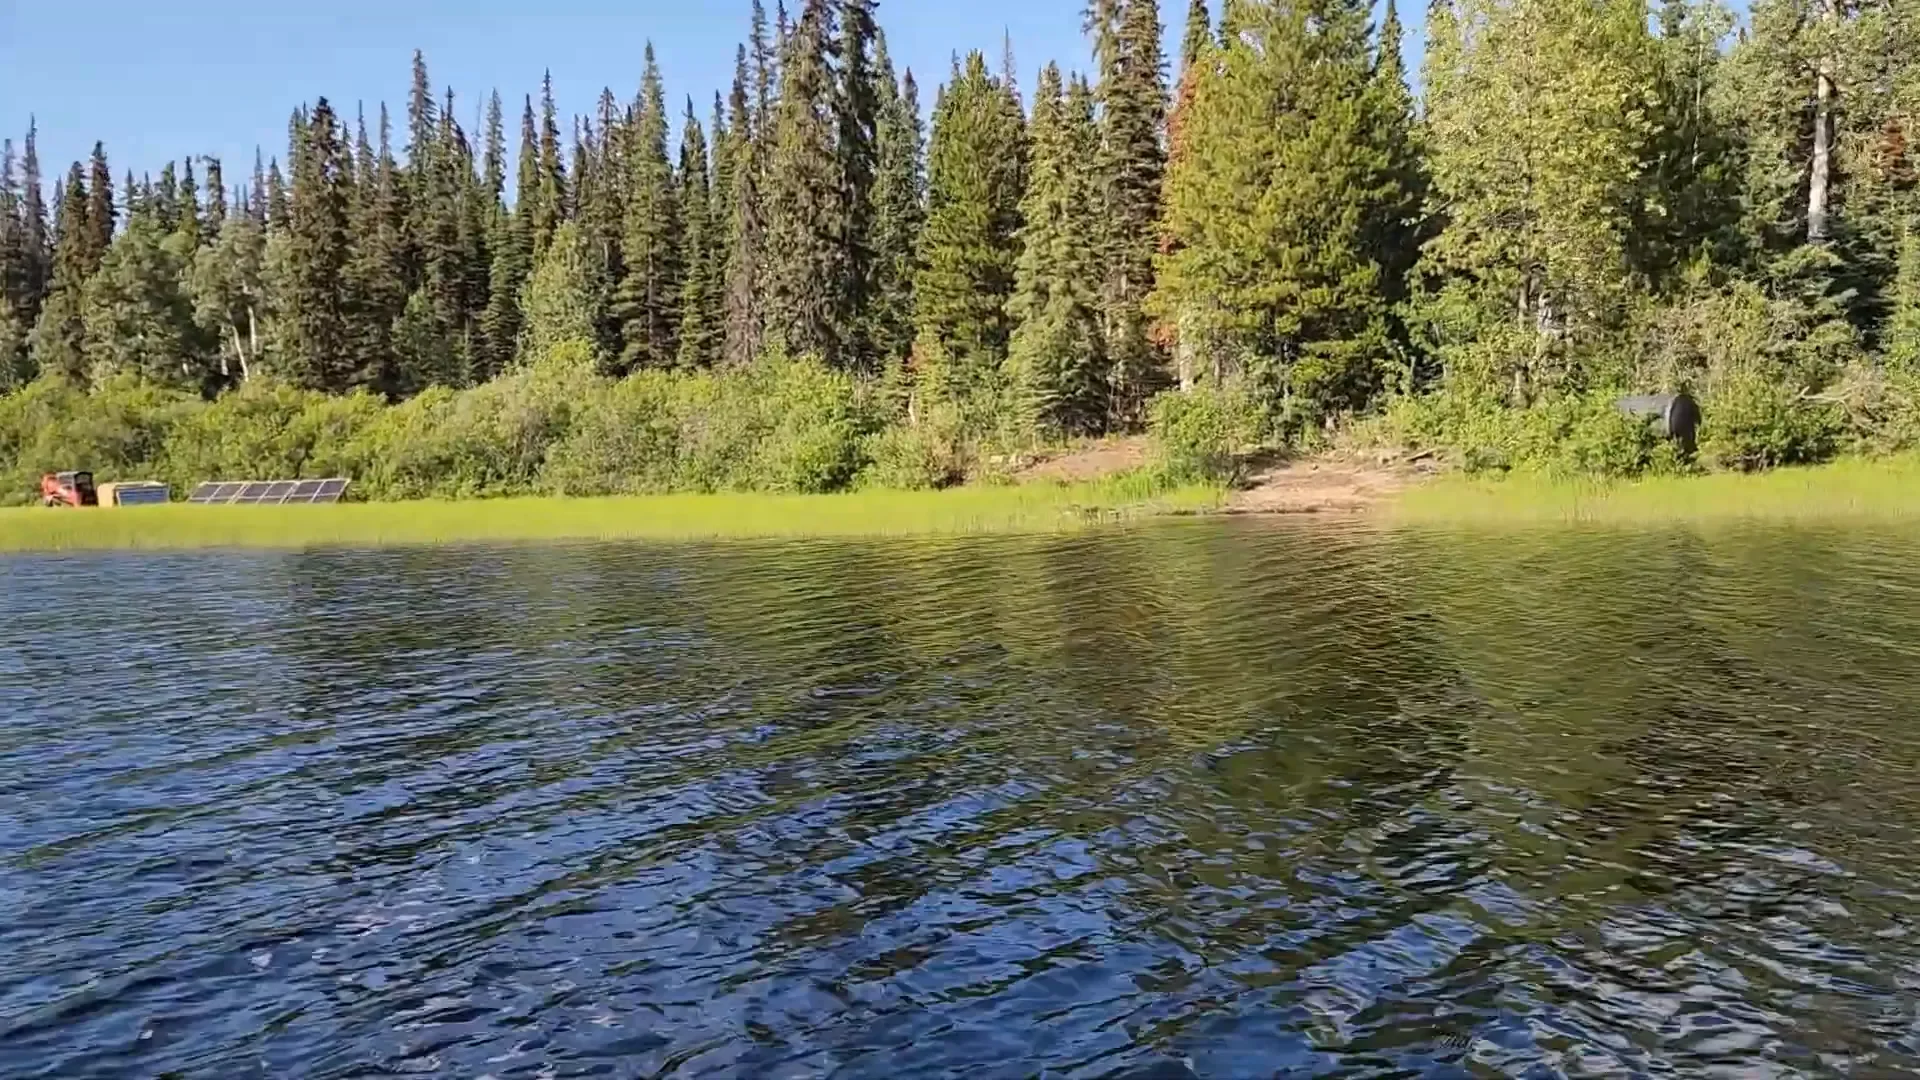
After a successful day of installation, we decided to take a break and head over to Berry Point. It was a perfect opportunity to reflect on the day’s achievements and the power of living off grid. We were thrilled with the progress made in creating our self-built homestead!
Is the barge taking on water?

As we checked on our barge, we wondered if it was taking on any water. This was a vital aspect of our operations, as transporting materials is essential in our remote location. Ensuring the barge is in a safe working order is pretty important for our private island life.
Spa day for Opal
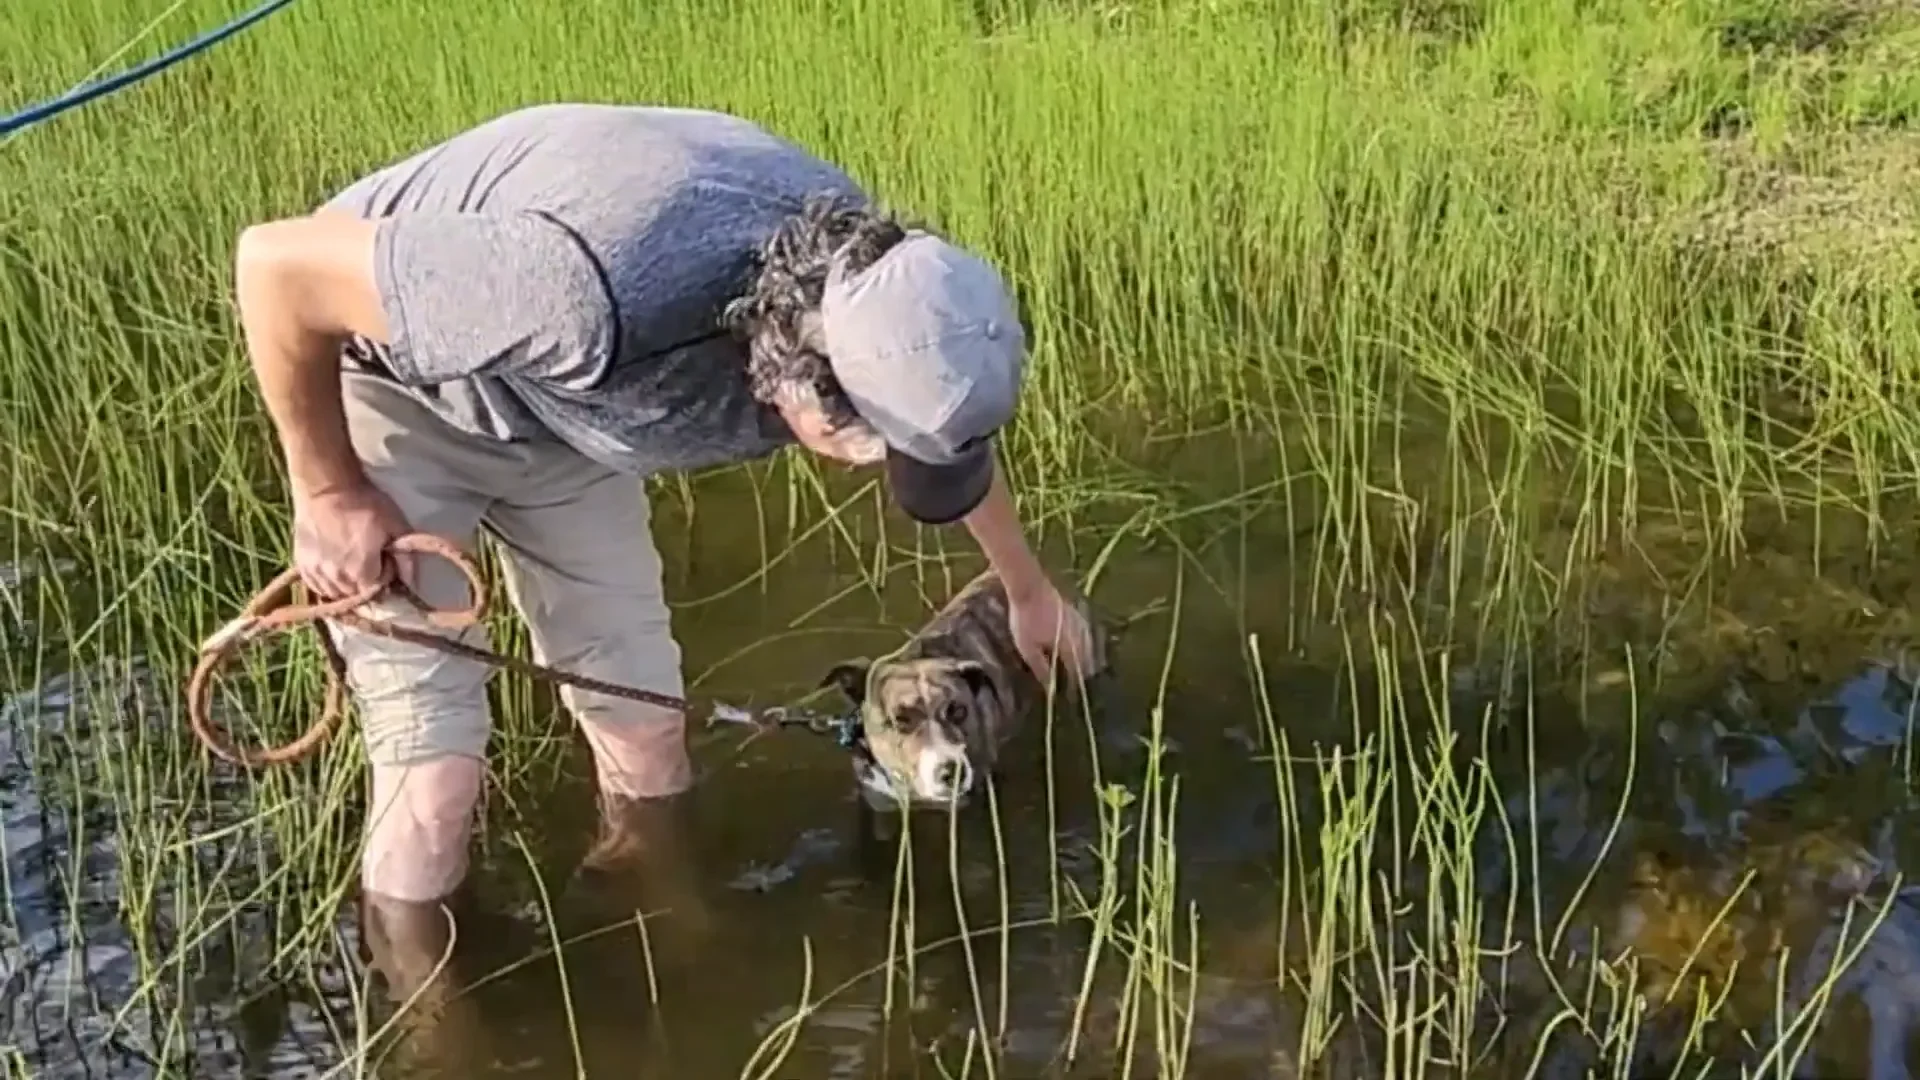
Finally, we wrapped up our day with a little fun—spa day for our little doggie, Opal! She enjoyed a nice cool bath in the lake followed by a mani-pedi. After all the hard work, it was nice to relax and enjoy the beautiful surroundings. Living in a tiny cabin is not just about the hard work; it’s also about enjoying the simple pleasures of life.
If you’re interested in following our adventures, be sure to check out our Facebook, Instagram, and our favorite things. You can also shop recommended products from our Amazon Page.
We hope you enjoyed this update on our solar power homestead! Keep following us for more tips and insights on building your own off-grid lifestyle.